Roma Tomato, Fresh Basil, & Tofu Soup

tomato basil tofu soup


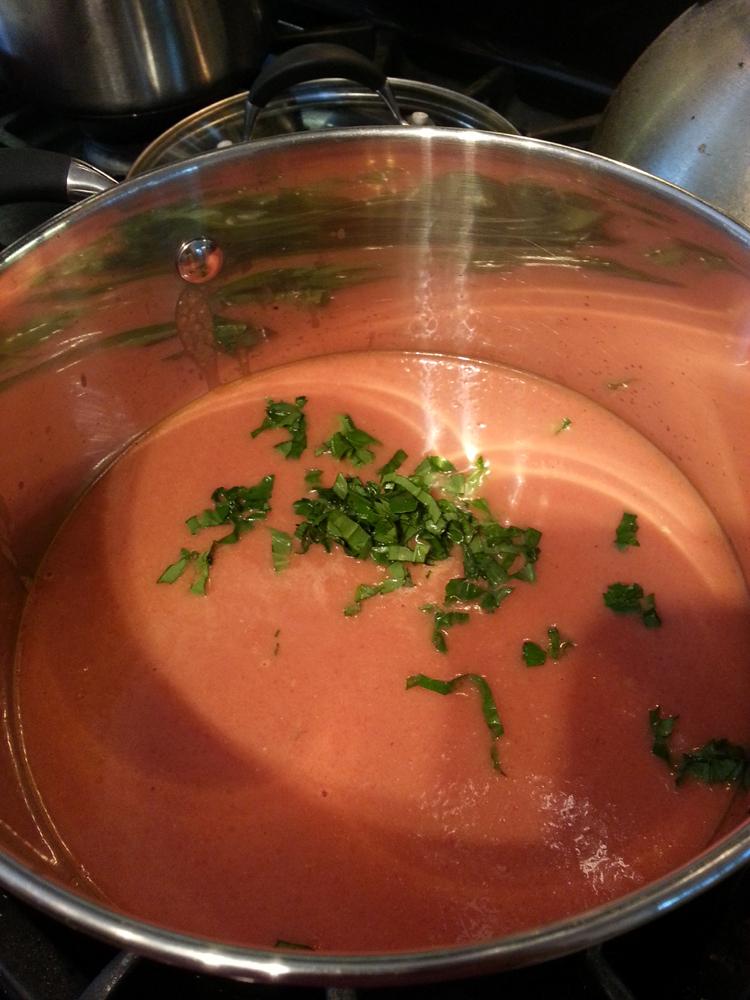
This tomato basil soup made with tofu was shockingly good.  I found this recipe in my Ninja blender recipe booklet.  I’ll post the original recipe, but I had to substitute the 4 roasted garlic cloves for garlic powder, to be safe.  It’s a quick, simple lunch soup or a dinner starter.  You can’t even taste the silken tofu, it just adds an awesome creamy consistency!  Enjoy!

INGREDIENTS:

  • 1 28 oz. can whole peeled tomatoes
  • 4 garlic cloves, roasted
  • 3 T. tomato paste
  • 6 oz. silken tofu
  • 3 T. extra virgin olive oil 
  • 1/2 tsp. salt
  • 1/4 tsp. ground black pepper
  • 1 cup vegetable broth
  • 1 T. fresh basil leaves, chopped

DIRECTIONS:

  1. Place the tofu and broth into the blender pitcher and blend on medium until smooth.
  2. Add the tomatoes, garlic, paste, olive oil, salt, and pepper into the pitcher.  Blend on medium until smooth.
  3. Transfer to a large saucepan and add basil.  Warm over medium-low heat for about 15 mins, or until heated through.

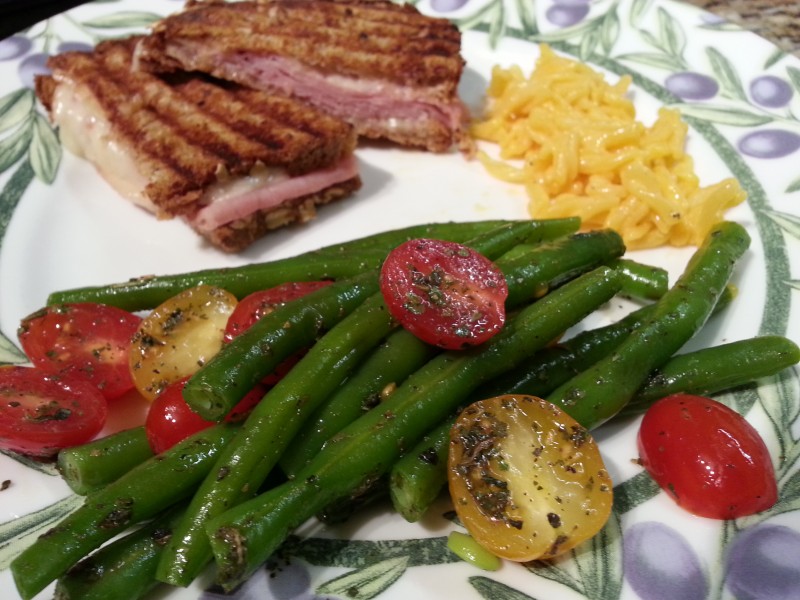
Green Beans With Cherry Tomatoes * (Not IC Safe)

20150125_173451P1010211

This is a wonderful vegetable recipe.  It’s simple and bursting with flavor.  I highly suggest using fresh veggies, not canned for optimal flavor.  I used the entire pint of cherry tomatoes because I felt like it and I think the extra tomatoes added even more flavor to the juice as well.  This is a definite keeper!  It paired well with the proscuitto & basil stuffed chicken, and also the brown rice.    

INGREDIENTS:

  • 1 1/2 lbs. green beans
  • 1 T. butter
  • 3/4 tsp. garlic salt 
  • 1 T. sugar
  • 1/2 tsp. basil
  • salt 
  • pepper **
  • 1/2 pint cherry tomatoes, cut in half **

**Known IC irritants, tread carefully!

DIRECTIONS:

  1. Cook beans in water, until tender.
  2. In a fry pan, melt butter and add garlic salt, sugar, basil, salt and pepper.
  3. Swish cherry tomato halves around until barely soft and heated, but not squishy.
  4. Add the drained beans and mix well.
  5. (TO SAVE TIME, you can use drained canned green beans instead of fresh green beans and canned stewed tomatoes instead of fresh cherry tomatoes. Just add the canned vegetables to the butter/basil mixture and heat through. I do this frequently and it works o).

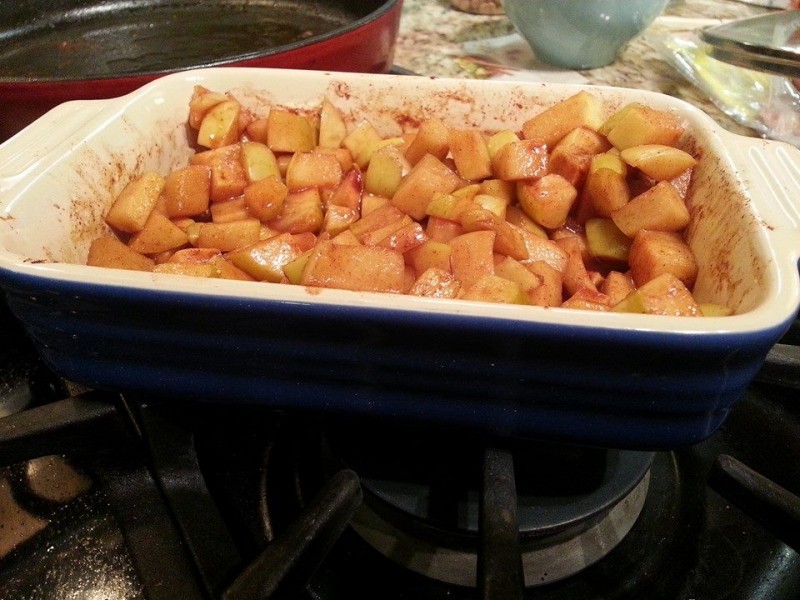
Baked Cinnamon Apples * (Not IC Safe)

baked-cinnamon-apples


I saw this recipe in passing and had three spare apples on hand and just went for it.  It’s a great way to get that apple pie taste without all the fat and carbs of that double pie crust.  It’s extremely simple and the half recipe I made fit perfectly in my Le Creuset mini casserole dish.   We enjoyed this as a sweet side to our dinner, but we could also definitely see it as a topping for pure vanilla ice cream.  I used our apple staple – Galas!  From the PBS website. 


INGREDIENTS:

  • 2 lbs apples (either Cortland or Gala for best results), cored and chopped
  • 2 tsp cinnamon**
  • juice of 1 lemon**
  • 1/3 cup brown sugar (I reduced the sugar as the apples release their sweetness as well).  

**Known IC irritants, tread carefully!

DIRECTIONS:

  1. Preheat your oven to 375 degrees.
  2. Toss the chopped apples with the cinnamon, lemon juice, and brown sugar and place in a baking or casserole dish.
  3. Cook apples, stirring occasionally, for about 30 minutes until soft and juicy. Serve for dessert with ice cream or with roast meat for dinner.

Fluffy French Toast *

SAMSUNG CAMERA PICTURES

I’ve made this amazing French toast recipe probably dozens of times by now and it never fails!  Follow the directions especially step 1 – SLOWLY whisk the milk into the flour or you will have flour pockets!  I warned you. 🙂 I usually double this recipe and freeze the rest. Enjoy…..

INGREDIENTS:

  • 1/4 cup flour
  • 1 cup milk
  • 1 pinch salt
  • 3 eggs
  • 1/2 tsp. ground cinnamon **
  • 1 tsp. vanilla extract**
  • 1 T. white sugar (or less, doesn’t matter)
  • 12 thick slices bread (I normally use brioche for the most flavor)

**Known IC irritants, tread carefully! Omit one or both of these to make it IC safe.

DIRECTIONS:

  1. Measure flour into a large mixing bowl.  Slowly whisk in the milk.
  2. Whisk in the salt, eggs, cinnamon, vanilla, and sugar until smooth.
  3. Heat a lightly oiled griddle or frying pan over medium heat. 
  4. Soak bread slices in mixture until saturated.  Cook bread on each side until golden brown.  Serve hot.  

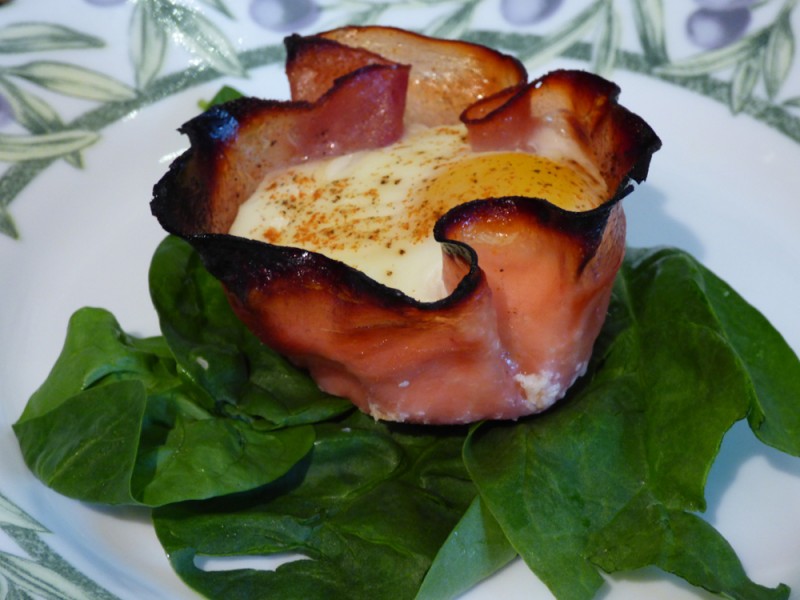
Egg-stremely Easy Ham Egg Cups

Egg cups


Now if you can’t make this successfully after following these simple directions, I just don’t know about your cooking fate.  It may be time to hang up your apron and call it quits.  This is a super simple, near effortless, way to have a quick breakfast (and leftovers), a protein-rich snack or side to your breakfast or brunch.  It’s Paleo approved too, if you’re into that.  Enjoy!

INGREDIENTS:

  • Your favorite thinly sliced ham slices from the deli 
  • Large eggs
  • Salt, sea salt worked well for me. 
  • Freshly ground pepper
  • Paprika (optional)

DIRECTIONS:

  1. Preheat oven to 400 degrees F.
  2. (Directions are for 1 egg cup, multiply by how many you desire……)
  3. Spray a nonstick spray into your muffin tin (do not use muffin paper liners!)
  4. Place one piece of ham into each muffin hole, as illustrated above.  
  5. Crack one egg on top of the piece of ham – if you prefer scrambled eggs inside, lightly beat egg in a glass before dumping into ham cup.  
  6. Season with some salt and freshly ground pepper.  Add a small amount of paprika, if desired.  
  7. Cook 10-14 minutes depending on the doneness you desire.  I wanted it completely cooked solid as I don’t like runny eggs!
  8. Cool slightly and enjoy!

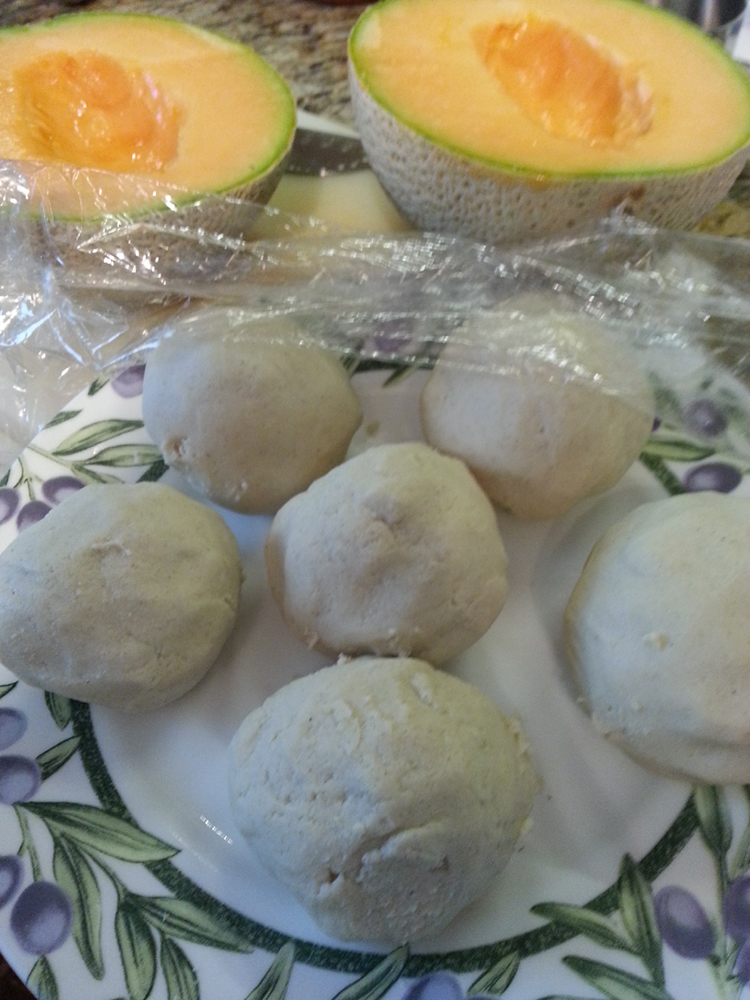
Mexican Huaraches * (Not IC Safe)

huaraches huaraches2


I’m very proud of my Mexican huaraches. 🙂  After having them at a local restaurant, I really wanted to build the confidence of making them myself.  As it turns out, the huarache, or “sandal” shaped dough, is quite easy to make!  Once cooked you can top them with your veggies and meat to your liking.  ENJOY!!

I got this recipe from hispanickitchen.com.  Thank you!
INGREDIENTS:
Huarache ingredients:

  • 3 cups masa harina flour
  • 1 tsp. salt
  • 2 tsp. garlic powder
  • 2.5 – 3 cups warm water, plus more for shaping huaraches
  • 1/8 cup olive oil, plus more for cooking huaraches

Steak ingredients:

  • 2 strip steaks (1 lb. total)
  • Salt, to taste
  • Freshly cracked pepper, to taste**
  • Granulated garlic, to taste
  • Olive oil

Garnishes (optional):

  • Diced onion**
  • Chopped cilantro**
  • Grated or crumbled queso fresco or panela cheese
  • Avocado slices
  • Salsa**
  • Etc

**Known IC irritants, tread carefully!

DIRECTIONS:

1. In a bowl, add the masa harina, salt and garlic powder. Gradually add in the water until the masa dough forms. If it’s too dry, add a little more water. Work in the oil. Make 6 equal size masa balls, cover with plastic and set aside for 20 minutes.

2. Season the strip steaks with salt, pepper and garlic powder to taste on both sides. Drizzle with a little olive oil, set aside. Grill the steaks for 4 minutes per side on preheated grill pan. Remove from grill onto baking pan, tent loosely with foil paper and keep warm at low temperature in the oven.

3. While the steaks are cooking, preheat a comal or griddle pan to medium heat for 5 to 6 minutes. Take one masa ball and form it into an oval shape. Use a little water to wet the masa so it’s easier to shape. Place the masa in between plastic or wax paper and using a tortilla press or rolling pin, gently press or roll out to extend the oval shape until it looks like a huarache. It should be about 7 inches in length or so.

4. Transfer to the hot comal and cook for about 30 seconds per side or until it comes loose from the comal, then you know it’s ready to turn. Once you turn it, drizzle a little oil onto the huaraches so they start to crisp up. Turn after a 20 seconds and cook the other side for another 10 seconds. You don’t want to leave them on too long or they will get tough. Top the huaraches with salsa, grated cheese, steak and your favorite garnishes.

Notes: For a variation, when making the masa balls, flatten it in the palm of your hand and add a couple of tablespoons of refried beans, fold the dough over the beans to cover and form into oval shape as instructed. The beans will kind of fuse right into the masa as it cooks. If preparing these for the first time, I would suggest making the huarache shells first and then just warming them right before serving. It makes things a lot easier.

Knead Not Sourdough Bread

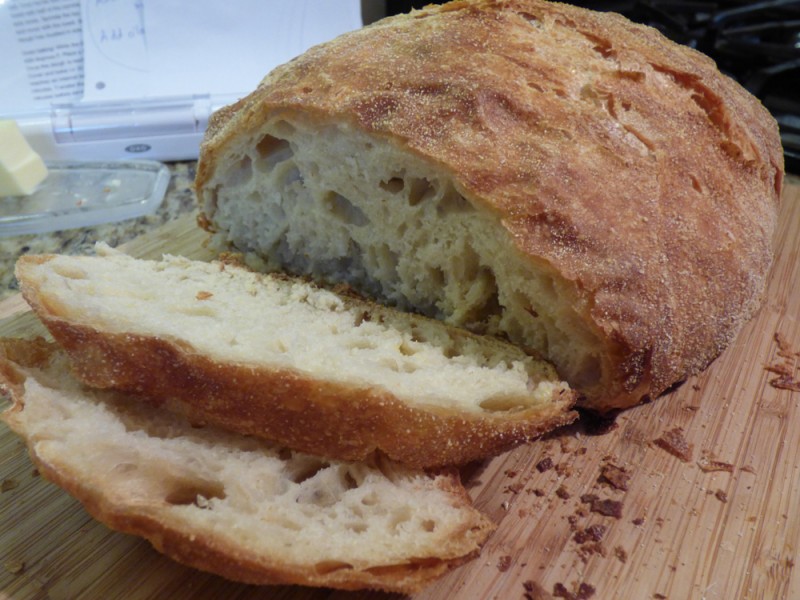
P1000981

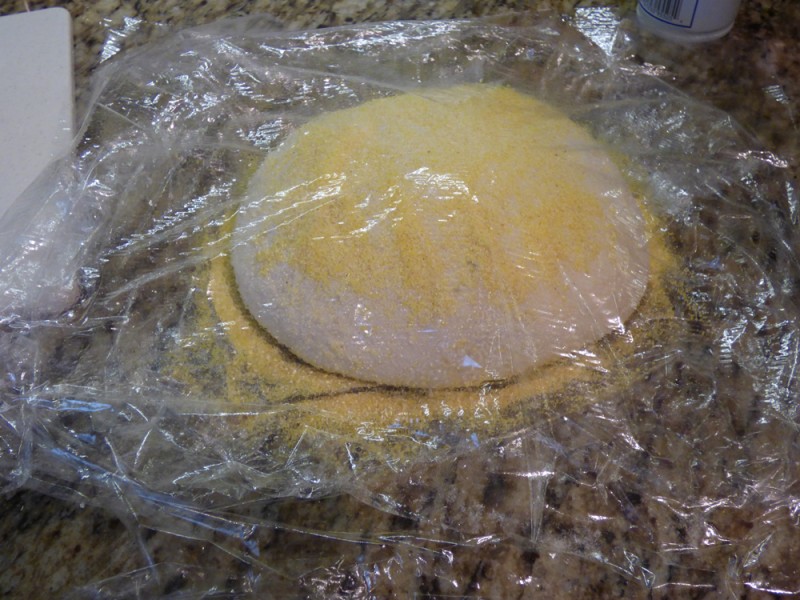
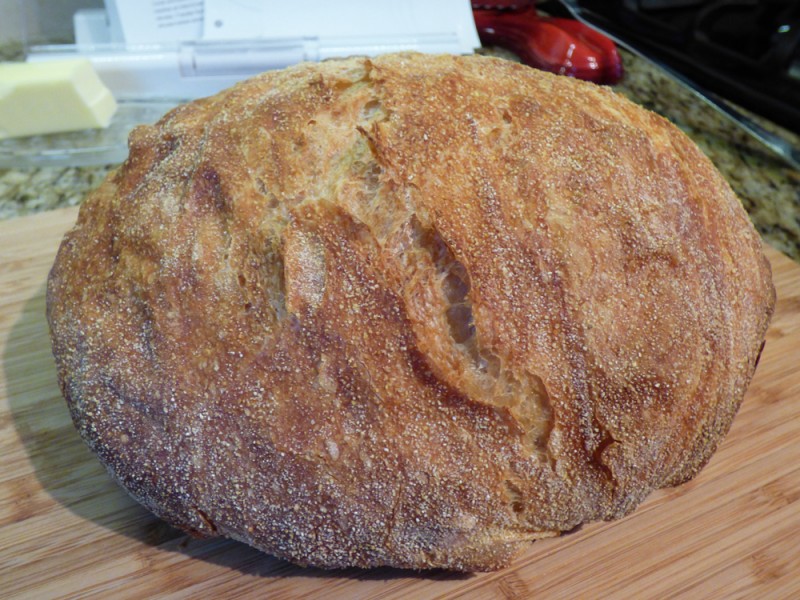
P1000959 P1000980


THIS IS AN AMAZING SOURDOUGH BREAD.  It tastes professional!  I had always wanted to make sourdough bread, but I let cooking fear get the best of me, and I put it off for years.  After ‘mastering’ other yeast recipes, I gained the courage to try this recipe, which honestly looked a lot easier than other sourdough bread recipes!  I only had to simplify one step (the tea towel step) because the last thing you want is dough on a towel – I speak from experience – it’s a pain to launder, if you can!  So I came up with my own step (using sprayed plastic wrap).  ENJOY!

INGREDIENTS:

  • 17 1/2 ounces bread flour, plus extra for shaping later (Don’t sub any other flour, I weighed the flour).
  • 1/4 tsp. active-dry yeast
  • 2 1/2 tsp. kosher salt
  • 12 ounces filtered water, (room temp is just fine)
  • 2 T. cornmeal
  • Nonstick spray, like PAM

DIRECTIONS:

  1. Whisk together the flour, yeast, and salt in a large mixing bowl.
  2. Add the water and stir until combined.  Cover the bowl with plastic wrap and allow to sit at room temperature for 19 hours.  (Yes, it’s a waiting game, so plan ahead.  But remember you don’t even need to check on it during this stage!)
  3. After 19 hours, turn the dough out onto a lightly floured work surface.  Punch down the dough with your fist (to release trapped air) and turn it over onto itself a couple of times.
  4. Cover with nonstick-sprayed plastic wrap, or a clean tea towel, and allow to rest 15 minutes.
  5. After 15 minutes, shape the dough into a ball.  Coat hands with flour, if needed, to prevent sticking.
  6. Sprinkle the nonstick-sprayed plastic wrap with half of the cornmeal and lay the dough on top of it, seam side down.
  7. Sprinkle the top of the dough with the other half of the cornmeal and cover with nonstick-sprayed plastic wrap, or a clean tea towel (see my second photo for details!)
  8. Allow to rise for another 2-3 hours, or until the dough has approximately doubled in size.
  9. While the dough is rising the second time, preheat the oven to 450 degrees F.
  10. Place a 4-5 QT. Dutch oven in the oven while it preheats. 
  11.  Once the dough is ready, VERY carefully transfer it to the pre-heated Dutch oven.  Please remember that Dutch oven is HOT!!
  12. Cover with lid and bake for 30 minutes.
  13. Remove the lid and bake until the bread reaches an internal temp. of 210-212 degrees F (use a digital thermometer), another 15 minutes.
  14. Transfer the bread to a cooking rack and allow to cool at least 15 minutes before serving.


Homemade Rice Krispies *

P1010063


Rice Krispies

P1010060

Note: This is an old post showing a time when I could have chocolate. My IC has worsened severely.  I can no longer have even a lick of chocolate, so tread cautiously.

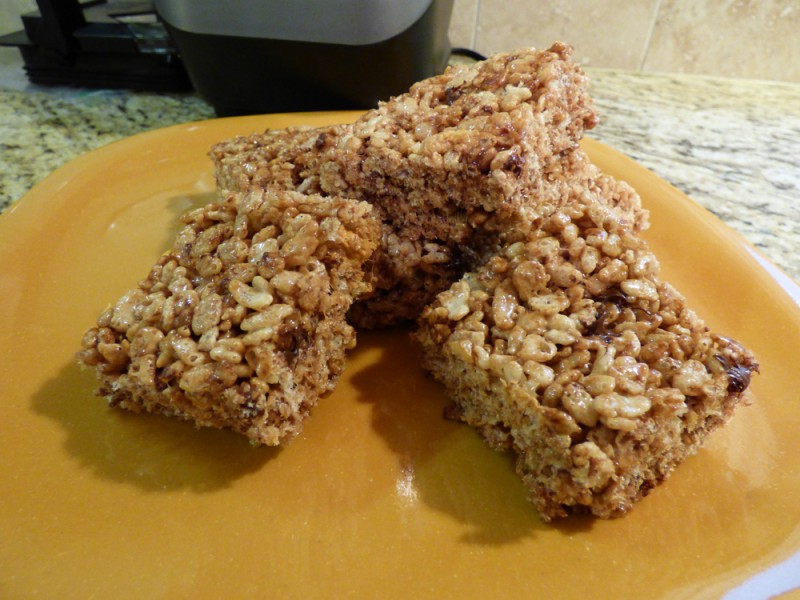
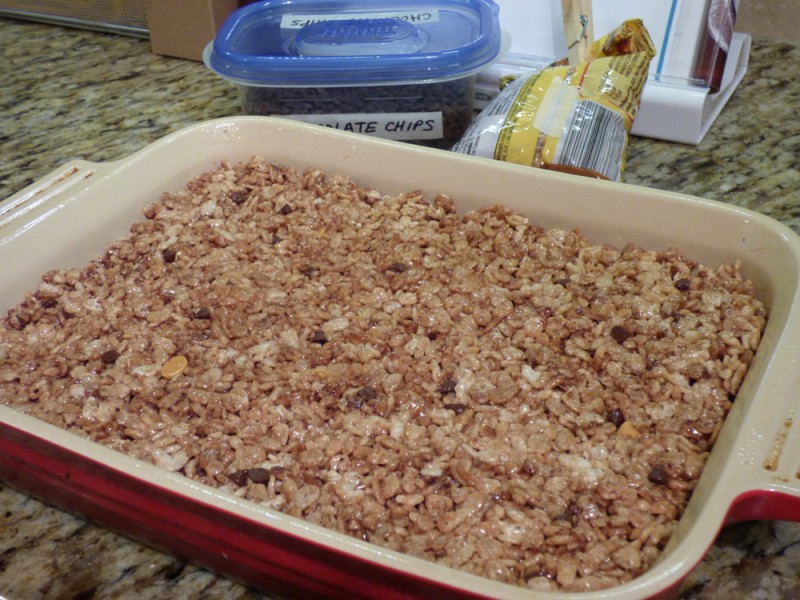
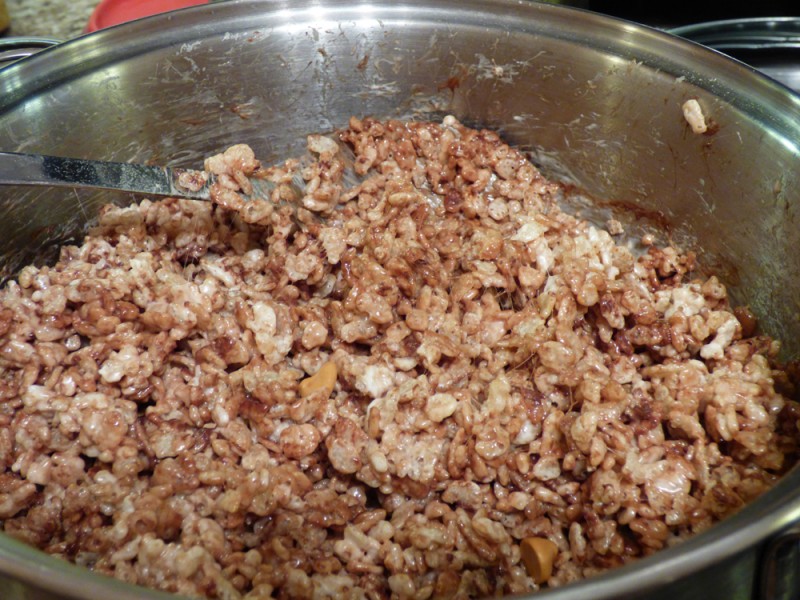
I’ve bought Rice Krispies treats many years ago in the package and then I learned the extremely simple recipe that I will share with you.  Now I just make them at home in a few minutes and everyone loves them. 🙂  Bonus – almost no packaging to throw away, excluding your marshmallow bag!  I’m just all for natural ingredients lately with no preservatives, fake coloring or flavors, additives.

RICE KRISPIES TREATS:  “Ingredients:  TOASTED RICE CEREAL (RICE, SUGAR, SALT, MALT FLAVORING, NIACINAMIDE, REDUCED IRON, RIBOFLAVIN [VITAMIN B2], FOLIC ACID), MARSHMALLOW (CORN SYRUP, SUGAR, GELATIN, NATURAL AND ARTIFICIAL FLAVOR), FRUCTOSE, MARGARINE (VEGETABLE OIL [SOYBEAN AND PALM OIL WITH TBHQ FOR FRESHNESS], WATER, NATURAL AND ARTIFICIAL BUTTER FLAVOR [CONTAINS MILK], DATEM, ACETYLATED MONOGLYCERIDES, BHT FOR FRESHNESS, VITAMIN A PALMITATE, VITAMIN D), CORN SYRUP SOLIDS, CONTAINS TWO PERCENT OR LESS OF DEXTROSE, GLYCERIN, SALT, NIACINAMIDE, PYRIDOXINE HYDROCHLORIDE (VITAMIN B6), THIAMIN HYDROCHLORIDE (VITAMIN B1), RIBOFLAVIN (VITAMIN B2), SOY LECITHIN.


INGREDIENTS:

  • 1/4 cup unsalted butter
  • 3 cups mini marshallows (10 oz. regular bag)
  • 6 cups Rice Krispie, or generic, cereal
  • Optional: safe treats to add, such as coconut chips/peanut butter chips (not chocolate, unfortunately).

DIRECTIONS:

  1. Spray a 13″ x 9″ pan with nonstick spray, set aside.
  2. Have all your ingredients measured and in bowls, ready to go.  This recipe goes quickly and mise en place is critical.  
  3. In a large saucepan, melt butter over low heat.
  4. Add mini marshmallows and continue to stir until they have completely melted.  Remove from heat.
  5. Stir in the cereal, coating them well with the melted marshmallow mixture.
  6. Add in any chips you can tolerate (coconut chips, peanut butter chips), mix well.  Add other ingredients or toppings as desired.
  7. Cut into squares once the mixture slightly cools (about 10 minutes), but before it really hardens!
  8. Before I receive hate mail, I’ll tell you step 8 is very important.  Clean your pan by putting it under warm water with some soap to soften the mess. 🙂
Easy Taco Seasoning * (Not IC Safe)

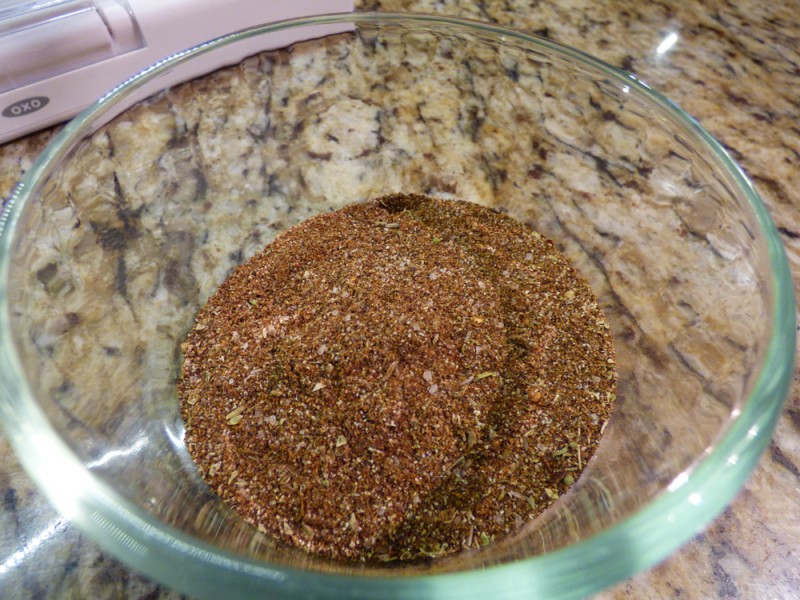
taco seasoning


This is an easy way to avoid buying those taco seasoning packets.  If you can make it yourself, why not!  I had all the ingredients on hand in my vast spice cabinet, so I whipped this up.  It smells very authentic!  🙂

INGREDIENTS:

  • 1 tablespoon chili powder**

  • 1/4 teaspoon garlic powder

  • 1/4 teaspoon onion powder**

  • 1/4 teaspoon crushed red pepper flakes**

  • 1/4 teaspoon dried oregano

  • 1/2 teaspoon paprika**

  • 1 1/2 teaspoons ground cumin**

  • 1 teaspoon sea salt

  • 1 teaspoon black pepper**

**Known IC irritants, tread carefully!

DIRECTIONS:


  1. In a small bowl, mix together chili powder, garlic powder, onion powder, red pepper flakes, oregano, paprika, cumin, salt and pepper.
  2. Store in an airtight container.