Avocado & Buttermilk Salad Dressing or Veggie Dip *

20130707_104612_small

This is a fantastic creamy avocado dressing or dip!  It is very simple to throw together thanks to my food processor.  Possibly by using a probiotic yogurt, by some magic, it stayed as green as the photo for a week.  Though, I’d only eat it probably the first 4 days to be safe.  I’m pretty sure I cut the garlic in half.  The fresh parsley is from our garden.  It is extremely good, has healthy fats, and not as fattening as other dressings.  One recipe amount is shown in the photo, not doubled.  Highly recommended!   

20130707_103949_small

INGREDIENTS:

  • 1 avocado halved, seeded and diced
  • 1 cup buttermilk or yogurt
  • 3 T. fresh parsley
  • 2 cloves garlic, peeled
  • 1/2 tsp dry mustard*
  • 1/2 tsp onion powder*
  • Salt

NOTES: I’d omit the dry mustard to make it IC safe.  Also onions are a known irritant, so please tread with caution. I can tolerate a little onion powder, personally (for now).

Directions:

  1. To make the dressing, place the avocado, buttermilk, garlic, and seasonings in a blender or food processor.
  2. Blend and your dressing is ready.

Whole Wheat Apple Muffins *


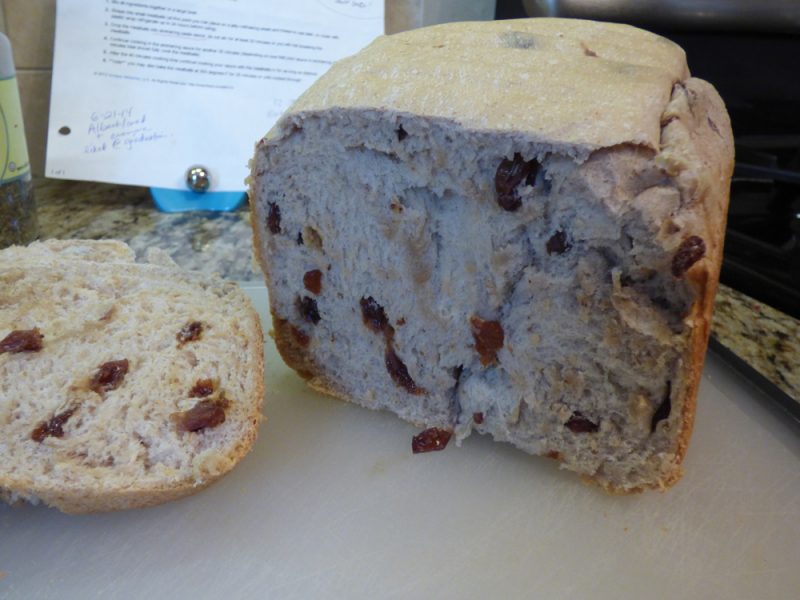
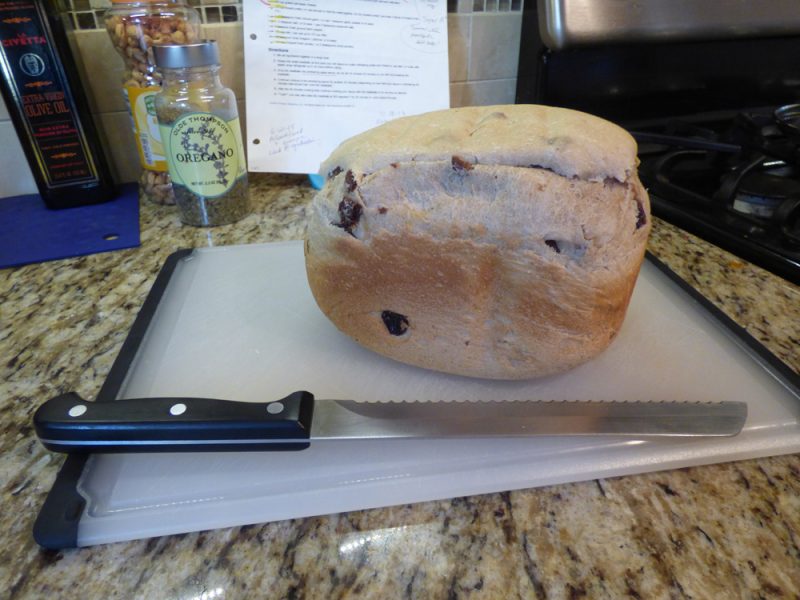
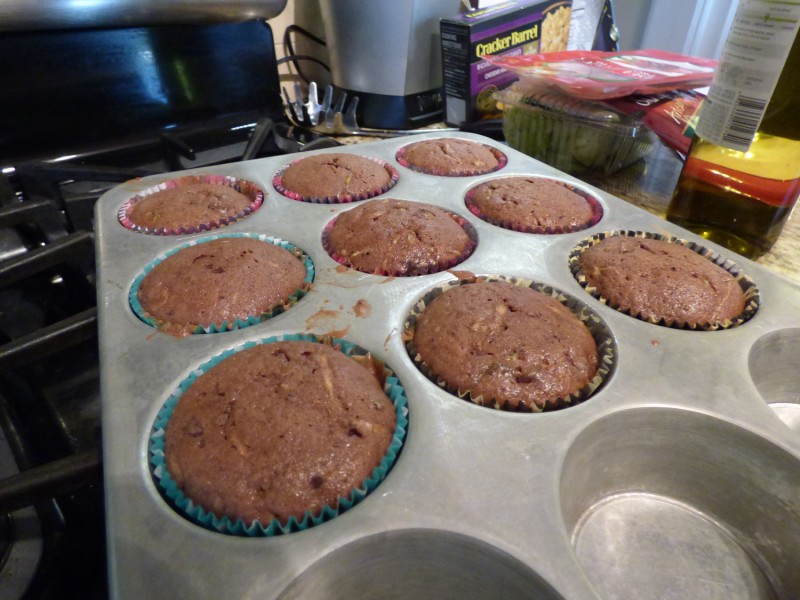
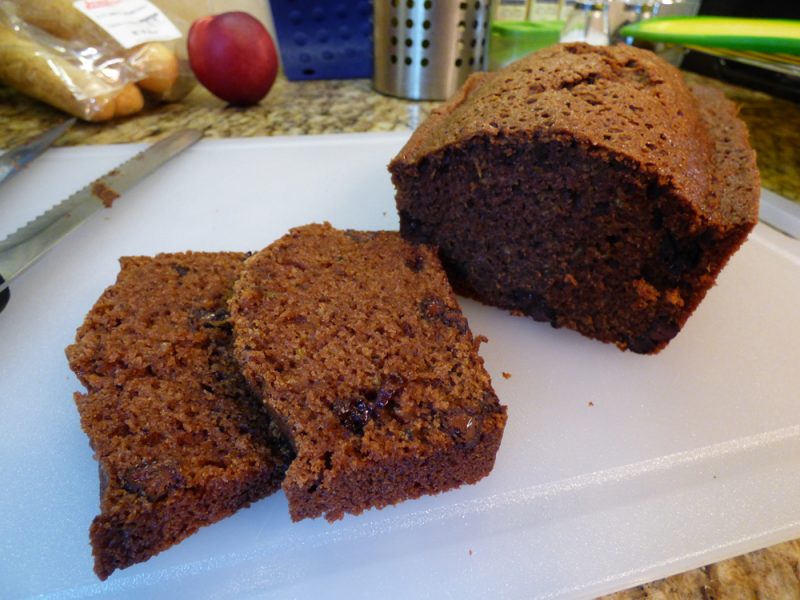
I’ve been making this recipe since 2014!

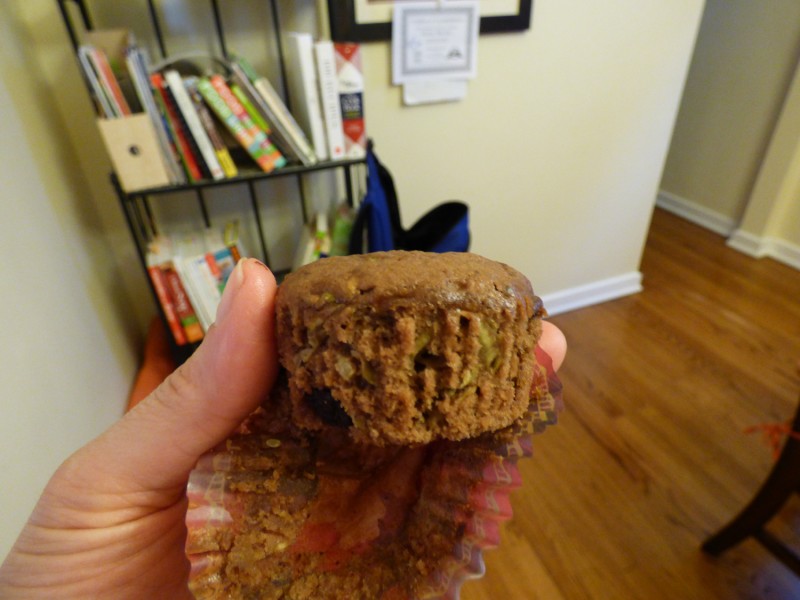
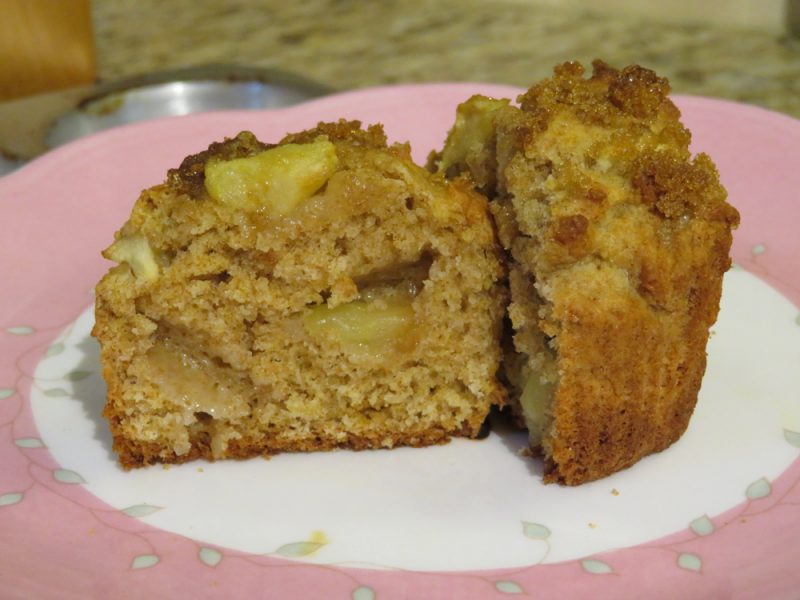
This recipe is from “Smitten Kitchen” – and we found it really healthy YET wonderful.  Sometimes, as we all know, healthy baked goods can be very unappetizing, but these had flavor, sweetness, with a unique apple taste.   I got about a 18-19 muffins yield.  They freeze and defrost well.  I left them on the counter to defrost, or in a pinch, I defrosted them on the defrost setting of my microwave.  I’ve used buttermilk one time, and recently (2017) I used 2% Greek Yogurt, both work well but I prefer the Greek Yogurt (or use any regular yogurt).  🙂   ENJOY!

—You can make these eggless by obviously removing the egg – no substitution needed. The buttermilk or yogurt makes up for it.—

Smitten Kitchen Link!

INGREDIENTS:

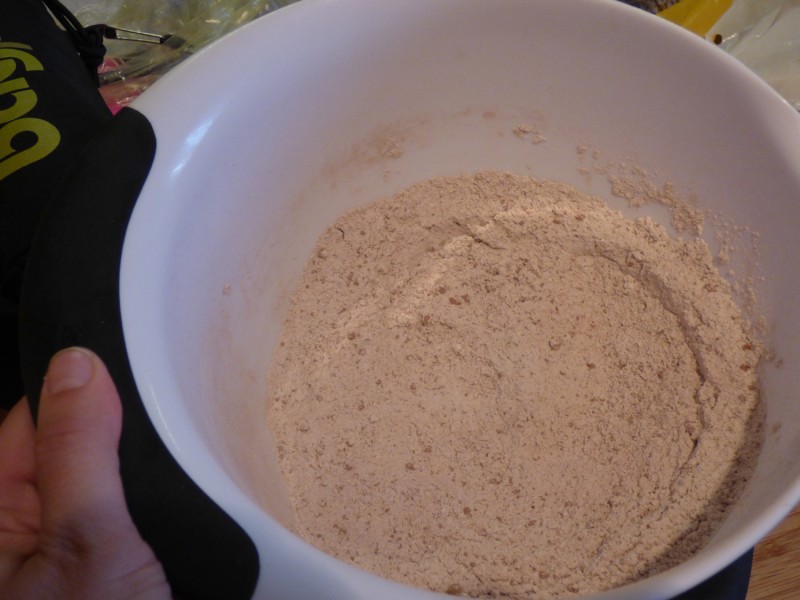
1 cup (4 ounces) whole wheat flour
1 cup (4 1/4 ounces) all-purpose flour
1 teaspoon baking powder
1 teaspoon baking soda
1/4 teaspoon salt
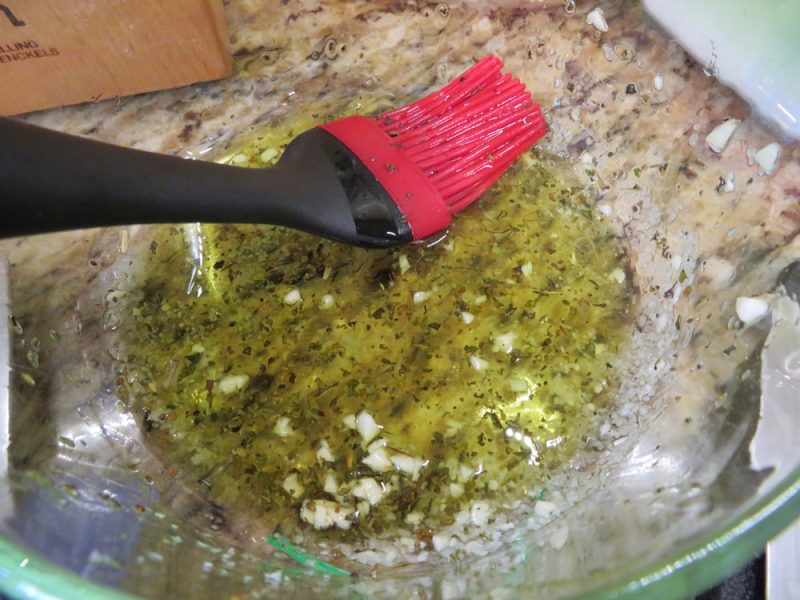
1 tablespoon cinnamon** 
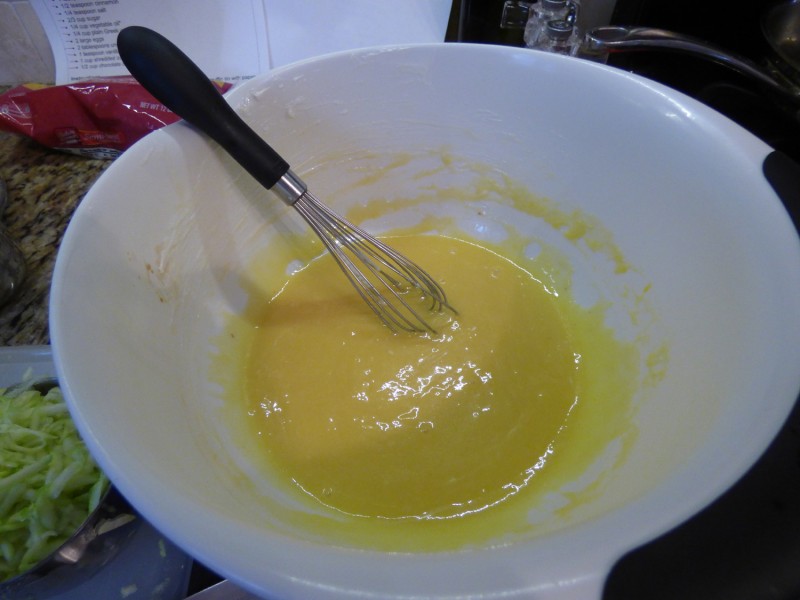
1/2 cup (1 stick, 4 ounces) unsalted butter, at room temperature
1/2 cup (3 1/2 ounces) granulated sugar
1/2 cup dark brown sugar, packed, divided
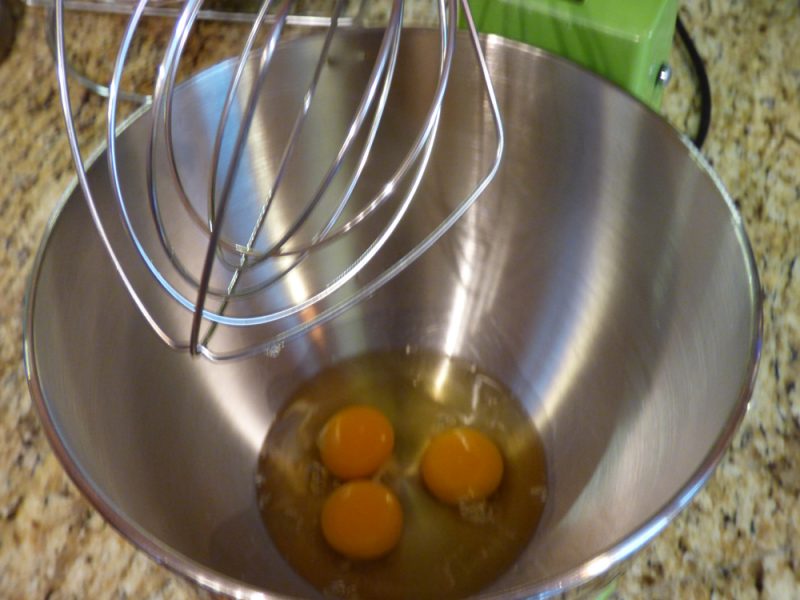
1 large egg, lightly beaten (*eggless tip, if you need it)
1 cup (8 ounces) buttermilk or yogurt**
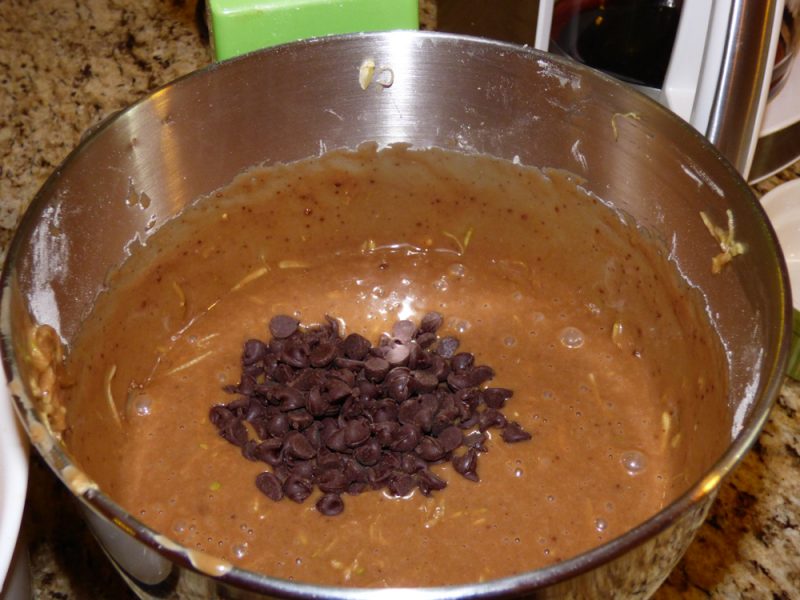
2 large apples, peeled, cored, and coarsely chopped


**(cinnamon is not I.C. safe for me, so I omit it)

*IF YOU NEED TO MAKE THEM EGGLESS, I JUST TOOK OUT THE EGG BECAUSE THERE IS BUTTERMILK OR YOGURT IN THE RECIPE TO MAKE UP FOR IT). 

**We used 2% Fage Greek Yogurt and it turned out wonderful. – December 2017.

  1. Preheat the oven to 450°F. Grease and flour 18 muffin cups and set aside.
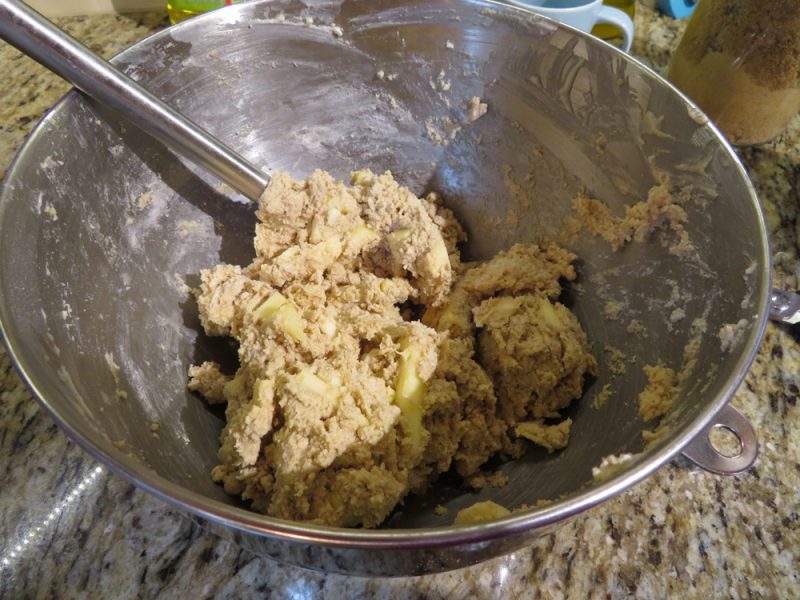
  2. Mix together the flours, baking powder, baking soda, salt, and cinnamon, and set aside.
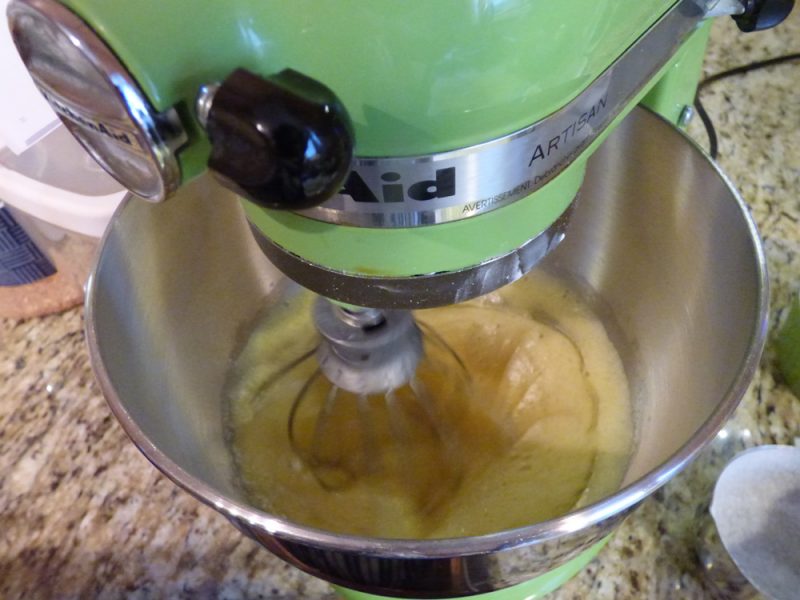
  3. In a separate bowl, cream the butter and add the granulated sugar and 1/4 cup of the brown sugar. Beat until fluffy.
  4. If using eggs, add the egg and mix well; stop once to scrape the sides and bottom of the bowl.
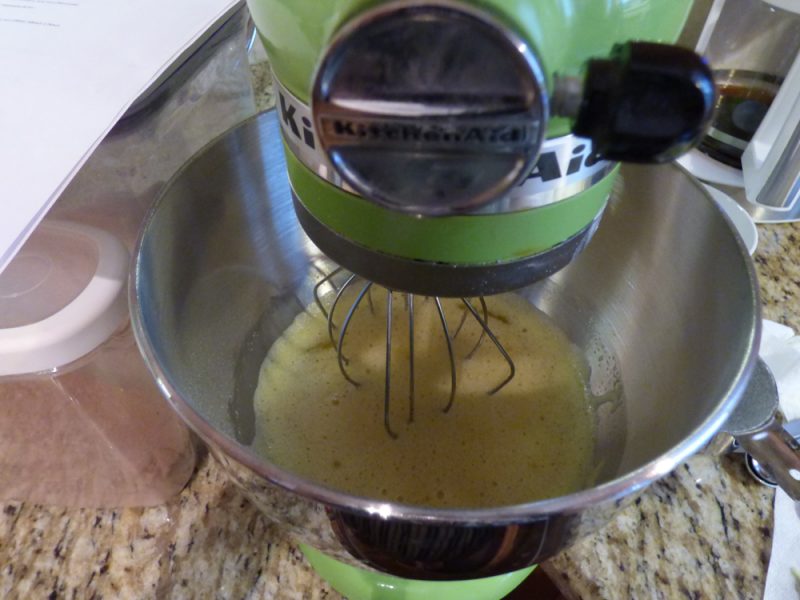
  5. Mix in the buttermilk/yogurt gently. (If you over-mix, the buttermilk will cause the mixture to curdle.)
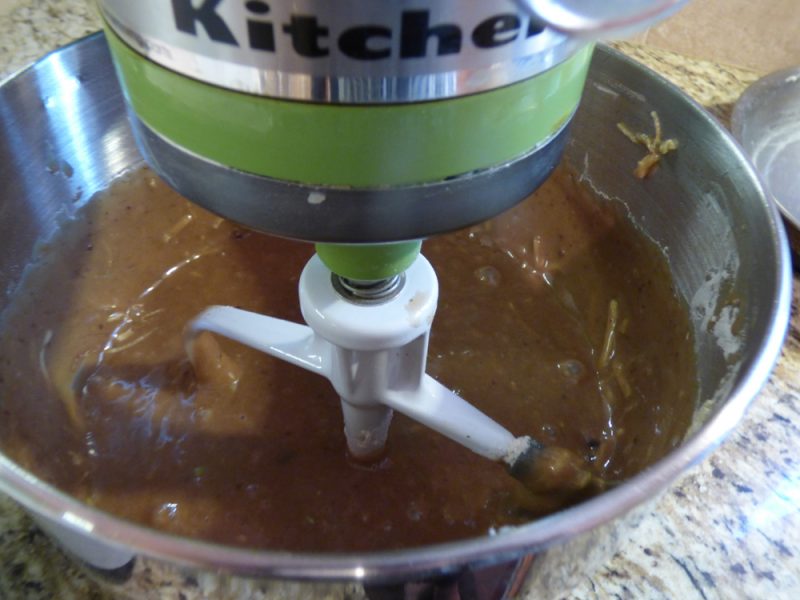
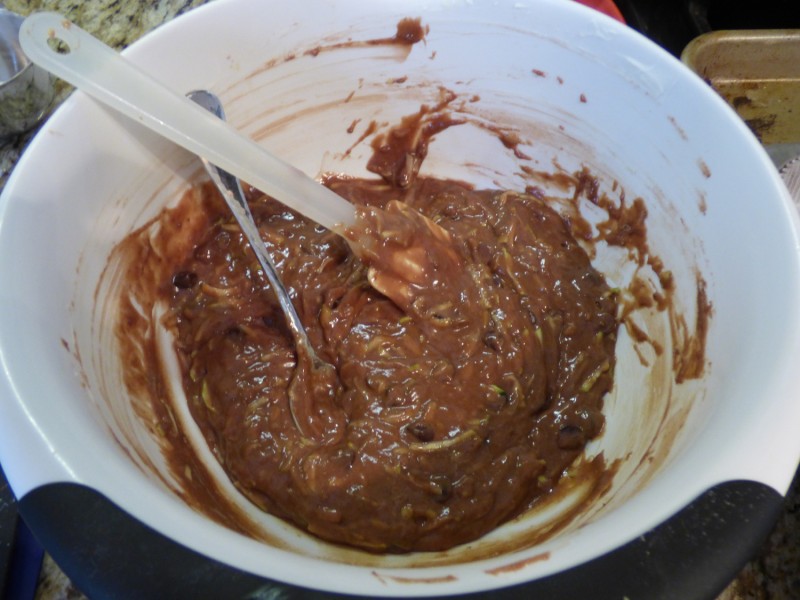
  6. Stir buttermilk/yogurt mixture into the dry ingredients and fold in the apple chunks.
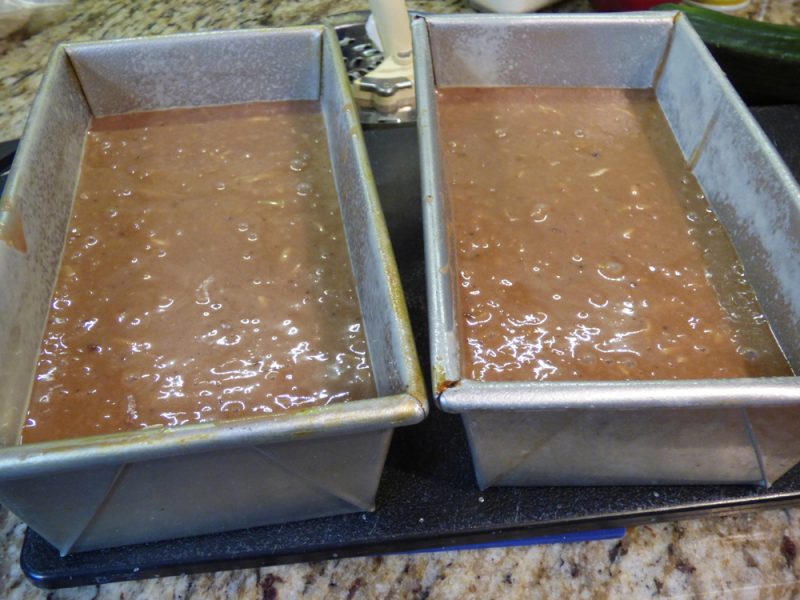
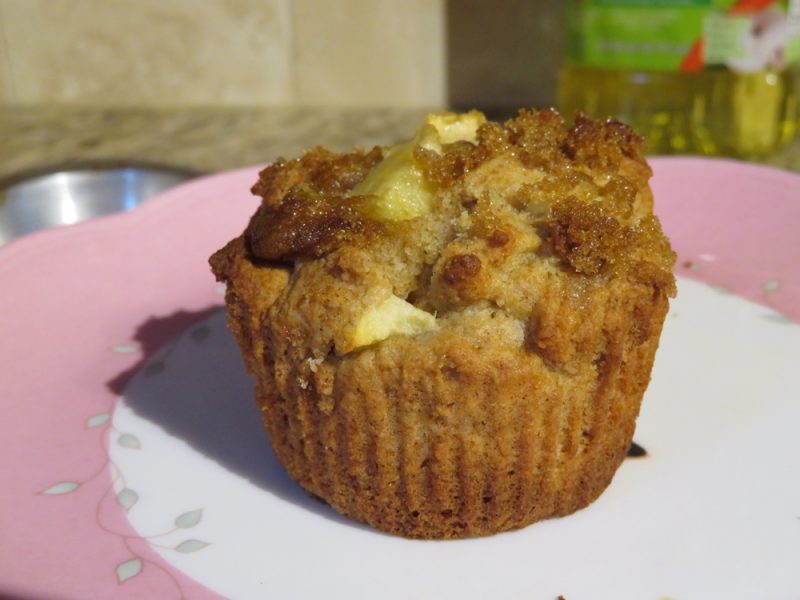
  7. Divide the batter evenly among the prepared muffin cups, sprinkling the remaining 1/4 cup brown sugar on top.
  8. Bake for 10 minutes, turn the heat down to 400°F, and bake for an additional 5 to 10 minutes, or until a toothpick inserted into the center of a muffin comes out clean.
  9. Cool the muffins for 5 minutes in the tin, then turn them out onto a wire rack to cool completely.

Naan Pizza with Fresh Mozzarella and Basil – A Simple Delight Without Tomato! *

So, I think we all can agree it’s absolutely a knife in the back not to be able to eat typical pizza when you have I.C.  Don’t get me started on how much I miss an occasional pizza slice of thin or deep dish.  Just think about it makes me hangry.  (Hungry and angry at IC).  Losing tomato and chocolate were the worst losses for me, personally.  Anyway, here is my creation where I found a work around to the typical tomato pizza, and what’s even better?  It’s fast.


Serving: 1 Naan pizza can serve one hungry person or 2 moderately hungry people.

INGREDIENTS:

  • A package of Naan flatbread
  • 1-2 teaspoons extra virgin olive oil (depending on your preference)
  • coarse salt
  • a ball of fresh mozzarella in a plastic package
  • additional shredded mozzarella cheese if needed
  • fresh basil – or dried if that’s all you have

DIRECTIONS: 

  • Preheat oven to 400 degrees to get it piping hot.
  • Remove one Naan oval from package.
  • Spread with a reasonable amount of olive oil – just enough to cover the top without making it a soppy mess.  Start with 1 teaspoon of olive oil and see if you need more, you probably won’t.
  • Slice your mozzarella round into thin pieces.  Cover the top of the olive oil’ed naan with mozzarella pieces.  You will not need the entire ball’s worth of cheese.  (Usually I use about 1/4 of the large 8 oz. mozzarella ball per pizza, give or take.)
  • Cover with additional shredded mozzarella, if desired.
  • Place fresh basil on top of pizza.
  • Take 1-2 small pinches of coarse salt and spread over pizza.
  • Move pizza to a baking sheet, once pre-heated, bake pizza for 10-15 minutes.  Monitor pizza’s doneness at 10 minutes.

Jacques Pépin Criques – Potato Pancakes via the Food Processor! *


This was a superb Jacques Pepin recipe!  I saw him demonstrate this recipe on More Fast Food My Way on TV.  It’s really simple thanks to the food processor and was fun to make.  I highly suggest using a fish turner like he uses.  Make sure you place the finished pancakes on a raised rack so they do not sit directly on a plate or paper towels and get soggy!  Enjoy!

This makes about 12 potato pancakes!


INGREDIENTS:

  • 2 cups potatoes
  • 2 eggs
  • 1/2 cup diced white or yellow onion, or a few dashes onion powder*
  • 2 cloves crushes garlic
  • 2 T. potato starch
  • 1/2 tsp. baking powder
  • few pinches of salt
  • scallion/chives/or green onion*
  • Vegetable oil

NOTES: Onion can be an irritant for some patients, please tread carefully.

DIRECTIONS:

  1. Begin by peeling your potatoes, rinse any dirt off with water.  Place them in a bowl with water to cover.
  2. Once all your potatoes are peeled and in water, take one out to chop it and put the chopped potatoes directly in your food processor.  Do NOT rinse the chopped potatoes at this point; you will rinse all the starch away.
  3. Once all the potatoes are chopped and into your food processor, add the 2 eggs, chopped onion, 2 cloves of crushed garlic, potato starch, baking powder, and salt.
  4. Puree until you get an applesauce texture.
  5. Pour batter into a fresh bowl, add chopped green onions.
  6. Heat your oil in your skillet.
  7. Pour about 1/4 cup of the batter into the hot oil, you should be able to get 4 potato pancakes into a 12″ skillet.  It will take about 3 batches.  Flip pancake to cook the other side when you sneak a peek and the bottom is browned. Add more oil as needed and adjust temperature as needed for proper browning, not burning.  
  8. When you remove the cooked pancake, place it on a raised cooling rack.  You do not want to put it directly on paper towels or a plate, it will get soggy!
  9. Serve with sour cream or eat plain.  YUM!


Delicious Popcorn Balls *

We made these popcorn balls coincidentally around Valentine’s Day and it was serendipitous.  They come together fast and are more forgiving than Rice Krispie treats that harden faster than you can stir!  The marshmallow mixture stays pliable for a while.

We made the popcorn in our air popper and had to make two batches.

We used unflavored peanuts – just plain works well here.  No one wants garlic/onion flavored popcorn balls.  If you do, I don’t know you anymore!

You can add toasted slivered almonds or chopped peanuts too. I love adding chopped peanuts – about 1/2 to 3/4 cup is perfect.


INGREDIENTS:

  • Cooking spray
  • 14 heaping cups plain popped popcorn
  • 6 TBSP. unsalted butter
  • One 10.5 oz. package mini marshmallows
  • 2 TBSP. light brown sugar
  • 1 tsp. vanilla extract, IF TOLERATED
  • 1 tsp. salt
  • 3/4 cup chopped salted peanuts or toasted slivered almonds, optional but great
  • Sprinkles!  Red, blue and white for 4th of July?  Red and green for Christmas?  FUN!, optional
  • 1/2 cup to 3/4 cup plain chopped peanuts, optional


DIRECTIONS:

  1. Remove any un-popped kernels from the popped popcorn.  Lightly grease a large mixing bowl with cooking spray and add popcorn, set aside.
  2. Melt butter in a large saucepan over medium heat.
  3. Add marshmallows, brown sugar, vanilla, salt, and cook stirring, until marshmallows have melted and mixture is smooth, 4-5 minutes.
  4. Pour marshmallow mixture over popcorn, along with peanuts (or almonds), if desired.
  5. Mix with 2 lightly greased rubber spatulas until popcorn is evenly coated.
  6. Using clean, greased hands, form mixture into 2 1/2 inch balls.
  7. Eat immediately or wrap each ball tightly in plastic and keep up to 5-7 days.

Cheesy Artichoke French Bread Pizza

artichoke1 artichoke2 artichoke3 artichoke4

This is a stellar recipe for a simple snack that I like to call “Cheesy artichoke bread”, also known as artichoke French bread pizza.  It tastes just wonderful and it’s full of flavor.  I omitted the red pepper.  My son, who is very picky with foods, ate it without noticing the artichoke and just thought it was cheesy bread.  He was thrilled.  Next time I’ll lightly food process the artichoke so it’s not so obvious.

I doubled the ingredients and used a larger loaf – actually, a ciabatta loaf.  I am glad I did, it was all gone in about two days.  

INGREDIENTS:

  • 1/4 cup extra virgin olive oil
  •  1 minced garlic clove
  • 1/2 tsp. red pepper flakes
  • 1/2 tsp. dried oregano
  • 1/2 tsp. kosher salt
  • small baguette —(I used a dense ciabatta loaf)
  • 1/2 cup ricotta
  • 1/2 cup chopped marinated artichoke hearts
  • 1/2 cup shredded mozzarella cheese
  • Fresh parsley, for topping

DIRECTIONS:

  1. Combine 1/4 cup extra virgin olive oil, 1 minced garlic clove, and 1/2 tsp. each red pepper flakes, dried oregano, and kosher salt; brush on a split small baguette.
  2. Top with 1/2 cup each ricotta, chopped marinated artichoke hearts, and shredded mozzarella.
  3. Broil (on low) until the cheese is browned and bubbling.  (Set the time 5 minutes so you don’t come back to a burnt, smoking mess).
  4. Top with chopped fresh parsley.


Double Chocolate Zucchini Bread * (Not IC Safe)

P1090804

P1090787
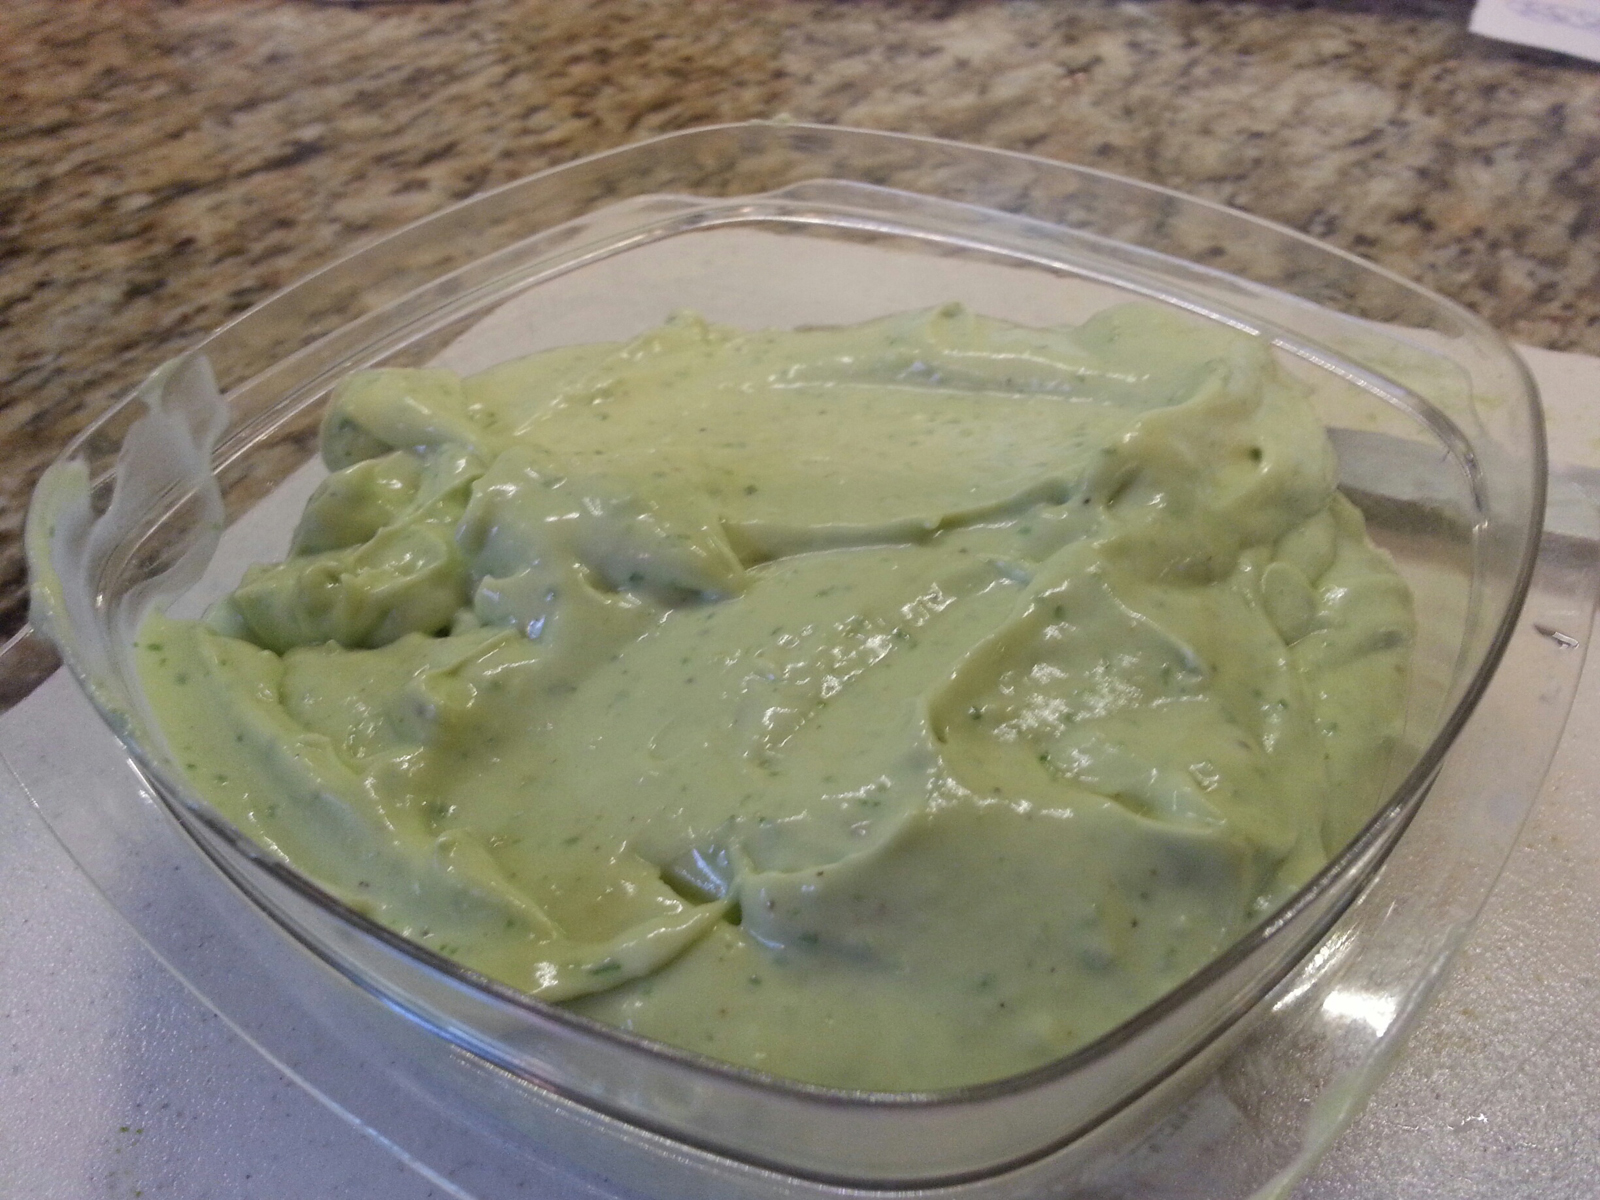
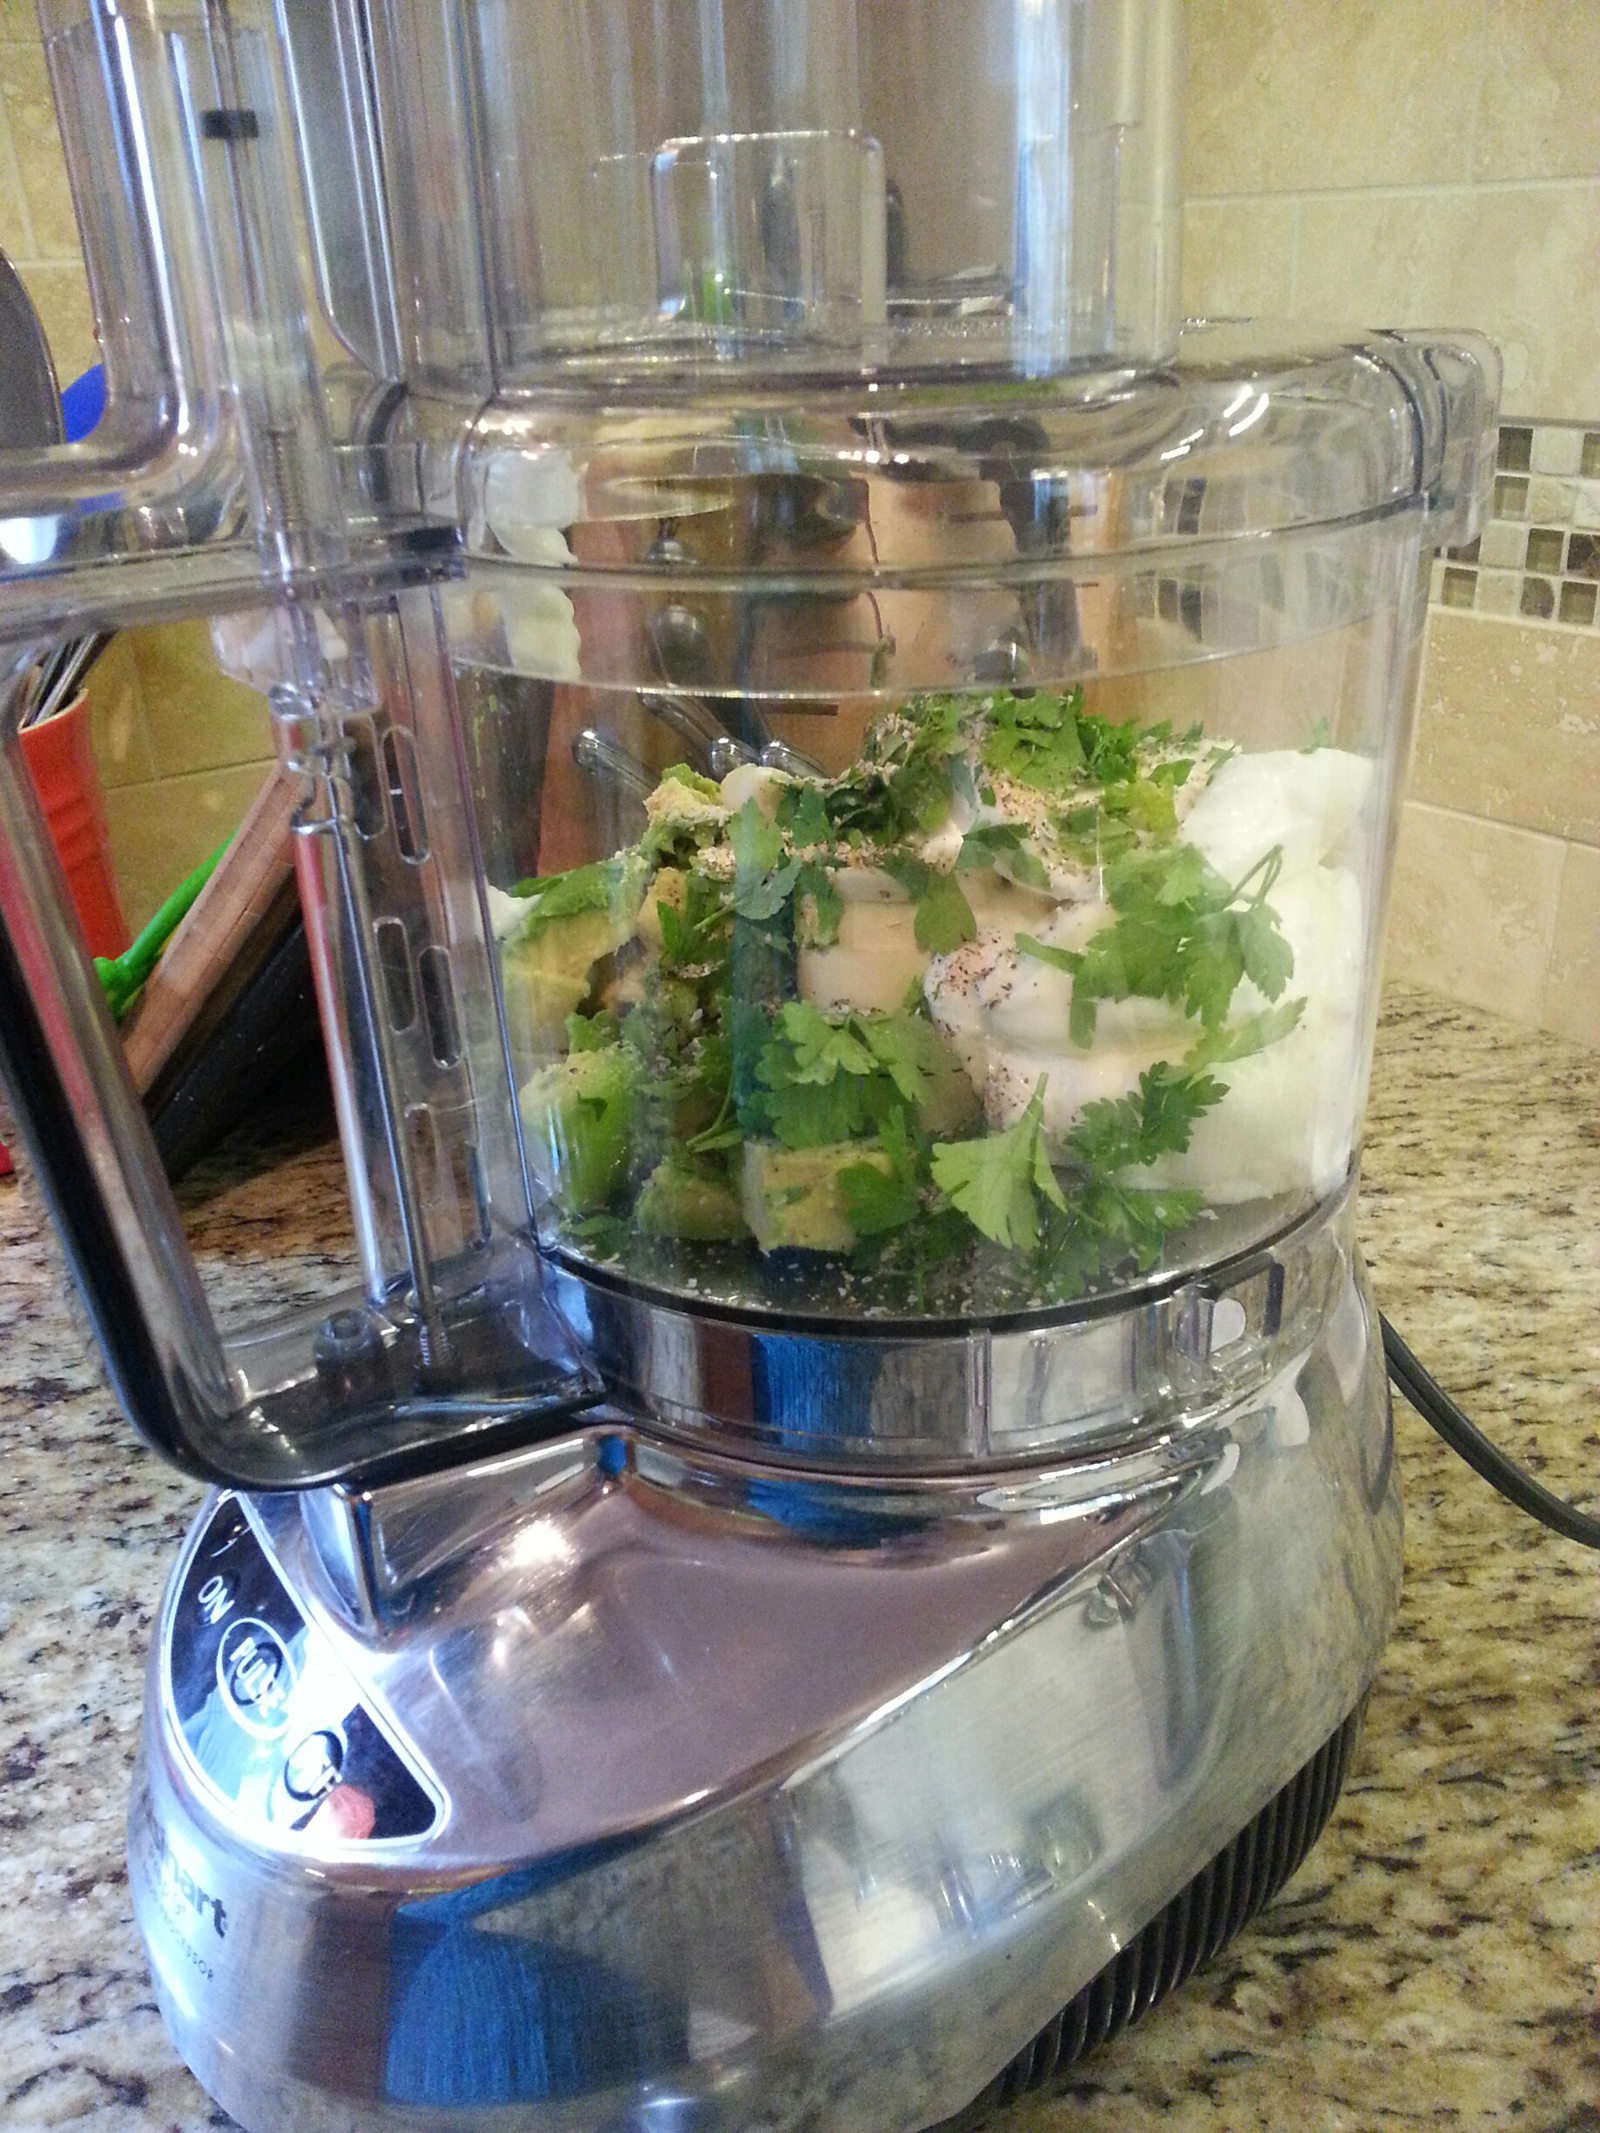
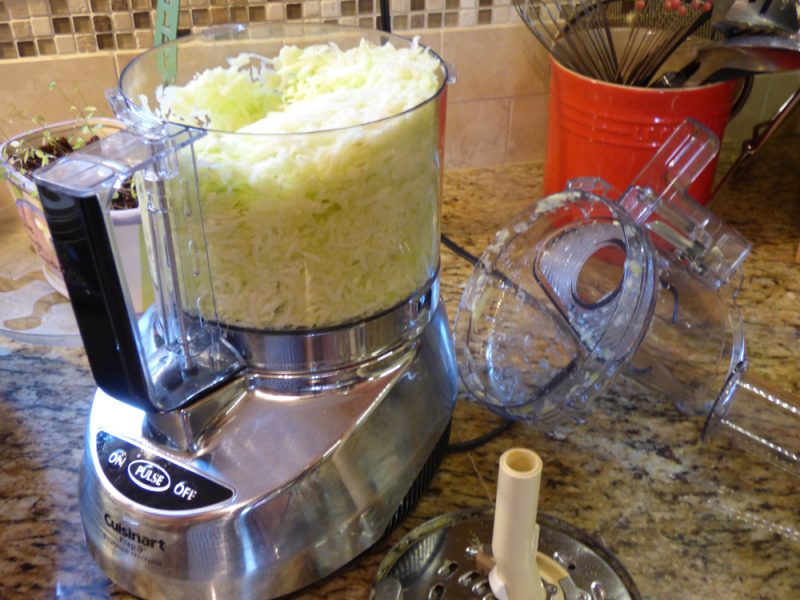
(I should not have peeled the zucchini beforehand — it was a mistake as that’s where the nutrients are.) Don’t make my mistake!  I won’t goof up again.

P1090788 P1090789 P1090791 P1090793 P1090796 P1090797

You will love this zucchini ‘double chocolate’ bread – that’s all I have to say!  It’s perfect.  

Obviously, it’s not a true bread – it doesn’t have yeast; it’s more of a dessert!  But it gets zucchini into your children, so you can’t complain too much.  

Make sure it’s fully cooked before removing from oven.  It shouldn’t look gooey at all on top.  I had to bake the two loaves for 1 hour 25 minutes.  

This recipe really is easier with the right tools: the food processor, the stand or hand mixer, and the right pans (See link below for the best pan).  The link goes to an Amazon pan that is very similar to the Williams-Sonoma pan but less than half the price.   

Warning #1: I consider this a weekend recipe because it does dirty up your food processor, mixer, and more.  It’s very worth it, but I wouldn’t tackle this on a weekday. 

Warning #2: Be glad this makes 2 loaves.  Don’t halve the recipe.  Once you taste it, you’ll  be glad you listened to me!

INGREDIENTS:

**Known IC irritants, tread carefully!

DIRECTIONS:

  1. Preheat oven to 325 degrees F.
  2. Grease and flour two 4″x8″ loaf pans.  (I used PAM for baking spray).  For best results use commercial, heavy weight aluminum pans (click link here to see which one I have).
  3. Wash zucchini, with green skin on, with warm water and dish soap.  Rinse thoroughly.  Dry.
  4. Grate zucchini preferably with a food processor.
  5. Put grated zucchini in a clean cloth and squeeze out almost all the moisture.  Set aside.
  6. Beat eggs in a large bowl (or Kitchenaid stand mixer, like mine) until light and foamy.
  7. Mix in vegetable oil, sugar, vanilla extract, and grated zucchini until thoroughly combined.
  8. Whisk flour, cocoa powder, salt, baking soda, and baking powder together in separate bowl.
  9. Stir the flour mixture into the zucchini mixture.
  10. Mix in chopped walnuts and chocolate chips.  (Or do what I did, because I can’t have walnuts.  I added 1 cup chocolate chips in total).
  11. Pour the batter into the prepared loaf pans.
  12. Bake in the preheated oven until a toothpick inserted into the center of the loaves comes out clean, about 1 hour.  (Mine took 1 hour and 25 minutes).
  13. Let cool in pans for 10 minutes before removing, to finish cooling on wire racks.

Betty Crocker Cinnamon-Raisin Bread Machine Bread * (Not IC Safe)

cinn-raisin-bread-machine2

cinn-raisin-bread-machine1

This is a keeper recipe – it makes great tasting cinnamon raisin bread that can go desserty, it can be your carb for breakfast, or just a treat.  It’s a great all-around special bread machine concoction.  Enjoy…

I bumped up the raisins to 1 cup – c’mon, it is raisin bread!  Haha….

**I used the 1.5 LB. size and “light crust” color setting on my machine.

INGREDIENTS:

  • 1 cup water
  • 2 tbsp. butter or margarine, softened
  • 3 cups BREAD flour
  • 3 tbsp. sugar
  • 1 1/2 tsp. salt
  • 1 tsp. ground cinnamon**
  • 2 1/2 tsp. bread machine yeast
  • 3/4 cup to 1 cup dark raisins**

**Known IC irritants, tread carefully!

DIRECTIONS:

  1. Measure carefully, placing all ingredients except raisins in bread machine pan in the order recommended by the manufacturer.  Weighing your bread flour, or any flour will always turn out best.  I go off the general assumption that 1 cup of flour equals 125 grams, but check your package or check online.    
  2. Add raisins at the “Raisin/Nut” audible signal, or 5-10 minutes before the last kneading cycle ends.
  3. Select Sweet or Basic/White cycle.
  4. Use medium or light crust color.
  5. Select 1.5 LB. loaf size.
  6. Once completed, remove baked bread from pan and cool on wire rack before slicing.

Cheesy Garlic Bread, Cooked in Foil

bread4bread1 bread2 bread3

This cheesy garlic bread is very flavorful and yummy.  It’s a different taste because it has olive oil versus butter.  Some day, I may remake it trying just butter and no olive oil just to see the difference.  We will see!  Follow the directions and you’ll get an awesome cheesy bread!

(I reduced the garlic to one clove because I’m sensitive to allium.  It was fine!  Also, if using 6 cloves, be careful, sizes of cloves vary wildly).


Serves approximately 6 people.


INGREDIENTS:

  • 1 loaf ciabatta bread or any kind of Italian bread
  • 6 cloves garlic (or less)
  • 1/4 cup of extra virgin olive oil
  • 2 Tbsp. of fresh parsley
  • 1-2 cups shredded mozzarella cheese
  • Freshly grated Parmiggiano Reggiano


DIRECTIONS:

  1. Preheat oven to 400 degrees.
  2. Line a baking sheet with aluminum foil and set aside.
  3. In a small food processor or in a blender, add the garlic oil, and parsley.  Puree until smooth.
  4. Smear this mixture on both sides of the bread.  Place the top of the bread on top of the bottom and wrap it in aluminum foil, bake for 10 minutes.
  5. *Carefully* unwrap the bread, being aware of steam, and place it cut side up.
  6. Sprinkle over the mozzarella and grate about 1 cup of Parmiggiano all over both sides of the bread.
  7. Return to the oven for 10-15 minutes or until the top is golden brown and bubbly.
  8. Slice and serve right away.

Recipe from Laura Vitale.

Delicious Double Chocolate Chip Zucchini Muffins * (Not IC Safe)

zucc1

I made this recipe from Damndelicious.net.  I had wanted to try a double chocolate muffin but with a hidden health gem – shredded and peeled zucchini – and Greek yogurt.  I will make these FOREVER and I mean it.  They’re delicious and you’d never even care there’s zucchini in there.  Why? Because you can’t taste it!  My son and his friend didn’t care, and my son is picky!

zucc2

The flavor is really unique and deliciously chocolatey.

zucc3 zucc4 zucc5 zucc6

Her website says they’re only about 195 calories each.  There is absolutely no need to add frosting and ruin this.  It’s delicious all by itself.  I felt zero need for frosting to hide the healthiness.  It’s not a cupcake, it’s a healthy muffin that doesn’t taste too “healthy”!

I am so happy I found this recipe – it’s dessert but it’s on the healthy side – WIN!  

TIP—->  *I always use unsalted butter for baking and cooking, and add the salt myself on the side (when necessary) to control the salt.

INGREDIENTS:

  • 1 cup all-purpose flour
  • 3 tablespoons unsweetened cocoa powder**
  • 1 teaspoon baking powder
  • 1/2 teaspoon cinnamon**
  • 1/4 teaspoon salt
  • 2/3 cup sugar
  • 1/4 cup vegetable oil*
  • 1/4 cup plain Greek yogurt (I used Fage 2%, my favorite).
  • 2 large eggs (I used Egg-land’s Best cage free eggs).  
  • 2 tablespoons unsalted butter, melted
  • 1 teaspoon vanilla extract**
  • 1 cup shredded zucchini (and peeled).
  • 1/2 cup chocolate chips (I used 1/2 milk choc. chips and 1/2 semisweet chips).** 

*Apple sauce can be substituted.

INSTRUCTIONS:

  • Preheat oven to 350 degrees F. Line a 12-cup standard muffin tin with paper liners or coat with nonstick spray; set aside.
  • In a large bowl, combine flour, cocoa powder, baking powder, cinnamon and salt.
  • In a large glass measuring cup or another bowl, whisk together sugar, vegetable oil, Greek yogurt, eggs, butter and vanilla.
  • Pour mixture over dry ingredients and stir using a rubber spatula just until moist. Stir in zucchini and chocolate chips.  No need to squeeze zucchini dry.  Check your oven’s real operating temp, but my convection oven needed about 24-25 minutes for the toothpick to come out clean.
  • Scoop the batter evenly into the muffin tray. Place into oven and bake for 20-22 minutes, or until a tester inserted in the center comes out clean.
  • Remove from oven and cool on a wire rack.