Eggless Chocolate Wacky Cake * (Not IC Safe)

1724405_10203477335283745_250935993_n


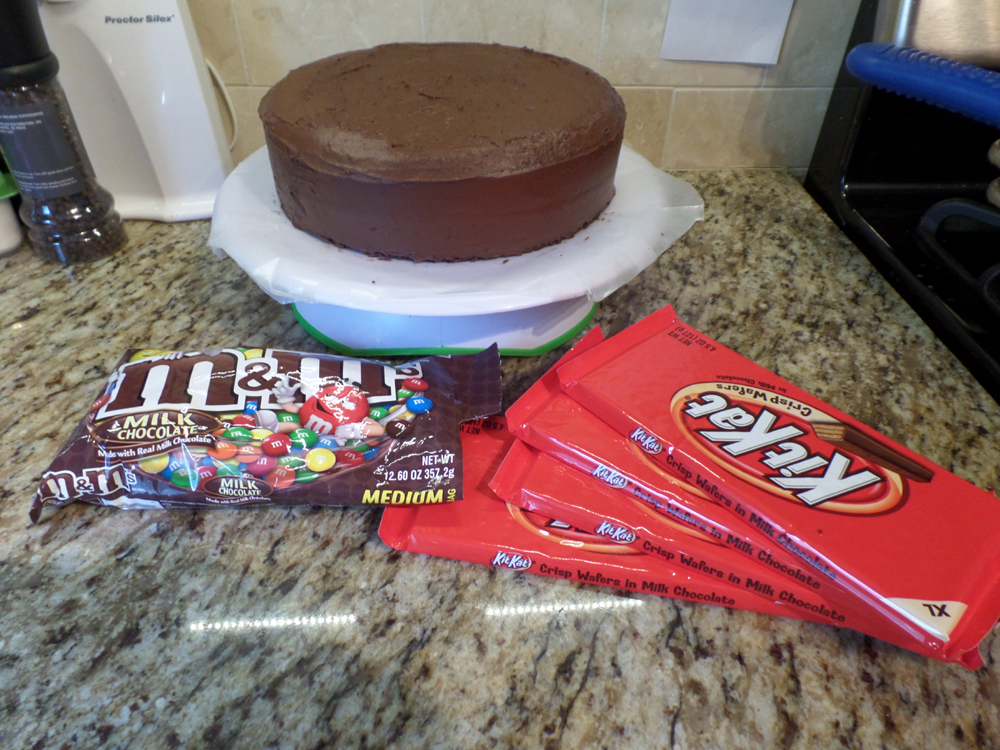
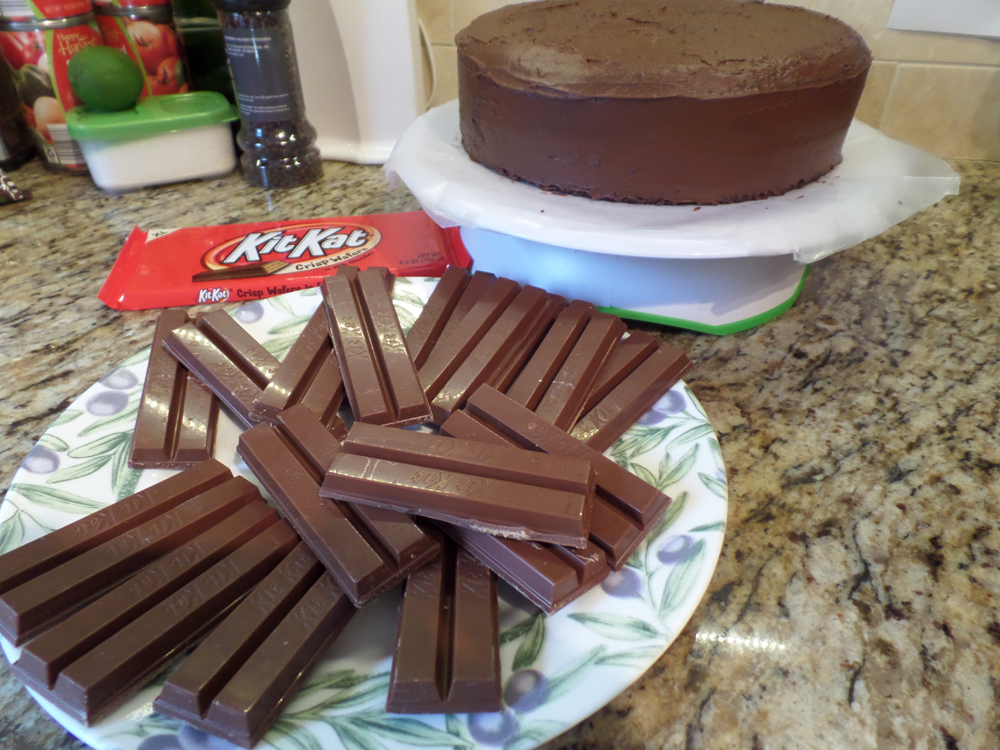
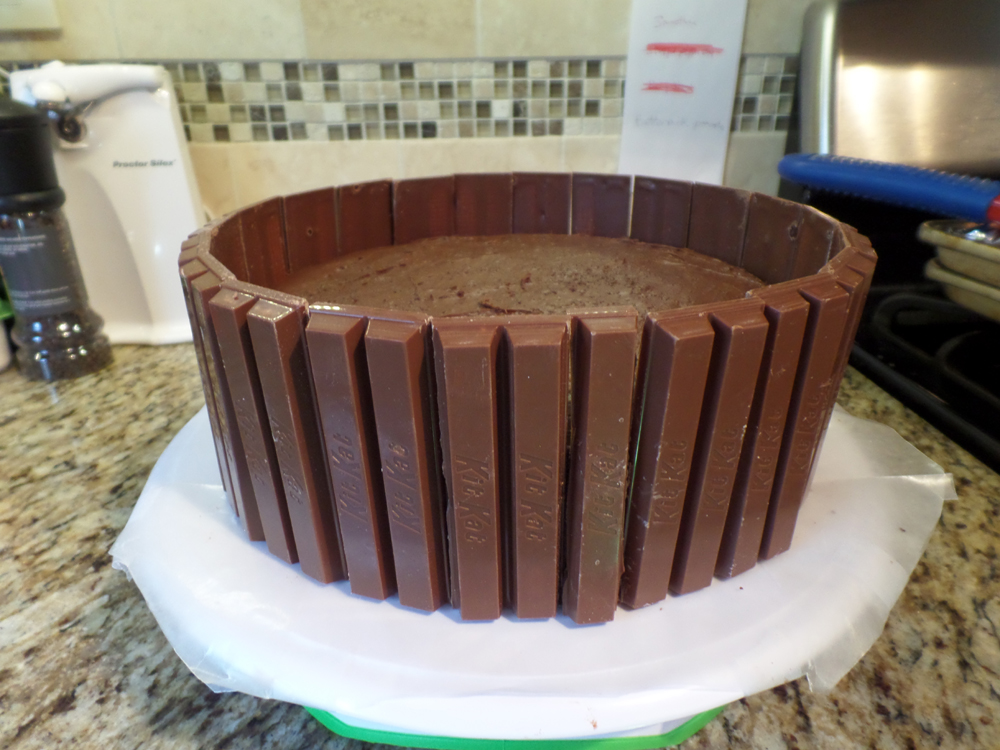
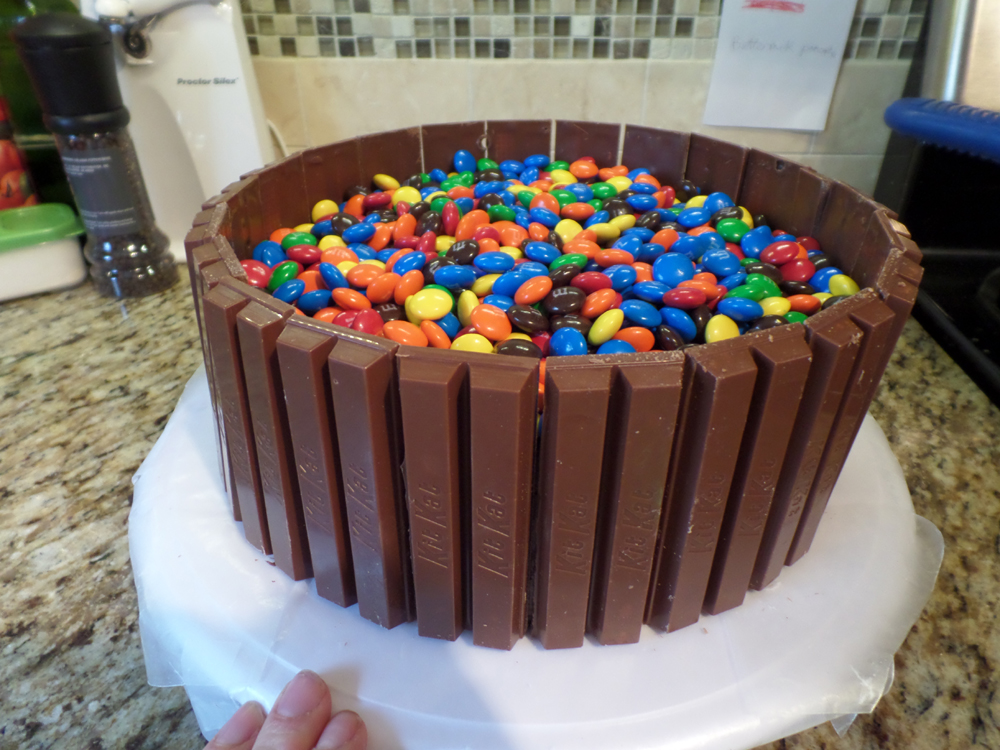
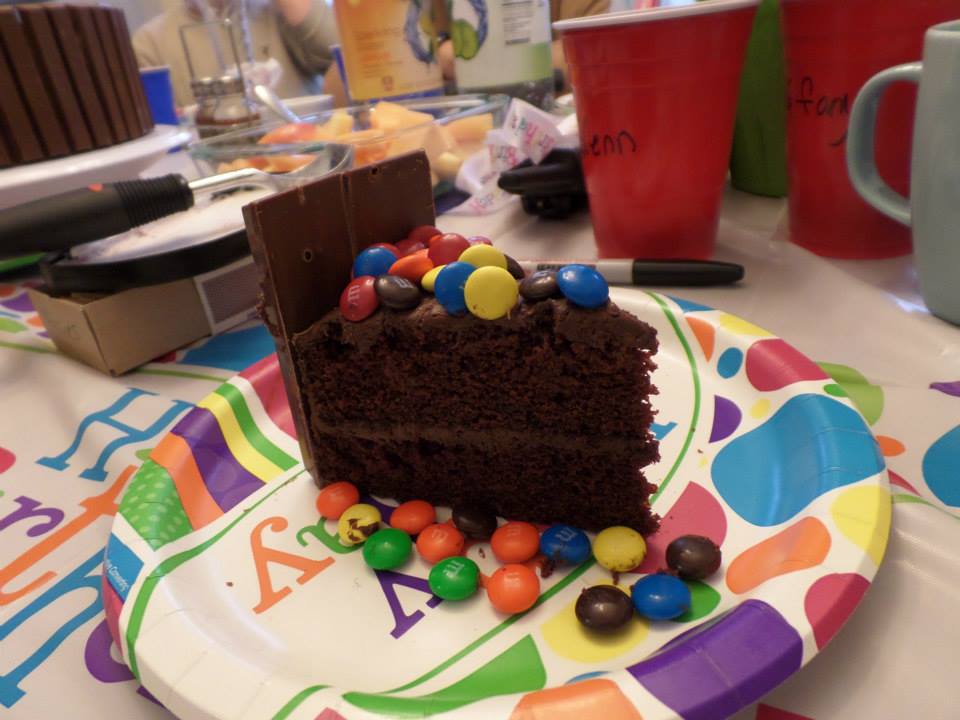
If you want an incredible chocolately cake that is eggless, milkless, but full of flavor, this is it.  I’ve been making this so many years.  Since my husband’s allergic to eggs, it is our staple for chocolate cake.  I don’t try any other chocolate cake recipes because this is perfection to us.  It bakes well and has a good crumb.  It’s not too dense either.  This recipe was famous during The Depression because it uses inexpensive and easy to acquire ingredients – all of them are shelf stable.  Enjoy…

INGREDIENTS:

  • 1 1/2 cups all-purpose flour
  • 1 cup white sugar
  • 4 T. unsweetened cocoa powder**
  • 1 tsp. baking soda
  • 1/2 tsp. salt
  • 1 tsp. vanilla extract (always use the good stuff, real vanilla extract)**
  • 1 T. apple cider vinegar**
  • 6 T. vegetable oil
  • 1 cup cold water

**Known IC irritants, tread carefully!

DIRECTIONS:

  1. Preheat oven to 350° F.
  2. Mix flour, sugar, salt, baking soda, and cocoa in a mixing bowl. 
  3. Make three depressions, or wells, in your dry mixture. 
  4. Pour oil into one well, vinegar into the second, and vanilla into the third one.
  5. Pour water all over the mixture and stir well, breaking up all clumps until you have a smooth batter. 
  6. Pour batter into a 8×8″ or 8 or 9″ round cake pan.  (I’ve used all of these sizes and they’ve worked well.  I use a steel pan and spray PAM baking with flour on it.)
  7. Bake at 350° for 30-40 minutes, or until toothpick inserted comes out clean.
  8. Let fully cool and frost with your favorite frosting – optional. 

Iced Coffee (Like that Donut Place You Love)

icedcoffee


I got this recipe off Food.com, recipe #29636 and it is the BEST iced coffee recipe I have ever had.  I credit this to its high ratio of milk to coffee.  Believe me, you won’t be able to stop drinking it.  Just talking about it makes me want to make it immediately.  I didn’t take a photo because it looks like – well, iced coffee.  My husband added real vanilla and it was extra good.  

INGREDIENTS:

  • 4 ice cubes
  • 2/3 cup coffee (warm or cooled)
  • 2/3 cup milk
  • 1 tablespoon sugar

DIRECTIONS:

  1. Put sugar in a large glass.
  2. Drop in ice cubes.
  3. Pour coffee over ice and add milk.
  4. Stir until sugar is melted.
  5. That’s it!

Great Crepes


SAMSUNG CAMERA PICTURES


SAMSUNG CAMERA PICTURES

My first crepe experience didn’t go well, thankfully I waited a while and tried again.  This recipe is really easy and works.  Follow it to the letter and you’ll be fine.  I used an 8″ nonstick omelet pan as I don’t own a crepe pan.  Enjoy.

Original recipe makes 8 crepes
INGREDIENTS:
  • 2 eggs
  • 1 cup milk
  • 2/3 cup all-purpose flour
  • 1 pinch salt
  • 1 1/2 teaspoons vegetable oil

DIRECTIONS:

  1. In a blender combine eggs, milk, flour, salt, and oil. Process until smooth.
  2. Cover and refrigerate 1 hour.  (YES, YOU MUST WAIT AT LEAST ONE HOUR.  Preferably, overnight is best.)  During this process the flour slowly absorbs the fluid mixture and this makes a great crepe.  
  3. Heat a skillet over medium-high heat and brush with oil. Pour 1/4 cup of crepe batter into pan, tilting to completely coat the surface of the pan.
  4. Cook 2 to 5 minutes, turning once, until golden. Repeat with remaining batter.

Black Bean and Corn Salad (Salsa)

SAMSUNG CAMERA PICTURES

SAMSUNG CAMERA PICTURES

We made this today, it’s excellent and perfect for summer (or anytime you wish it was summer)!  We halved the recipe and it made about 8 cups!  I’d definitely suggest adding extra salt, cilantro, black pepper, and customizing it to your liking.  I took others’ advice and halved the oil; it seemed right!  Enjoy!

  • /3 cup fresh lime juice
  • 1/2 cup olive oil  (I halved the oil with no ill effect)
  • 1 clove garlic, minced  (I used powder, it was fine)
  • 1 teaspoon salt  (Add some extra sea salt)
  • 1/8 teaspoon ground cayenne pepper  (I added extra black pepper too)
  • 2 (15 ounce) cans black beans, rinsed and drained
  • 1 1/2 cups frozen corn kernels
  • 1 avocado – peeled, pitted and diced
  • 1 red bell pepper, chopped
  • 2 tomatoes, chopped
  • 6 green onions, thinly sliced  (I used onion powder, it was fine)
  • 1/2 cup chopped fresh cilantro (I suggest doubling)

Directions

  1. Place lime juice, olive oil, garlic, salt, and cayenne pepper in a small jar. Cover with lid, and shake until ingredients are well mixed.
  2. In a salad bowl, combine beans, corn, avocado, bell pepper, tomatoes, green onions, and cilantro.
  3. Shake lime dressing, and pour it over the salad. Stir salad to coat vegetables and beans with dressing, and serve.


Homemade Greek Dressing * (Not IC Safe)

Greek-dressing-3-16-14

In an ongoing effort to save money on groceries (haha, what a good joke), I rented a book from the library entitled, “Family Feasts for $75 Per Week: A Penny-wise Mom Shares Her Recipe for Cutting Hundreds from Your Monthly Food Bill” by Mary Ostyn.  I copied a few pages, one of which was “Greek Dressing” page 267.  It was super easy to put together and did not involve a food processor, just shaking.  *Most salad dressings with a high vinegar content will easily last in the fridge 2 months, but sniff it each time.  You can always halve this.  I poured the mixture into my Ball brand Mason jar when I was done mixing.  A+ authentic flavor!

INGREDIENTS:

  • 1/2 cup olive oil
  • 1/4 cup water
  • 1 T. Dijon mustard**
  • 1 T. sugar
  • 1 1/2 tsp. garlic powder
  • 1 tsp. dried oregano
  • 1 tsp. dried basil
  • 1 tsp. black pepper (freshly ground is best)**
  • 1 tsp. salt
  • 1 tsp. onion powder**
  • 2 cloves garlic, minced (I omitted this one, or you can add more garlic powder)
  • 1/2 cup red wine vinegar**

DIRECTIONS:

  1. Combine all ingredients in a pint-size container with a tight-fitting lid.  Shake well.
  2. Store, tightly covered, in fridge up to 2 months. 


Kit Kat and M&M Candy Cake * (Not IC Safe)


20140307_120511small

SAMSUNG CAMERA PICTURES

Yes, when I checked out at the register I worried if they thought I was actually eating all this candy by myself. 🙂

SAMSUNG CAMERA PICTURES

I pre-chilled my Kit Kat bars in the fridge so handling them would not bring on melting. 

Never frost a warm cake!

I used my new Wilton cake turntable here and it was extremely handy.  I used an offset spatula to frost the cake and prior to frosting I put down wax paper that was taped on underneath the turntable.  Once the cake set in the fridge a few hours, I removed the wax paper and tape to reveal a clean edge!  

SAMSUNG CAMERA PICTURES

SAMSUNG CAMERA PICTURES

1724405_10203477335283745_250935993_n

 I found this recipe at NOSHWITHME.COM.  It was a perfect addition to our birthday parties.  It was fun, delicious, and very attractive.  Also, it was easy, which is great when you need a break from piping.  You can use any colored 2-layer cake, but it’s preferable to use chocolate frosting so the frosting doesn’t show through the Kit Kats, believe me.  

INGREDIENTS:

  • Two 8″ or 9″ cakes, any flavor  (I used an eggless wacky cake recipe).
  • Chocolate frosting (enough for a 2-layer cake)
  • One 12.60 ounce bag of M&Ms (or any candy you want to top it with)
  • 11-12 full size (not snack size) packages Kit Kats (I bought 5 “XL” Kit Kat bars and barely had any leftover.)

Preparation

  1. Bake cakes and let cool at least an hour, or until room temperature.
  2. Using a cake leveler or serrated knife, level cakes so the tops are no longer domed. (If you are using a serrated knife, it helps to freeze the cake first.)
  3. Separate each Kit Kat so you have sections of two Kit Kats.  The original author put them in the fridge first so they wouldn’t melt while I was handling them.  I personally think you could also split up all the Kit Kats and not even leave 2-Kit Kat sections, I will try that next time. 
  4. Frost the top of one cake, then place the second cake on top of it. Frost the top of the second cake and the sides of the stacked cakes.
  5. Place the Kit Kats around the frosted cake, as close together as possible.
  6. You can also tie a ribbon around the cake to keep the Kit Kats from moving. Pour the M&Ms on the top of the cake. Slice and serve!


Simple & Healthy Flatbread or Tortilla Wrap * (Not IC Safe)

tortilla-wrap

If you’re looking for a quick and healthy meal, I have one for you – and I promise it’s easy!

INGREDIENTS:

  • 1 piece Tortilla or high-fiber Flat Out flatbread
  • (Here’s the one I used Light Sundried Tomato flatbread**
  • Light Mayonnaise or Light Italian /Caesar Dressing**
  • Lettuce, washed and dried, I used red leaf lettuce
  • Thinly sliced ham
  • Thinly sliced cheese
  • Freshly ground pepper and optional spices**

**Known IC irritants, tread carefully!

DIRECTIONS:

  1. Lay tortilla or flatbread on a cutting board.
  2. Spread a small amount of mayo or light Italian or Caesar dressing on wrap.
  3. Put lettuce on wrap, and then layer ham and cheese.  Add other optional toppings that you choose: tomato, cucumber, etc, but keep the bulk down as it will be difficult to cut into.
  4. Top with freshly ground pepper or spices. 
  5. Roll tightly, while holding firmly, cut down the middle so you end up with two cross-sections of your wrap. 
  6. Enjoy!

Stuffed Pepper Soup

Stuffed Pepper Soup Angie

We really love this savory recipe!  It’s basically everything that’s great about stuffed pepper soup with less work.  The original recipe called for 2 cups raw rice, but after making this recipe with 1 cup raw rice, you will find it is more than enough!  ENJOY!

Serve 6
398 cals 5.6g fat (1.9g saturated) (without cheese)

INGREDIENTS:

  • 1lb LEAN ground beef
  • 1 lg onion, diced (WE USED ONION POWDER)
  • 1 cup white or wild rice
  • 1 14.5 oz. can Hunts flavored diced tomatoes (Red pepper and fennel, roasted garlic, sweet onion etc) (I USED PLAIN JUST FINE)
  • 1 can tomato sauce (14.5oz can)
  • 1 tsp dried oregano
  • 1 tsp dried basil
  • ½ tsp salt
  • ¼ tsp pepper
  • 1 box chicken stock (32oz)
  • 2 cups water
  • 2 tbsp powdered beef stock
  • 3 bell peppers, any color
  • Cheese for topping (optional)
  • Fresh cracked black pepper for garnish (optional)

DIRECTIONS:

  1. In a large soup pot coated with cooking spray, over medium-high heat, brown the grown beef with the onions and rice. I know that sounds odd, but browning the rice gives it a nice nutty flavor – do not allow it to burn!
  2. Meanwhile dice your peppers into small ½” pieces, set side.
  3. Add in the diced tomatoes, tomato sauce, oregano, basil, salt, pepper, chicken stock, water, and powdered beef stock, then allow it to come to a boil.
  4. Reduce heat, cover and allow it to cook 20 minutes then add the peppers and allow it to cook another 20-30 minutes (some types of rice may need longer cooking times).
  5. Serve with cheese on top (optional).

Black Bean Vegetable Soup * (Not IC Safe)

20140311_181539


This is a really tasty black bean soup that is vegetarian.  It is healthy and hearty but it’s on the lighter side since it doesn’t have meat.  My husband and I love it!  I used green onions and garlic powder.  Plain or topped with sour cream and cilantro works well too! Enjoy!

INGREDIENTS:

  • 1 tablespoon vegetable oil
  • 1 onion, chopped (ONION POWDER IS FINE, OR GREEN ONIONS)**
  • 1 clove garlic, minced (GARLIC POWDER IS FINE)
  • (You can add other veggies like celery and green pepper like I have and it works wonderfully).
  • 2 carrots, chopped
  • 2 teaspoons chili powder**
  • 1 teaspoon ground cumin (I USED 1/2 TSP)**
  • 4 cups vegetable stock
  • 2 (15 ounce) cans black beans, rinsed and drained (I USED LOW SODIUM)**
  • 1 (8.75 ounce) can whole kernel corn
  • 1/4 teaspoon ground black pepper**
  • 1 (14.5 ounce) can stewed tomatoes**

**Known IC irritants, tread carefully!

DIRECTIONS:

  1. In large saucepan, heat oil over medium heat; cook onion, garlic, and carrots, stirring occasionally, for 5 minutes or until onion is softened.
  2. Add chili powder and cumin; cook, stirring, for 1 minute. Add stock, 1 can of the beans, corn, and pepper; bring to boil.
  3. Meanwhile, in food processor or blender, puree together tomatoes and remaining can of beans; add to pot.
  4. Reduce heat, cover, and simmer for 10 to 15 minutes or until carrots are tender.

Orzo with Parmesan and Basil

SAMSUNG CAMERA PICTURES

Wow, sometimes it’s the most simple recipes that turn out the best.  I knew while the aroma was filling my kitchen, that this recipe would turn out beautifully.  Between the chicken stock, orzo, fresh basil, and the Parmesan, this is just wonderful!  It’s hard to stop eating it even though it does not have MSG.  This is how Rice a Roni should be done!  No preservatives and barely any more work than a boxed meal.  *If you want whole wheat orzo, they have it at certain stores.  In the past, I’ve found it at Whole Foods.  Enjoy! 

INGREDIENTS:

  • 2 tablespoons butter

  • 1 cup uncooked orzo pasta

  • 1 (14.5 ounce) can chicken broth (or homemade or from bouillon)

  • 1/2 cup grated Parmesan cheese

  • 1/4 cup chopped fresh basil

  • salt and pepper to taste

  • 2 tablespoons chopped fresh basil

DIRECTIONS:

  1. Melt butter in heavy skillet over medium-high heat. Stir in orzo and saute until lightly browned. (WATCH IT, YOU DON’T WANT TO BURN IT, JUST BROWN IT).
  2. Slowly stir in chicken stock and bring to boil. Cover. Reduce heat and simmer until orzo is tender and liquid is absorbed, about 15 – 20 minutes.
  3. Mix in Parmesan cheese and basil. Season with salt and pepper. Transfer to shallow bowl. Garnish with basil sprigs.