Easy Rotisserie Chicken (Well, Easy-ish) *

20150727_182500_resized20150727_172416_resized 20150727_182044_resized 20150727_182328_resized


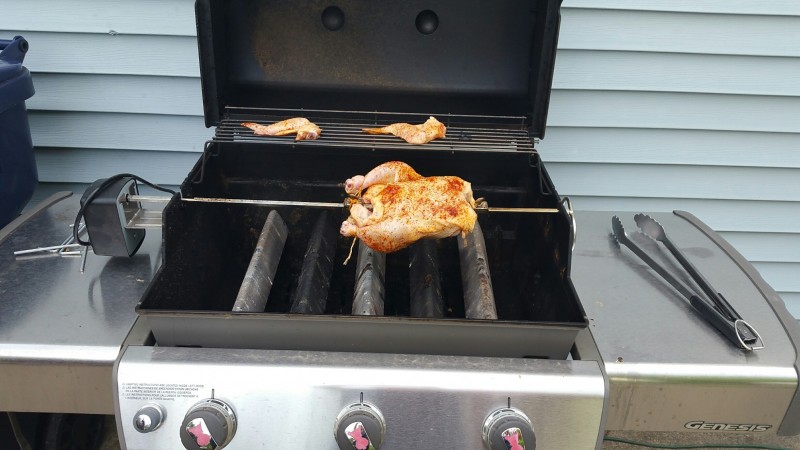
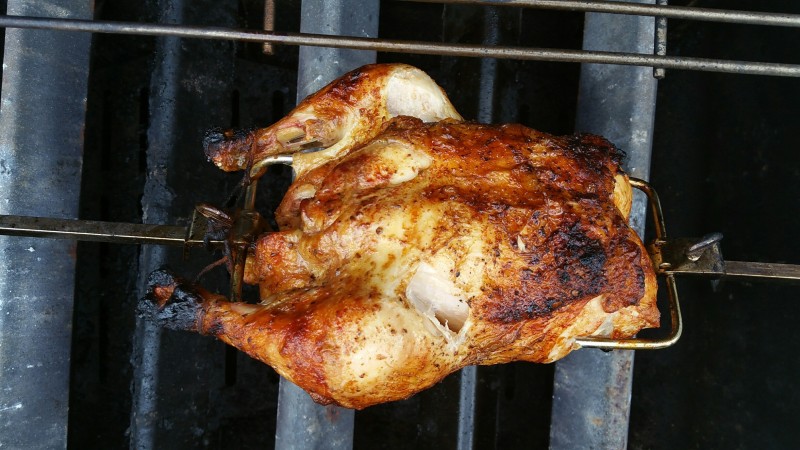
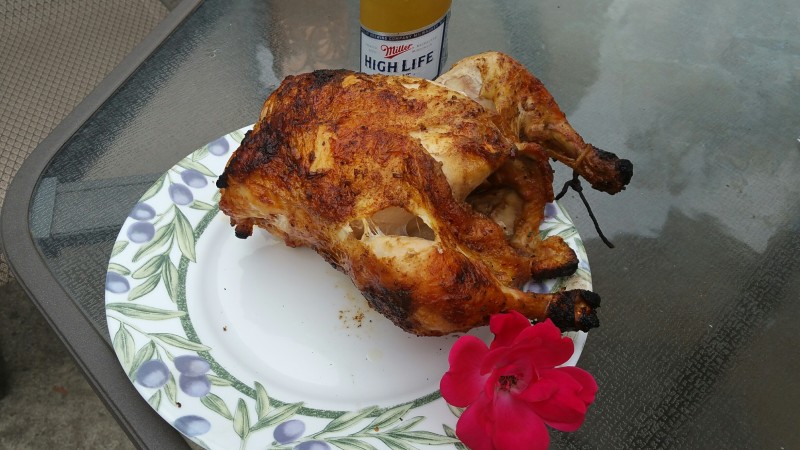
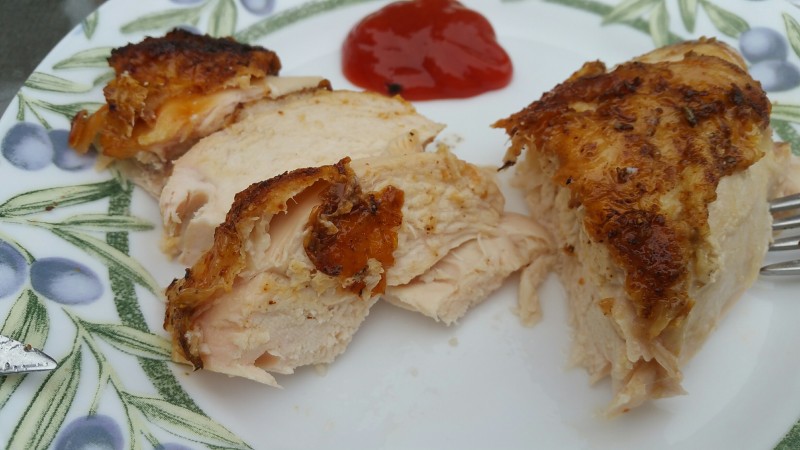
So I’ll preface this with we are not grill masters, but we find our way and make some yummy BBQ.  Nothing special or crazy exotic, just yummy BBQ.  So here’s our recent rotisserie chicken.  I bought a antibiotic-free chicken and went for it.

About grills and rotisseries:  We own the Weber Genesis E-310 propane grill.  It was expensive but it’s worth every single penny.  We had too many cheapie grills that fell apart too early. I’m looking at you, Charbroil $300 special!  The Charbroil was junked in about two years with good care.

When you do certain grill tasks and especially use a rotisserie, you want quality silicone gloves to be able to grab the hot rotisserie and the hot meat.  We purchased the AYL Silicone heat resistant BBQ gloves on Amazon, about $19.99.  Links below.

INGREDIENTS:

  • A large whole chicken, you decide the size.
  • Smoked paprika**
  • Coarse salt
  • Freshly ground pepper**
  • Oregano

**Known IC irritants, tread carefully!

To make this IC safe, omit the paprika and pepper.  The oregano should give enough flavor.  

TOOLS:

DIRECTIONS:

  1. Remove the packaging from your whole chicken.  Remove giblets or any bonus parts you won’t need.  Don’t rinse your chicken; it just spreads bacteria all over your sink and counter.
  2. Pat your chicken dry with paper towels.
  3. Cut off chicken wings.  (If you leave the thin wings on, they will get burnt to a crisp, so do not).  You can grill them separately or save them for another use.  They crisp up very nicely on the top rack of your grill!
  4. Using kitchen twine, tie the drumsticks to the chicken or the rotisserie tightly, otherwise they will flop around while grilling.
  5. I sprayed my chicken with Original PAM spray because I was especially lazy, but you massage some softened, unsalted butter over the skin.
  6. Sprinkle and rub your spices on the whole chicken (and the wings, if using): smoked paprika gave it an awesome smokey taste, oregano, freshly ground pepper, coarse salt – or whatever spices you like.
  7. Unscrew your rotisserie and thread your whole chicken on it, making sure to insert it into the metal stabilizers.
  8. Prepare your grill per rotisserie directions.  We remove our grill grates and do indirect grilling.  We leave the left and right burners on our 3-burner grill, and turn off the middle burner.  This allows the meat to slowly cook.
  9. After about an hour, temperature your meat, away from the bone.  Cook until 165 degrees F, the safety temp.
  10. Once it has reached the safe temp., turn off your grill and leave lid open so the meat can cool and rest – a very important step.
  11. Wearing your silicone gloves, remove rotisserie with meat to a clean tray.
 

Oven-Fried, Breaded Pork Chops

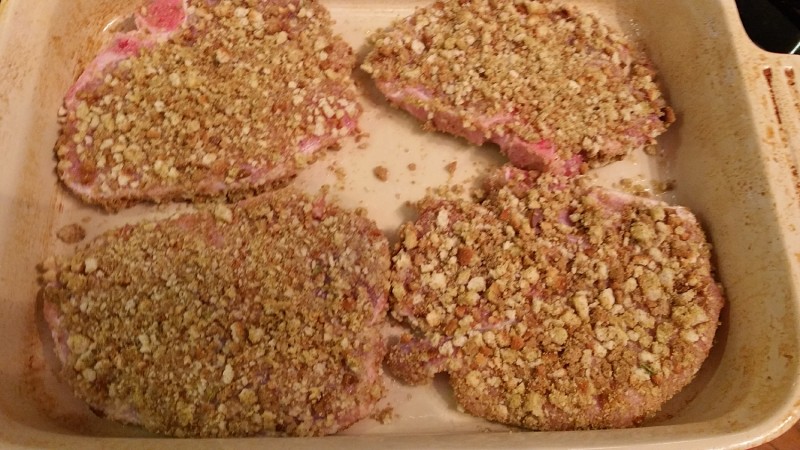
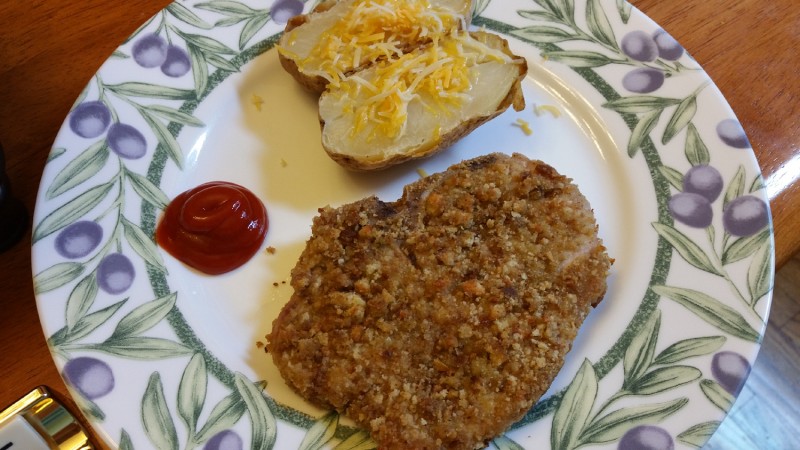
breadedpork1 breadedpork2 breadedpork3


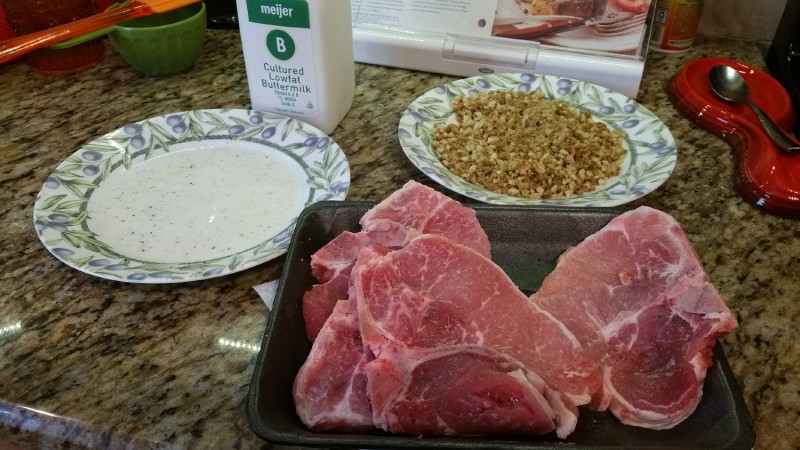
It’s well known I do not like many forms of pork that do not involve a) bacon or b) ribs, so I have some difficultly eating a pork chop or pork tenderloin unless it’s absolutely exceptional, moist, and flavorful.  Otherwise, I rather eat the sides on my plate and call it a day.  With that pickiness in mind, I gave this Better Homes & Gardens recipe a try.  Thankfully, it turned out fantastic.  I used my favorite stuffing – Meijer chicken stuffing in a large, tall container.  Since we have an egg allergy in the house, I omitted the egg and milk and used buttermilk instead.  It was great!  Don’t skimp on the butter here.


INGREDIENTS:

  • 4 pork loin chops, cut 3/4″ thick
  • 2 tablespoons butter, melted (unsalted is safest as your stuffing mix will have sodium)
  • 1 egg, beaten
  • 2 tablespoons milk
  • 1/4 tsp. black pepper
  • 1 cup herb-seasoned stuffing mix, finely crushed


DIRECTIONS:

  1. Preheat oven to 425.
  2. Trim fat from meat.
  3. Pour butter into a 13x9x2″ baking pan, tilting pan to coat the bottom.
  4. In a shallow dish, combine egg, milk, and pepper (or combine buttermilk and pepper).
  5. Place stuffing mix in another shallow dish.
  6. Dip chops into egg/milk/pepper mixture or buttermilk/pepper mixture.
  7. Coat both sides with stuffing mix.
  8. Place chops in prepared pan.
  9. Bake uncovered for 10 minutes.  Turn chops and bake additional 10-15 minutes until 160 degrees and juices run clear.

***After trying this recipe once, I figured out another option.  That is to preheat your oven with butter and pan inside.  Then *carefully* add your prepared chops to your hot pan with the hot butter already melted and up to temperature, to get more of a searing effect.

Southern Buttermilk Biscuits *

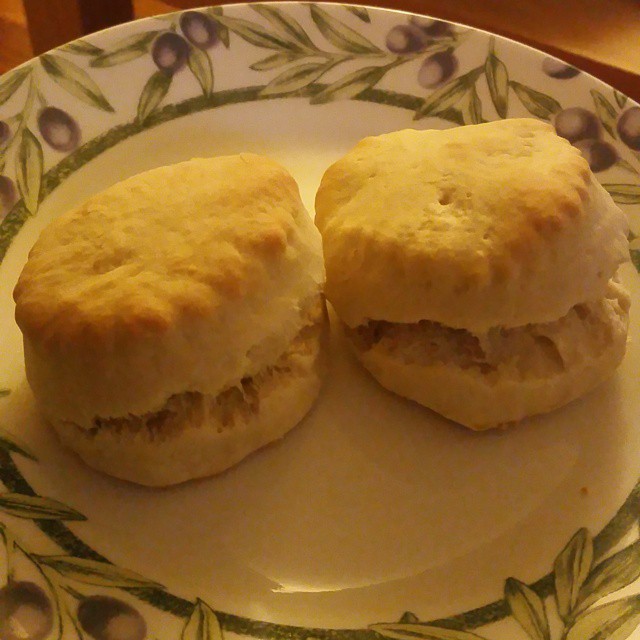
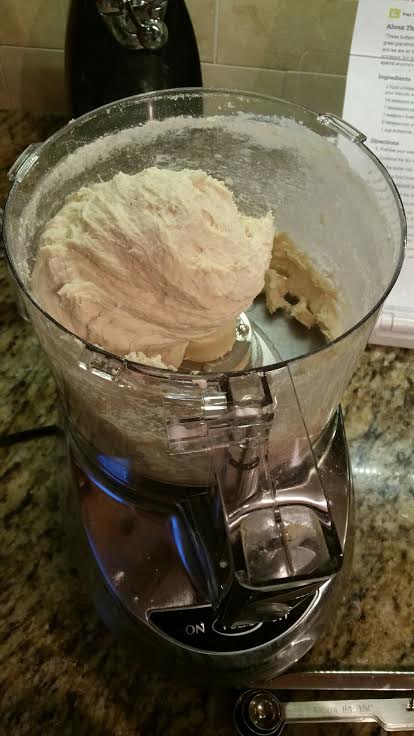
buttermilk-biscuits-6-15-image1 buttermilk-biscuits-6-15-image2


I found this recipe on Food.com and it sat in my “to-make” recipe folder for about a year and a half.  I thought making buttermilk biscuits would be too difficult, but it turns out it was anything but!  This really is a recipe where the food processor shines!  You could do it by hand but it will be better mixed and so much easier on you to just use a food processor!  Please make this!  It’s a very easy recipe, it just sounds complex in the directions!  It tastes so much better than canned biscuits!!

Use real buttermilk, this isn’t a circumstance where the milk soured with lemon would be good enough.

NOTE: Use unsalted butter.  If you only have salted butter on hand, omit the salt so you don’t have overly salted biscuits.  Cook and bake with unsalted butter for best results.  For serving guests, use salted butter.  

INGREDIENTS:


**Make sure your buttermilk ingredients are safe!


DIRECTIONS:

  1. Preheat your oven to 450°F.
  2. Combine the dry ingredients in a bowl, or in the bowl of a food processor.
  3. Cut the butter into chunks and cut into the flour until it resembles course meal.  If using a food processor, just pulse a few times until this consistency is achieved.
  4. Add the buttermilk and mix JUST until combined.  Do not over-mix.
  5. If it appears on the dry side, add a bit more buttermilk. It should be wet.  Honestly, I like my dough a little on the dry side so I can work with it and not have extremely messy hands.  So I covered my hands in flour while manipulating the dough and added more flour when necessary.  It’s a giant mess if your dough is too wet while cutting it into shapes.  
  6. Turn the dough out onto a floured board.  Gently PAT (do NOT roll with a rolling pin) the dough out until it’s about 1/2″ thick.
  7. Flour the top of your dough lightly to prevent the cutter from sticking.  Then, use a round cutter to cut into rounds.
  8. You can gently knead the scraps together and make a few more, but they will not be anywhere near as good as the first ones.
  9. I put parchment paper down on my pan and it turned out beautifully.  Place the biscuits on a cookie sheet- if you like soft sides, put them touching each other.  If you like”crusty” sides, put them about 1 inch apart- these will not rise as high as the biscuits put close together.
  10. Bake for about 10-12 minutes- the biscuits will be a beautiful light golden brown on top and bottom.  Do not overbake.


Note: The key to real biscuits is not in the ingredients, but in the handling of the dough.  The dough must be handled as little as possible or you will have tough biscuits.  I (the original author) have found that a food processor produces superior biscuits, because the ingredients stay colder and there’s less chance of overmixing.  You also must pat the dough out with your hands, lightly. Rolling with a rolling pin is a guaranteed way to overstimulate the gluten, resulting in a tougher biscuit. You can make these biscuits, cut them, put them on cookie sheets and freeze them for up to a month.  When you want fresh biscuits, simply place them frozen on the cookie sheet and bake at 450°F for about 20 minutes.