Copycat Panera Broccoli Cheddar Soup *


This is a must!  This soup actually has a lot of flavor and you will enjoy it!  Give it a try!  I added potatoes for extra flavor and bulk – it turned out to be a good decision!


INGREDIENTS:

*Onion and chicken stock can be irritating to a sensitive bladder. I use the least amount of onion possible and I make sure I’m either using homemade chicken stock or organic high quality chicken stock that doesn’t include soy or other irritant ingredients.    

DIRECTIONS:

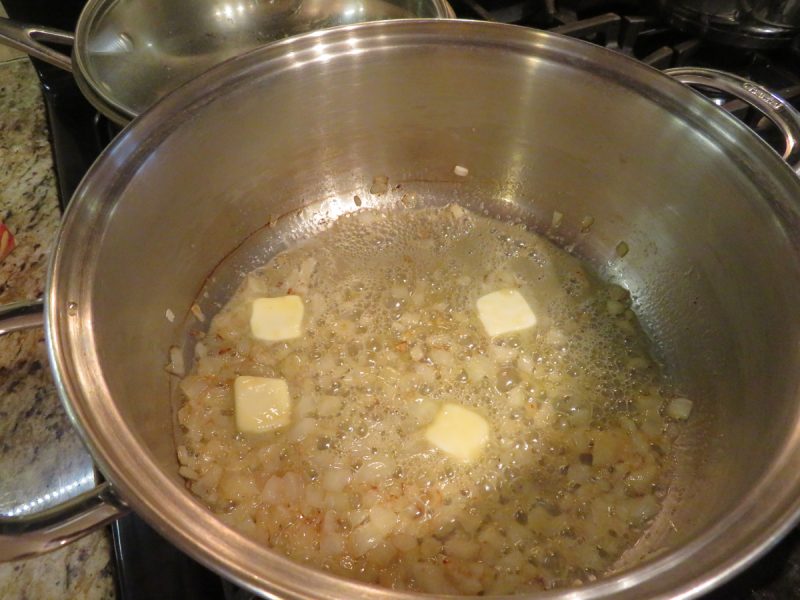
  1. Melt 1 tablespoon butter in a skillet over medium-high heat. Saute onion in hot butter until translucent, about 5 minutes. Set aside.
  2. Whisk 1/4 cup melted butter and flour together in a large saucepan over medium-low heat; cook until flour loses it’s granular texture, adding 1 to 2 tablespoons of milk if necessary to keep the flour from burning, 3 to 4 minutes.
  3. Gradually pour milk into flour mixture while whisking constantly. Stir chicken stock into milk mixture. Bring to a simmer; cook until flour taste is gone and mixture is thickened, about 20 minutes. Add broccoli, carrots, sauteed onion, and celery, (add optional potatoes here!); simmer until vegetables are tender, about 20 minutes.
  4. Stir Cheddar cheese into vegetable mixture until cheese melts. Season with salt if desired. 

Grilled Corn On The Cob With Fresh Herbs! *

INGREDIENTS:

  • 4 corn cobs, with husks still attached
  • 4 tablespoons unsalted butter, softened
  • coarse salt
  • fresh parley
  • fresh chives (or substitute your favorite herb)**
  • and any other seasonings you can tolerate/desire.

**Chives are from the onion family, please tread carefully as they are in the try it list.

TIP: The peeled back corn husks become a convenient “handle” when you are eating it! 

DIRECTIONS:

  1. Peel back the husk without removing it.  Pull it down in layers until you have lowered all the parts of the husk (without tearing them off!)  If you accidentally remove a piece of the husk, don’t worry, move on.
  2. Remove the corn silk fibers and discard.
  3. Use kitchen twine to tie the husk down, and knot. (See photo)
  4. Prepare your butter herb mixture by softening butter. (Either leave the butter at room temp. for 30 minutes prior to assembly or microwave for about 10 seconds).
  5. Mix butter with your desired amount of seasonings.  I chopped fresh chives and parsley from my garden, added a little freshly ground black pepper, and coarse salt.  Use whatever other seasonings you can tolerate.
  6. Use a culinary brush to smear the butter herb mixture onto all exposed parts of your corn cob, (not the husks).
  7. Heat grill to medium heat.  Place corn on grill, with tied-backed husks hanging over the edge of the grill. (You do not want the husks or twine exposed to direct heat, it will burn).
  8. Cook approximately 2-3 minutes a side until heated.

Easy Pressure Cooker Instant Pot Brown Rice *

This is a perfectly simple and fast way to cook your brown rice.  The pressure cooker (my Instapot) infuses so much flavor in a short time, it shocks me!

For the first time making it, I halved it with no issues.


INGREDIENTS:

  • 4 cups water
  • 2 cups long brown rice
  • 4 chicken bouillon cubes (or, if using bouillon from jar, use 4 tsp.)*
  • 3 dashes Mrs. Dash seasoning mix, original**
  • 3 tablespoons butter

**Instead of Mrs. Dash, which has ingredients I can not have, I used a mixture of dried oregano, basil, garlic, and onion (all dried) and it turned out fabulously!

*Please make sure your chicken bouillon is safe. I was using one with soy and it was irritating me.  I found a pre-made one from ALDI that does not have soy and it’s safe!  If using pre-made broth, omit bouillon cubes, and replace 4 cups water with 4 cups chicken broth.


DIRECTIONS:

  1. Spray pressure cooker with cooking oil / spray.
  2. Add all ingredients to cooker.
  3. Set pressure cooker to “sealing”, not venting.
  4. I set it on manual for 15 minutes.  Once the correct pressure is achieved, it will countdown from 15 minutes.
  5. I slowly and carefully released the steam vent with a long spoon with a hook at the end.
  6. It wasn’t done, so I put it on “keep warm” and about 5 minutes later, it was perfect!

Easier Garlic Cheesy Flatbread

I have posted another garlic cheese flatbread before, which involved making your own dough.  While it’s tasty, that recipe does have a bit of waiting and work involved.  Tonight I tried the same theory but with refrigerated pizza crust.  It tasted just as good, if not better!  Hooray.  So here is the recipe that saves a lot of time!

OLD RECIPE:  If you want to see my previous recipe, with the homemade dough, click here.  It takes longer, but if you don’t have refrigerated pizza dough on hand, it’s a great recipe!

You will find the refrigerated pizza crust near where your grocer keeps refrigerated biscuits and crescent rolls.


INGREDIENTS:

  • 13.8 oz. refrigerated pizza crust
  • 2 tablespoons unsalted butter, melted/softened
  • 1 tablespoon garlic powder
  • 1/4 cup grated Parmesan cheese
  • 1 cup+ shredded mozzarella or Italian blend cheese (add as much as you want!)
  • OPTIONAL but great:  Any Italian spices you prefer: basil, oregano, Italian seasoning, etc.

DIRECTIONS:

  1. Preheat oven to 350* F.
  2. Prepare your 17″ x 11″ baking sheet pan by putting aluminum foil on the bottom of it.  Lightly spray with any cooking spray like PAM so your dough doesn’t stick.
  3. Remove refrigerated pizza dough from packaging.  Use a rolling pin to roll to a suitable size to fit into the  17″ x 11″ baking sheet pan, previously mentioned.
  4. Spread melted or softened butter on the top of the raw dough.
  5. Sprinkle with garlic powder, Parmesan cheese, and mozzarella/Italian blend cheese.  Add spices if desired.
  6. Bake for approximately 20 minutes, or until golden brown and cheesy looks bubbly (and happy).
  7. Cut into slices and serve! 🙂


Easy Bread Machine Rolls – Perfect for Thanksgiving! (And Eggless!)

img_1712

img_1713

img_1714

img_1706 img_1708 img_1710 img_1711


I finally found a bread machine recipe for fresh rolls that is eggless and easy!  Many bread roll recipes for the bread machine and regular baking involve eggs.  Thankfully, this one was very tasty and did not.  This is simple and uses inexpensive, common ingredients.  This makes about 20-24 rolls depending on size.


INGREDIENTS:

  • 1/4 cup canola oil
  • 1/3 cup sugar
  • 1 3/4 tsp. salt
  • 1 tablespoon active dry yeast
  • 3/4 cup warm water
  • 3/4 cup milk (I used 2%)
  • 4 cups flour (I weighed it – this equals about 500 g.)


Also needed:

  • Bread machine
  • Muffin pan (regular size) x 2 pans
  • Spatula
  • Pastry brush, etc
  • PAM spray


DIRECTIONS:

  1. Place liquid ingredients in bottom of loaf pan – including canola oil, warm water, and milk.
  2. Add other ingredients: sugar, salt, and flour on top of the liquid ingredients.
  3. Add yeast at the very top – not touching the liquid ingredients on bottom.
  4. Select the dough cycle.  (My dough cycle lasted 1.5 hours).
  5. Monitor dough cycle in about 5-10 minutes.  Scrape the sides of the pan with a soft spatula, if necessary, to scrape the flour back into the dough. (See photo #6 to see how dry flour sticks to the side of the pan).  Add a tiny bit of warm water, if needed, to get that flour incorporated into the dough.
  6. Once the dough cycle has ended, take out and shape into rolls or balls.  Place balls into muffin cups sprayed with PAM first.
  7. Leave rolls in muffin pans on counter to relax the gluten – about 20 minutes.
  8. Bake rolls at 400 degrees for 12 minutes, or until golden.  (Mine took about 15ish minutes).
  9. Using a pasty brush, brush butter on top of finished rolls.


From Bakingforboys.blogspot.com

Cheesy Artichoke French Bread Pizza

artichoke1 artichoke2 artichoke3 artichoke4

This is a stellar recipe for a simple snack that I like to call “Cheesy artichoke bread”, also known as artichoke French bread pizza.  It tastes just wonderful and it’s full of flavor.  I omitted the red pepper.  My son, who is very picky with foods, ate it without noticing the artichoke and just thought it was cheesy bread.  He was thrilled.  Next time I’ll lightly food process the artichoke so it’s not so obvious.

I doubled the ingredients and used a larger loaf – actually, a ciabatta loaf.  I am glad I did, it was all gone in about two days.  

INGREDIENTS:

  • 1/4 cup extra virgin olive oil
  •  1 minced garlic clove
  • 1/2 tsp. red pepper flakes
  • 1/2 tsp. dried oregano
  • 1/2 tsp. kosher salt
  • small baguette —(I used a dense ciabatta loaf)
  • 1/2 cup ricotta
  • 1/2 cup chopped marinated artichoke hearts
  • 1/2 cup shredded mozzarella cheese
  • Fresh parsley, for topping

DIRECTIONS:

  1. Combine 1/4 cup extra virgin olive oil, 1 minced garlic clove, and 1/2 tsp. each red pepper flakes, dried oregano, and kosher salt; brush on a split small baguette.
  2. Top with 1/2 cup each ricotta, chopped marinated artichoke hearts, and shredded mozzarella.
  3. Broil (on low) until the cheese is browned and bubbling.  (Set the time 5 minutes so you don’t come back to a burnt, smoking mess).
  4. Top with chopped fresh parsley.


Double Chocolate Zucchini Bread * (Not IC Safe)

P1090804

P1090787
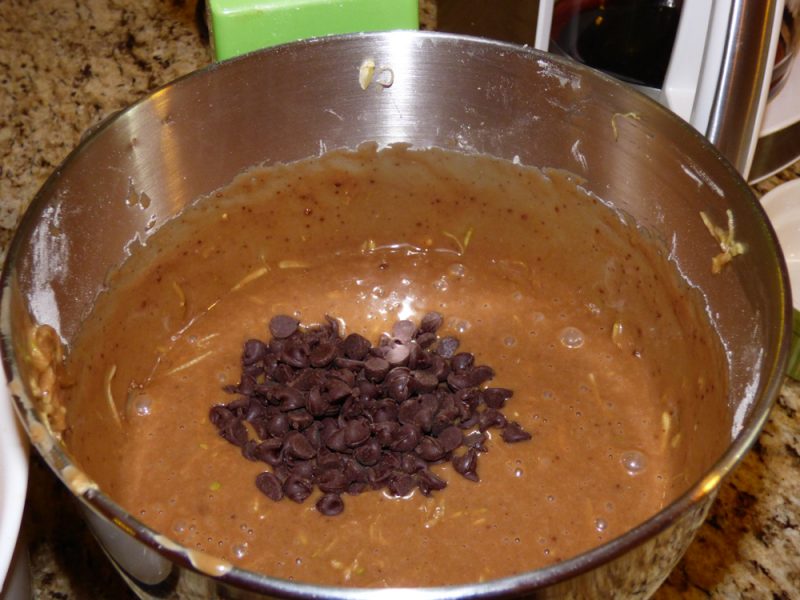
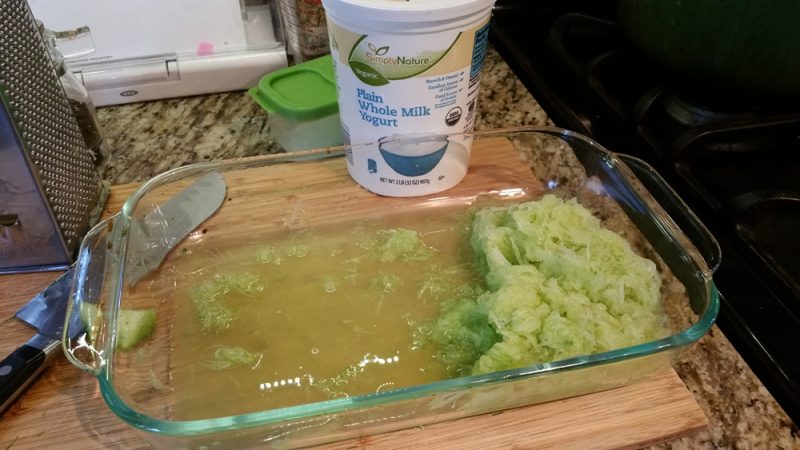
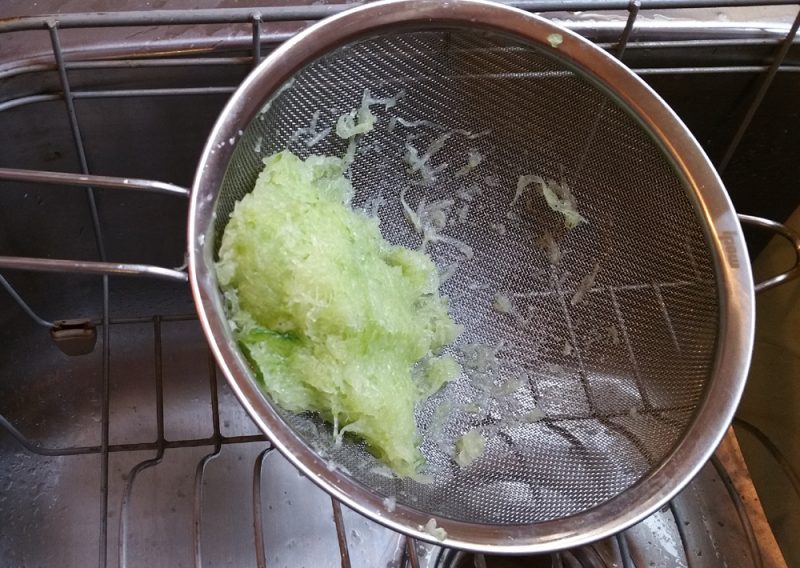
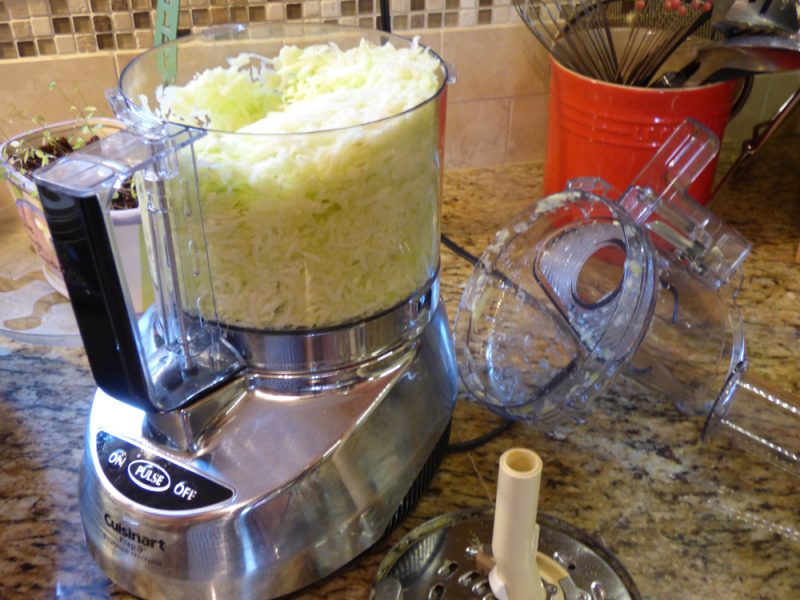
(I should not have peeled the zucchini beforehand — it was a mistake as that’s where the nutrients are.) Don’t make my mistake!  I won’t goof up again.

P1090788 P1090789 P1090791 P1090793 P1090796 P1090797

You will love this zucchini ‘double chocolate’ bread – that’s all I have to say!  It’s perfect.  

Obviously, it’s not a true bread – it doesn’t have yeast; it’s more of a dessert!  But it gets zucchini into your children, so you can’t complain too much.  

Make sure it’s fully cooked before removing from oven.  It shouldn’t look gooey at all on top.  I had to bake the two loaves for 1 hour 25 minutes.  

This recipe really is easier with the right tools: the food processor, the stand or hand mixer, and the right pans (See link below for the best pan).  The link goes to an Amazon pan that is very similar to the Williams-Sonoma pan but less than half the price.   

Warning #1: I consider this a weekend recipe because it does dirty up your food processor, mixer, and more.  It’s very worth it, but I wouldn’t tackle this on a weekday. 

Warning #2: Be glad this makes 2 loaves.  Don’t halve the recipe.  Once you taste it, you’ll  be glad you listened to me!

INGREDIENTS:

**Known IC irritants, tread carefully!

DIRECTIONS:

  1. Preheat oven to 325 degrees F.
  2. Grease and flour two 4″x8″ loaf pans.  (I used PAM for baking spray).  For best results use commercial, heavy weight aluminum pans (click link here to see which one I have).
  3. Wash zucchini, with green skin on, with warm water and dish soap.  Rinse thoroughly.  Dry.
  4. Grate zucchini preferably with a food processor.
  5. Put grated zucchini in a clean cloth and squeeze out almost all the moisture.  Set aside.
  6. Beat eggs in a large bowl (or Kitchenaid stand mixer, like mine) until light and foamy.
  7. Mix in vegetable oil, sugar, vanilla extract, and grated zucchini until thoroughly combined.
  8. Whisk flour, cocoa powder, salt, baking soda, and baking powder together in separate bowl.
  9. Stir the flour mixture into the zucchini mixture.
  10. Mix in chopped walnuts and chocolate chips.  (Or do what I did, because I can’t have walnuts.  I added 1 cup chocolate chips in total).
  11. Pour the batter into the prepared loaf pans.
  12. Bake in the preheated oven until a toothpick inserted into the center of the loaves comes out clean, about 1 hour.  (Mine took 1 hour and 25 minutes).
  13. Let cool in pans for 10 minutes before removing, to finish cooling on wire racks.

Betty Crocker Cinnamon-Raisin Bread Machine Bread * (Not IC Safe)

cinn-raisin-bread-machine2

cinn-raisin-bread-machine1

This is a keeper recipe – it makes great tasting cinnamon raisin bread that can go desserty, it can be your carb for breakfast, or just a treat.  It’s a great all-around special bread machine concoction.  Enjoy…

I bumped up the raisins to 1 cup – c’mon, it is raisin bread!  Haha….

**I used the 1.5 LB. size and “light crust” color setting on my machine.

INGREDIENTS:

  • 1 cup water
  • 2 tbsp. butter or margarine, softened
  • 3 cups BREAD flour
  • 3 tbsp. sugar
  • 1 1/2 tsp. salt
  • 1 tsp. ground cinnamon**
  • 2 1/2 tsp. bread machine yeast
  • 3/4 cup to 1 cup dark raisins**

**Known IC irritants, tread carefully!

DIRECTIONS:

  1. Measure carefully, placing all ingredients except raisins in bread machine pan in the order recommended by the manufacturer.  Weighing your bread flour, or any flour will always turn out best.  I go off the general assumption that 1 cup of flour equals 125 grams, but check your package or check online.    
  2. Add raisins at the “Raisin/Nut” audible signal, or 5-10 minutes before the last kneading cycle ends.
  3. Select Sweet or Basic/White cycle.
  4. Use medium or light crust color.
  5. Select 1.5 LB. loaf size.
  6. Once completed, remove baked bread from pan and cool on wire rack before slicing.

Tzatziki Sauce

tzaziki-sauce1

20160626_142242 20160626_142456

A perfect sauce to accent your gyros, chicken in a pita, and more.  Or you can use it as a dip for veggies.  Just make sure you use whole fat yogurt.  Next time I’ll be sure to use Greek – or it gets a little watery as time goes on.  But it was excellent!  I frozen the remainder.

INGREDIENTS:

  • 1 cup Greek whole milk yogurt
  • 1 English cucumber, seeded, finely grated and very drained 
  • 2 cloves garlic, finely minced
  • 1 tsp. lemon zest, plus 1 tbsp. fresh lemon juice
  • 2 tbsp. chopped fresh dill
  • kosher salt and freshly ground pepper

DIRECTIONS:

  1. (Hand mixing is preferred as a blender can lead to too wet of a concoction).
  2. In a medium bowl, whisk together the yogurt, cucumber, garlic, lemon zest, lemon juice and dill.  Season with salt and pepper.  Chill.

Tip: For extra flavor, add some olive oil and some coarsely chopped fresh mint.


Cheesy Garlic Bread, Cooked in Foil

bread4bread1 bread2 bread3

This cheesy garlic bread is very flavorful and yummy.  It’s a different taste because it has olive oil versus butter.  Some day, I may remake it trying just butter and no olive oil just to see the difference.  We will see!  Follow the directions and you’ll get an awesome cheesy bread!

(I reduced the garlic to one clove because I’m sensitive to allium.  It was fine!  Also, if using 6 cloves, be careful, sizes of cloves vary wildly).


Serves approximately 6 people.


INGREDIENTS:

  • 1 loaf ciabatta bread or any kind of Italian bread
  • 6 cloves garlic (or less)
  • 1/4 cup of extra virgin olive oil
  • 2 Tbsp. of fresh parsley
  • 1-2 cups shredded mozzarella cheese
  • Freshly grated Parmiggiano Reggiano


DIRECTIONS:

  1. Preheat oven to 400 degrees.
  2. Line a baking sheet with aluminum foil and set aside.
  3. In a small food processor or in a blender, add the garlic oil, and parsley.  Puree until smooth.
  4. Smear this mixture on both sides of the bread.  Place the top of the bread on top of the bottom and wrap it in aluminum foil, bake for 10 minutes.
  5. *Carefully* unwrap the bread, being aware of steam, and place it cut side up.
  6. Sprinkle over the mozzarella and grate about 1 cup of Parmiggiano all over both sides of the bread.
  7. Return to the oven for 10-15 minutes or until the top is golden brown and bubbly.
  8. Slice and serve right away.

Recipe from Laura Vitale.