Delectable Green Pepper, Ham, & Tomato Quiche *

pepper-ham-quiche2 pepper-ham-quiche1


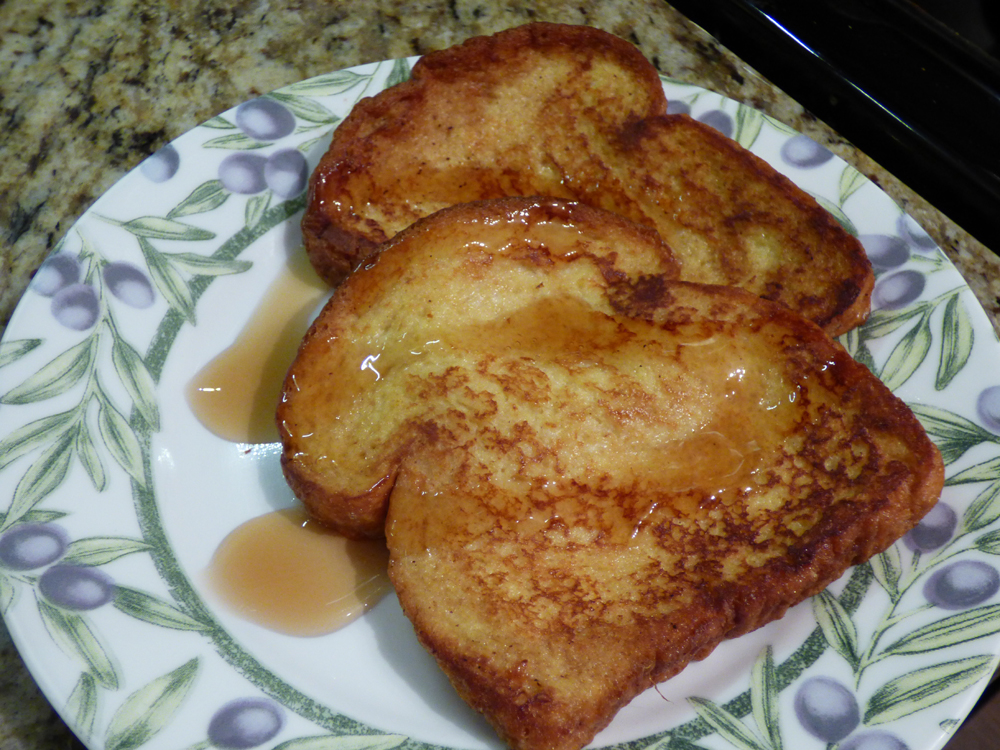
I made this recipe for my favorite quiche.  So, if you’re going to steal any recipes on my site without referencing my site name, please don’t steal this one. 🙂  To me this quiche is near perfection and I don’t think I’ll make any new quiche after this!  Slice into servings and freeze remainder in aluminum foil, if desired!

INGREDIENTS:

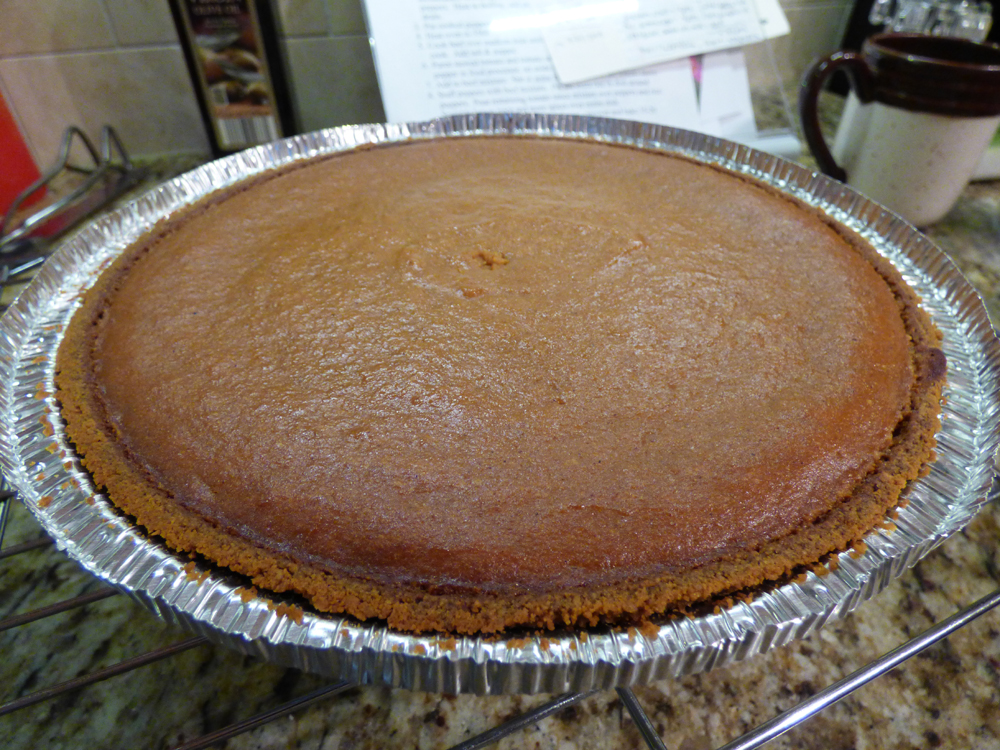
  • Pre-made pie crust, thawed at room temp for 15 minutes, or your own homemade pie crust
  • 1-2 tsp. extra virgin olive oil
  • 1 green (or any colored) bell pepper, top removed, seeded/membranes removed, diced**
  • 1 stalk green onion, root end removed, finely chopped**
  • 1/2 cup half and half, regular fat (or if you desire, low fat, but it’ll affect the flavor)
  • 5 large eggs, lightly beaten
  • coarse salt
  • 1 c. mixed shredded cheese (your favorite cheese is great here: swiss, mozzarella, cheddar, Parmesan, etc)
  • 6 slices deli honey ham, chopped into bite sized pieces (or your favorite ham steak, chopped)
  • 10-12 cherry tomatoes, halved**

**Known IC irritant, please tread carefully!  Please omit it, if you know it bothers you. Choose the correct colored pepper, some are irritating, some are not.  

DIRECTIONS:

  1. Preheat your oven to 350* F and place your oven rack on the middle position of the oven.
  2. Begin by placing de-thawed pie crust in your pie pan, forming around edges and sides snugly.
  3. Heat your olive oil in a skillet over medium heat until it gets shimmery and warm.  Carefully put your chopped green peppers and green onion in oil and saute until pepper pieces are lightly browned, about 5 minutes.  Remove from heat and set aside.
  4. Crack 5 eggs into a large Pyrex or bowl, making sure not to get any eggshell in bowl.  Add 1/2 cup half-and-half, and coarse salt to taste; whisk until thoroughly mixed.
  5. It’s time to assemble your quiche: sprinkle 1/2 your green pepper/onion mixture onto dough in pie plate.  Sprinkle 1/3 of the cheese. Sprinkle 1/2 your ham.
  6.  Rewhisk your egg/half and half mixture if it has separated and pour on top of quiche.
  7. Layer additional cheese, ham, and green pepper/onion mixture until it’s all used up. You can’t go wrong here.
  8. Top with halved cherry tomatoes, cut side down, so they are sticking out of quiche.
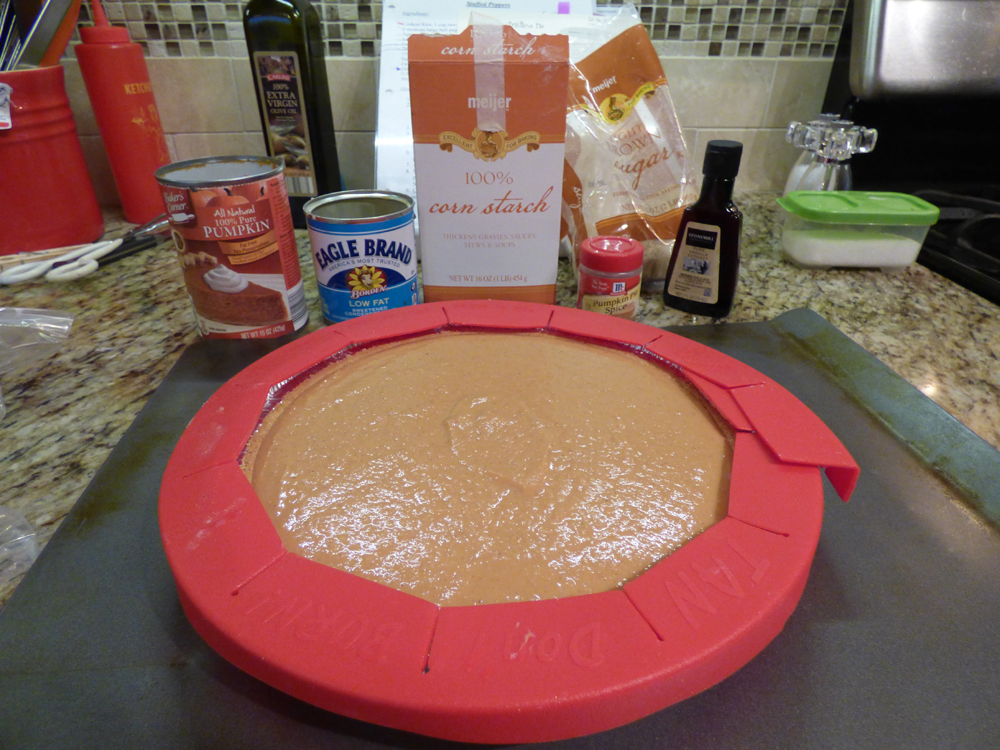
  9. Cover edges of pie plate with foil or a silicone pie guard, like I have.
  10. Bake approximately 35-38 minutes depending on your oven, until the top is lightly golden brown and a toothpick inserted into center comes out mostly clean.

Alton Brown’s French Toast

Alton-Brown-French-Toast-12-14


I had the best, non-restaurant French toast of my life this weekend.  I forgot how I can upon this recipe on the Food Network, but I am so glad I did.  I threw out my other French toast recipe!  You will love it!  It’s absolutely delicious!

INGREDIENTS:

  • 1 cup half-and-half
  • 3 large eggs
  • 2 tablespoons honey, warmed in microwave for 20 seconds
  • 1/4 teaspoon salt
  • 8 (1/2-inch) slices day-old or stale country loaf, brioche or Challah bread
  • 4 tablespoons butter

DIRECTIONS:

  1. In medium size mixing bowl, whisk together the half-and-half, eggs, honey, and salt. You may do this the night before. When ready to cook, pour custard mixture into a pie pan and set aside.
  2. Preheat oven to 375 degrees F. Dip bread into mixture, allow to soak for 30 seconds on each side, and then remove to a cooling rack that is sitting in a sheet pan, and allow to sit for 1 to 2 minutes.
  3. Over medium-low heat, melt 1 tablespoon of butter in a 10-inch nonstick saute pan. Place 2 slices of bread at a time into the pan and cook until golden brown, approximately 2 to 3 minutes per side.
  4. Optional trick to keep toast warm:  Remove from pan and place on rack in oven for 5 minutes. Repeat with all 8 slices.
  5. Serve immediately with maple syrup, whipped cream or fruit.

    Recipe courtesy Alton Brown, 2003

Oatmeal Raisin Cookies

SAMSUNG CAMERA PICTURES SAMSUNG CAMERA PICTURES SAMSUNG CAMERA PICTURES


So you want a cookie but you want it to be remotely healthy and use real ingredients, eh?  Well, here you go.  Here’s my favorite oatmeal raisin cookie recipe!  **This recipe can easily be made eggless, by omitting the egg and making the 1/4 cup applesauce into a heaping 1/4 cup of applesauce.  Be sure to buy the “natural” applesauce that has 2-3 ingredients in it, NOT containing high fructose corn syrup.  Who wants that in their homemade cookies?  Parchment paper works beautifully here, as it does with most cookies!

INGREDIENTS:

  • 1 cup flour (slowly spoon your flour into a dry-measure cup and level off with the back of a knife).
  • 1 tsp. baking powder
  • 1/2 tsp. baking soda
  • 1/2 tsp. salt
  • 2 T. unsalted butter, at room temperature 
  • 1/2 cup granulated sugar
  • 1/2 cup packed light brown sugar
  • 1 large egg (OR use Egg replacer powder, **OR make your applesauce into a heaping 1/4 cup)
  • 1/4 cup unsweetened, “natural” applesauce **
  • 1 tsp. pure vanilla extract
  • 1 1/3 cups rolled, or old fashioned oats (not instant)
  • 1/2 cup dark raisins, (or cranberries, if desired)
  • Supplies: 2 baking sheets lined with parchment paper, foil, or silicone mats

DIRECTIONS:

  1. Preheat oven to 375* and set the rack on the lower and upper thirds of oven.
  2. In a small bowl, whisk together the flour, baking powder, baking soda, and salt.
  3. In a large bowl (or use your mixer), beat the butter and sugar until smooth. Mix in the brown sugar, then egg (or replacer**), applesauce and vanilla.
  4. Stir in the dry ingredients.  Then add oats and raisins.
  5. Drop the batter by rounded teaspoons (or use your cookie scoop) at least 2 inches apart on the baking sheets.  Leave enough room between cookies, they spread!
  6. Use a fork to gently flatten the dough.
  7. Bake for 10-12 minutes or until they look slightly browned, yet moist and soft.
  8. Cool on wire racks for a few minutes so the cookies can firm up before you attempt to remove them.  If you move them too early, they will crack and fall apart.

Italian-Flavored Stuffed Peppers * (Not IC Safe)

peppers1

peppers2


We’ve been making this years.  Change it up to how you like it.  It’s a very flexible recipe.  Now that I am 100% banned from citrus products, like lemon juice, (thanks I.C., interstitial cystitis!), I still find a way to enjoy it and savor a lot of its remaining flavor.  ENJOY!

INGREDIENTS:

  • Cooked rice, 1 cup raw, cook as packaging instructs (any rice works here, I’ve used brown rice and white rice at different times).
  • 6 medium to large bell peppers, any color
  • About 1 – 1.5 lbs. ground beef, depending on how meaty you like it
  • 1 onion, chopped**
  • 1-4 cloves garlic, depending on your taste
  • 28-30 oz. Italian flavored diced or chopped tomatoes (I used “Dei Fratelli Chopped Italian tomatoes, herbs, and olive oil tomatoes” 28oz)**
  • 15 or more oz. tomato sauce**
  • salt and pepper, to taste**
  • dried oregano and basil, to taste
  • Fresh dill, chopped, to taste (I use at least a 1/2 cup)
  • Optional: juice of 1-2 lemons.**
  • Aluminum foil to cover

**Known IC irritants, tread carefully!

DIRECTIONS:

  1. Begin by cooking rice, or even use day-old rice.
  2. Cut very thin slice off tops of peppers. Discard stems, seeds, and membranes.  Rinse peppers and set aside.
  3. Here you can choose one of two steps: 1) boil water to cover your peppers, add your peppers once the water boils, boil until soft, approximately 5 minutes and remove. or 2) the way I now prefer: microwave 2-4 minutes on a microwave-safe plate until slightly softened.  Let cool a few minutes before handling hot peppers!
  4. Heat oven to 350* F.
  5. Place six par-cooked peppers in a baking dish with sides (preferably a dish with room for spare rice mixture).
  6. Cook ground beef over medium heat until brown, drain excess fat if necessary, but leave a little for flavor!
  7. Add your raw chopped onions and/or garlic, if desired, to meat mixture.  Cook until softened.  Or, you can add onion and garlic powder, which I did this time. Add salt and pepper.
  8. Slowly add your cans of tomato sauce and chopped/diced tomatoes to your cooked mixture.
  9. Add your oregano, basil, chopped dill, and any other seasonings you desire, including optional lemon juice.  Cook 20 minutes on low simmer to blend flavors.
  10. Stir in some of your cooked rice, until you have a good balance of meat – sauce – rice ratio, for your liking.  Cook a few minutes.
  11. Stuff your peppers with your beef/tomato/rice mixture.  Put any extra rice in dish around peppers.  Pour any remaining tomato sauce to wet your rice to keep it from drying out.  Sprinkle lemon juice, optional, over entire casserole/baking dish.
  12. Cover tightly with foil!  Bake 45 minutes.
  13. Uncover and remove foil, bake an additional 15-20 minutes or until tender.

Eggless Pumpkin Pie With Graham Cracker Crust *


pie1

pie2

pie3

pie4

This is an awesome pumpkin pie recipe that I make every year around this time.  It’s an eggless version of pumpkin pie with a sweet graham cracker crust.  To save time (and money), I buy the crust pre-made. I need to take a new look at the ingredients of the premade crust.  Some have cinnamon and I have to avoid that as it’s an irritant. To be really safe you can use a plain dough piecrust.

I let the pie cool at room temp. for about two hours.

Then I put it in the fridge UNCOVERED until serving.  If you cover it, even loosely with anything (Saran Wrap, aluminum foil, etc) it will create a very wet condensation on top of the pie that is unsightly but harmless.  The longer it chills before being served, the better it tastes!  I suggest at least 6 hours, but longer is great too, up to 1-2 days.  I highly suggest making this one day before you need it, it will taste much better!  After that, you can divide it into pieces and freeze or put in a storage container – but it will have some condensation.


Ingredients:

  • Graham cracker crust (make it yourself or buy it premade)^, or use a plain premade dough crust
  • 1/4 cup brown sugar
  • 2 tablespoons cornstarch
  • 1 teaspoon pumpkin pie spice mix* (For some this is not safe – see note)
  • 1 16-oz can pure, plain pumpkin (about 2 cups)
  • 1 14-oz can sweetened condensed milk**

NOTES:

  • ^Graham cracker crusts can sometimes have cinnamon and other spices.
  • **I tried low fat S.C.milk for the first time in a decade, don’t do it.  It needs that extra fat and it also helps the “mouth feel” consistency.
  • *For pumpkin pie spice, you can use McCormick or a big label, but I’ve had great success with Aldi’s brand.  They only sell it seasonally though.  ALDI’s canned pure pumpkin cost me $0.79 this year – 2016.  Whereas the big store wanted $1.99 for it.  (Same ounces and quality!)
    *I can no longer use pumpkin pie spice, it’s too irritating for me. So I omit it. Unfortunately, it definitely will have less flavor but is safe. 🙁 

Directions:

  1. Remove packaging (plastic, paper etc) from graham pie crust or plain dough crust, until you have just the foil pan and the crust inside remaining.  Set aside.
  2. In a large bowl, combine all ingredients: brown sugar, cornstarch, pumpkin pie spice (if safe for you!), pure pumpkin, and condensed milk. You can use a mixer here but I found that a good whisk will do the job just fine and there’s less to clean.
  3. With a spoon or whisk, stir until completely mixed.
  4. Pour mixture into unbaked pie shell; smooth top of pie with spatula.
  5. Put your filled pie on top of a baking sheet just in case anything spills, but it shouldn’t.  Cover edge with pie guard, if desired.
  6. Bake on middle or top rack for 55-60 minutes until knife/toothpick inserted in center comes out clean.
  7. Cool on wire rack until mostly cool.  Then refrigerate for many hours before serving, as the flavor amps up the longer it’s refrigerated!  I make it the day before it’s needed and it’s especially good.