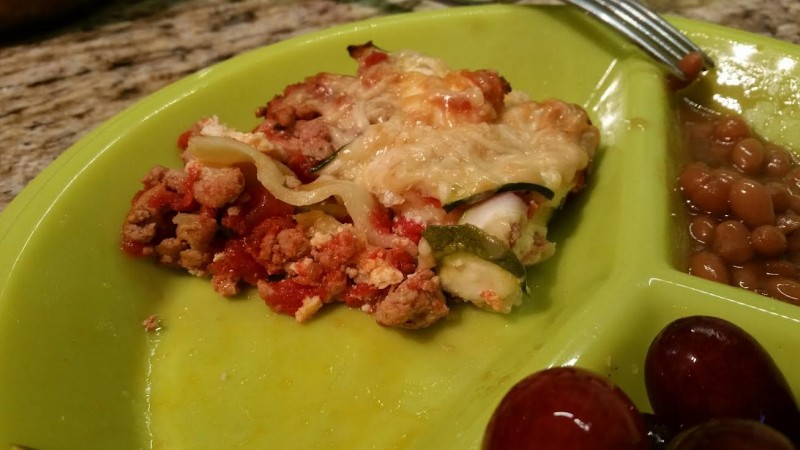
Zucchini & Turkey Lasagna

zucchini-lasagna-11-2015

This is a wonderful, healthy recipe I took a chance on.  I had never made lasagna without the standard lasagna pasta noodles, ground beef, and multiple cheeses.  The downside of the typical lasagna it can be excessively heavy and greasy.  This healthier version was lighter, filling, and tasty, and packed a good vegetable punch.  We weren’t sure how it would turn out, so we added pasta layers to every other layer.  It was just fine without the pasta layer!

Even though the directions look lengthy, it actually was one of the easiest lasagnas I’ve ever made!

INGREDIENTS:

  • 2 1/2 tablespoons extra-virgin olive oil
  • 1 small onion, finely chopped (I used onion powder)
  • 1/2 teaspoon red pepper flakes
  • 1 lb. ground turkey
  • 1 (28 oz.) can petite diced tomatoes (Plain or Italian-flavored, if you desire)
  • 3 tablespoons chopped fresh oregano (I used dried this time)
  • 2 teaspoons salt
  • 2 medium zucchini
  • 1 cup part-skim ricotta cheese (I used 2%)
  • 1/4 teaspoon freshly ground black pepper
  • 1/2 cup freshly grated Parmesan cheese (2 ounces)

DIRECTIONS:

  1. Preheat oven to 375 degrees F.
  2. In a large skillet over medium heat, heat 2 tablespoons of the oil.
  3. Add the onion and red pepper flakes and cook, stirring occasionally, until the onion is tender, about 8 minutes.
  4. Add the turkey and cook, breaking up any large pieces with the back of a spoon, until brown throughout, 3-4 minutes.
  5. Add the tomatoes and bring mixture to a boil.  Reduce the heat to medium and simmer until it thickens, about 20 minutes.
  6. Stir in the oregano and salt.  Let cool.
  7. Slice the zucchini lengthwise into thin strips (about 1/8″ thick).
  8. Put 5-6 zucchini slices, overlapping slightly, in the bottom of a 8×8″ baking dish.
  9. Top with 1 cup of the sauce/meat mixture.
  10. Dot with 1/4 cup of the ricotta.
  11. Repeat the layers twice, alternating the direction of the zucchini  (I didn’t find the alternation especially pertinent).
  12. Top with the remaining zucchini and brush the top with the remaining 1/4 tsp. oil.
  13. Dot with the remaining 1/4 cup ricotta and season with the black pepper.  Top with Parmesan cheese.
  14. Bake for 50-60 minutes, until the lasagna is bubbling and the top is brown.
  15. Let stand for 10 minutes before serving.
 

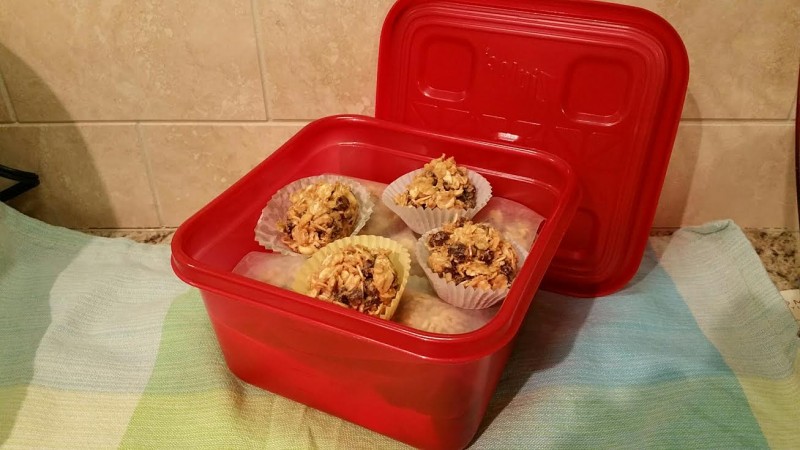
Energy Balls (A Tidy Spherical Dessert) *

energy-balls-11-2015 energy-balls-11-2015_2nd

I found this recipe on the Washington Post, and altered it to fit our needs.  The original recipe had chia and/or flax seeds.  I used flax seeds the last time and something about them made my mouth itch and feel irritated.  So, I remade them this time with wheat bran and had no problem.  Wheat bran has 6g of fiber (24% of your day) in a 1/4 cup!  I found Bob’s Red Mill brand and it was affordable, unlike almond flour (LOL).

My son, age 9, would almost never eat sunflower seeds, peanuts, or raisins by themselves, but mixed in this awesome recipe, he’ll unknowingly gobble them down.  And I snuck in the wheat bran too!  I know him too well to know he wouldn’t eat it had I put cranberries in there, plus I can’t have cranberries, so it’s moot.

INGREDIENTS:

  • 1 cup creamy peanut butter (or any nut butter or faux nut butter)
  • 1/2 cup honey (add more if excessively crumbly)
  • 3 cups old fashioned oats
  • 1/4 cup wheat bran (such as Bob’s Red Mill)
  • 3/4 to 1 cup mini chocolate chips*
  • 1 cup total of (chopped peanuts / sunflower seeds / raisins*) combined**
  • 2-3 drops of vanilla extract

**1 cup any combination (that works for you) of nuts, seeds, soft dried fruits, raisins, cashews, peanuts, etc, sunflower seeds, or dried cranberries.

**Known IC irritants, tread carefully!

DIRECTIONS:

  1. Combine the nut butter and honey in a large mixing bowl and stir until smooth.
  2. Gradually add the oats and wheat bran until well combined. Add the chocolate chips and the nut-seed/fruit mixture, and mix gently to combine.
  3. NO BAKING NEEDED!   Use your hands to roll the mixture into balls (I used a cookie scoop for sanitation and uniformity) approximately the size of ping-pong balls. If desired, roll them in shredded coconut.
  4. Place the balls in paper mini-muffin cups. At this point, you can eat them, but they’ll be less sticky and less crumbly after a night in the refrigerator. They taste best after one day in the fridge.
  5. Layer the balls in an airtight container, using inexpensive wax paper (parchment paper is not necessary here)*** to separate the layers, and refrigerate for 7 to 10 days or freeze for up to 3 months.


***Parchment paper vs. wax paper debate:

–Parchment paper is for cooking and baking and can handle high temperatures, up to around 420 degrees F.  You can use it to separate the energy balls in a container for storage, but don’t.  Parchment paper is much more expensive than wax paper and is a waste to separate the energy balls.  I keep both parchment and wax paper on hand at all times.  Even though parchment’s safe in the oven, make sure your paper doesn’t extend beyond the rim of the baking sheet, the extended paper will brown horribly.

–Wax paper is NOT for cooking or baking.  It’s not heat safe, it’s covered in a wax coating to give it a smooth, non-stick surface.  It will smoke in the oven and cause a mess.  It can ruin your food! 

Here – Whisked Foodie explains it much better than I have time or desire to do, LOL:

Wax Paper Vs. Parchment Paper via Whisked Foodie

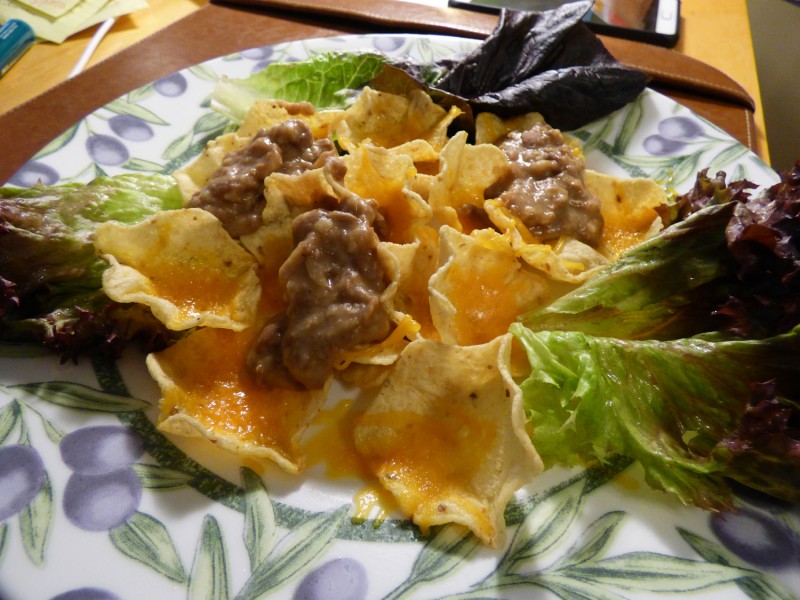
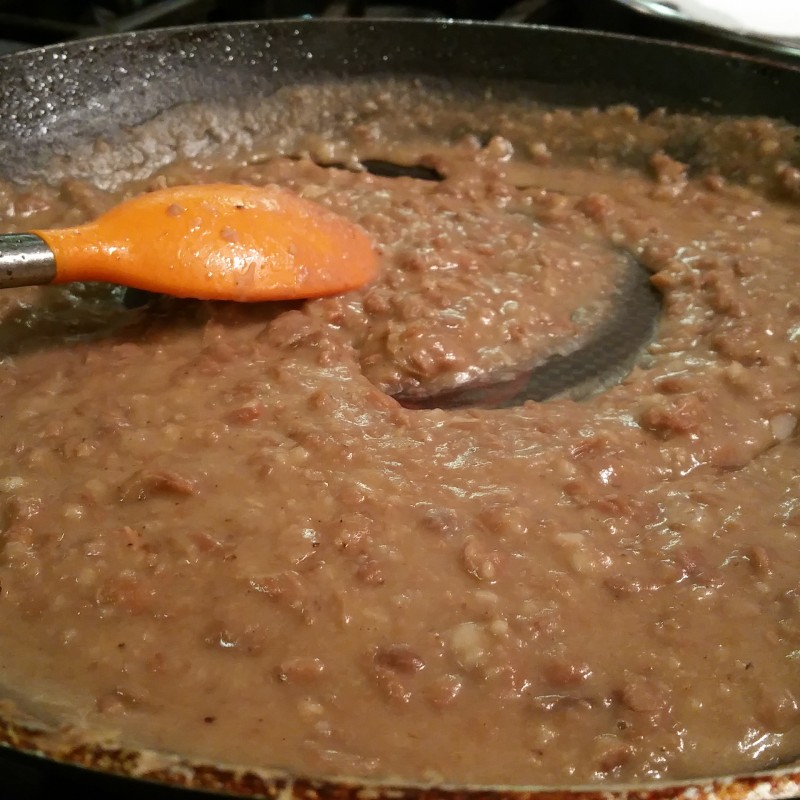
ATK Simple Refried Beans * (Not IC Safe)

ATK-refried-beans-11-2015ATK-refried-beans

A few years back, after tasting yummy refried beans at a restaruant, I wanted some for myself at home. I bought a can of it thinking, “How bad could it be?”  It was so bad and disgusting it turned me off to refried beans a very long time.  I had them recently at a restaurant and loved them, again.  I found this recipe on ATK’s site.  It took about 10 mins.  Super easy.  I had to omit the onions so I just used the bacon fat to sautee my minced garlic cloves instead.

If you don’t eat pork, you could substitute vegetable oil or olive oil.


INGREDIENTS:

  • 2 slices bacon
  • 1 small onion, chopped fine**
  • 2 garlic cloves, minced or pressed through a garlic press
  • 1 (15 oz) can pinto beans with liquid (do not rinse!)
  • 1/4 cup water
  • Kosher salt

**Known IC irritants, tread carefully!

DIRECTIONS:

  1. Heat bacon in 10-inch nonstick skillet over med-low heat until fat renders and bacon crisps, 7-10 minutes, flipping bacon halfway through.  Remove bacon and reserve for another use.
  2. Increase heat to medium, add onions to fat in skillet, and cook until lightly browned, 5-7 minutes.
  3. Add garlic and cook until fragrant, about 30 seconds.
  4. Add beans and their liquid, plus 1/4 cup water, and bring to simmer.
  5. Cook, mashing beans with potato masher, until mixture is mostly smooth, 5-7 minutes.
  6. Season with salt to taste, and serve.