Eggless Waffle Recipe *

eggless-waffles

This is one of those recipes you must know about if you a) like good waffles and/or b) have an egg allergy.  Even though my husband is allergic to eggs, yet I can have eggs, I still enjoy these waffles on a monthly basis.  We’ve made them nearly every month (or every other) for over a decade – so you know they are good!  They’re from Rosemarie Emro’s “Bakin’ Without Eggs” book.

INGREDIENTS:

  • 4 cups all-purpose flour (If you want to make it healthier like we do, use up to 3 cups white whole wheat flour or whole wheat flour with 1 cup all-purpose flour.  Or, if you want to play it safer, do 50% all purpose and 50% wheat flour).
  • 2 T. + 2 tsp. baking powder
  • 1/2 tsp. salt
  • 6 T. sugar 
  • 4 cups (1 quart) buttermilk (It’s really best if you use the real buttermilk here and not that trick to make buttermilk out of milk and lemon).
  • 1/2 cup canola oil or applesauce (hint: canola oil works best!)
  • 1 tsp. real vanilla extract
  • Optional: blueberries, chocolate chips*, or your choice of small fruit to mix into batter.

**Omit chocolate chips to make it IC safe.  

DIRECTIONS:

  1. In stand mixer or in a large bowl, combine all ingredients with a whisk attachment or a whisk.  Whisk until smooth.
  2. Preheat your waffle maker according to the maker’s directions.  Decide if you need to spray your waffle maker with nonstick spray.  We have found it helps to release.
  3. Depending on the size of the wells of your waffle maker, pour just enough batter in it to fill up the wells just enough.  Read your manual for recommendations.
  4. Makes approximately 15-20 waffles, depending on size.

Basic Crêpe Batter

crepes


I had a very successful crêpe experience and wanted to share the recipe and tips.  This is one of those recipes high in technique so it’s extra critical to follow the directions to the letter.  Whether you like them sweet or savory, there’s a crêpe for you!  Enjoy!

INGREDIENTS:    (Makes about 7-10 crêpes depending upon batter usage, so you can double this if you like).

  • 2 eggs
  • 1/2 cup milk
  • 1/2 cup water
  • 1 cup flour
  • 1/4 tsp. salt
  • 2 T. melted butter
  • (To make it richer, omit the water and use 1 cup of milk instead.  This is what I did.)
  • (To make it sweeter, add 2 T. sugar and 1/2 tsp. vanilla.  I did this also.)
  • (To make it more savory, add 1 T. chopped fresh herbs.)

DIRECTIONS:

  1. Blend batter ingredients in a blender until combined.
  2. Let batter stand 30 mins. at room temperature, or cover and chill up to 48 hours.  (I left mine to refrigerate one day).   This gives the flour time to absorb the liquid and the bubbles time to subside.
  3. Heat a nonstick skillet or crêpe pan over medium heat.  Brush lightly with melted butter or vegetable oil.  Make sure you brush just a little butter on and you only need to do it every few crêpes, as needed.  With less butter/oil, the crêpe browns better!
  4. Ladle batter (about 1/4 cup for an 8″ skillet) in center of pan.
  5. Working quickly, tilt the skillet, and swirl the batter around to coat the entire bottom.  It should be very thin!
  6. Cook until the edges pull away from the pan, the top loses its sheen, and the bottom is lightly browned, 45 sec to 3 min. depending on your skillet size and heat level. Use a thin heatproof spatula to loosen the crêpe from the pan and lift an edge.
  7. Grasp the raised edge with your fingers and flip the crêpe over in one quick, fluid motion. You can also use the spatula.  Cook until the second side is lightly browned, 15 sec to 1 minute more.
  8. Slide the crêpe onto a plate.  Repeat steps 3 to 5 with the remaining batter, buttering the skillet only as needed and stacking the finished crêpes.
  9. Hint: the first crêpe is usually garbage because your skillet is getting to the proper temperature, so don’t give up!
  10. Eat plain or fill with toppings – sweet, fruity, or savory, roll up and enjoy!

“Bisquick” Ultimate Chicken Fingers

bisquick-chicken1 bisquick-chicken2

I obviously found this recipe on the back of a Bisquick box.  I usually don’t try many recipes on the backs of packages but had exceptional luck with this one!  It tastes really good – you really taste the Parmesan, the breading stays on, and you taste the perfect idea of drizzling butter over the chicken before baking!  I have tried many non-fried chicken finger recipes over the years and this is the only one I really like.  I made it eggless with a simple change, noted below. Approximately 4 servings but I’d say more 2-3.  Enjoy!

INGREDIENTS:

  • 3 boneless skinless chicken breasts (about 1 lb.), cut crosswise into 1/2-inch strips
  • 2/3 cup powdered Bisquick mix (If you want it eggless buy a brand like powdered Krusteaz’s pancake mix, always check ingredients, click here to see which one I bought.)
  • 1/2 cup grated Parmesan cheese
  • 1/2 tsp. salt or garlic salt
  • 1/2 tsp. paprika
  • 1 egg, slightly beaten (I just substituted whole fat half and half, or you could use milk – anything to get the meat wet).
  • 3 T. butter, melted

DIRECTIONS:

  1. Heat oven to 450* F.
  2. Line cookie sheet with foil and liberally spray it with cooking spray.
  3. In 1 gallon resealable food storage plastic bag, mix pancake mix, Parmesan cheese, salt, and paprika.  Seal bag and shake to combine.
  4. Dip HALF the chicken strips into the egg (half and half or milk), place in bag.  Seal and shake to coat thoroughly.  Place chicken on cookie sheet.  Repeat to use up remaining chicken.
  5. Drizzle melted butter over chicken (it adds a ton of flavor, do it!) (see photo 2 for details.)  Next time I’ll use a bigger pan, I didn’t expect it to be crowded like that, but it cooked just fine.  
  6. Bake 12-14 minutes, turning halfway through bake time with pancake turner, until no longer pink in center and registered safe with an instant-read thermometer.

Dilled Potato and Green Bean Salad * (Not IC Safe)

dill-potato-green-bean-salad-Jan


Here’s a very scrumptious carb and vegetable combo side.  You have the perfectly cooked red potatoes with the fresh green beans mixed together in a savory red wine vinegar/oil sauce similar to a German potato salad flavor.  Since the “six medium potatoes” is a little vague of a measurement, I used four medium potatoes because that looked like enough potatoes for four servings.  Don’t use frozen green beans here, this is a 100% fresh-from-the-produce-section recipe.  This recipe was from Daily Bites Blog -click here.  I omitted the scallions and added more dill and parsley.  Enjoy!


INGREDIENTS:

  • 6 medium red-skinned potatoes, scrubbed and cut into 1-inch chunks
  • 1/2 lb. green beans, trimmed and cut into 2-inch pieces
  • 2 scallions, white and green parts thinly sliced**
  • 1/4 cup parsley, finely chopped
  • 2 tbs. fresh dill, chopped (from about 4-5 sprigs)
  • 2 tbs. extra virgin olive oil
  • 2 tbs. red wine vinegar**
  • Sea salt and black pepper, to taste**

**Known IC irritants, tread carefully!

DIRECTIONS:

  1. Cover potatoes by 2-inches with cold water in a large pot. Bring to a boil over high heat. Cook at a rolling boil for 7 minutes.
  2. Add green beans; continue to boil for 5 minutes or until potatoes are just tender when pierced with a knife but not falling apart. They will continue to soften a bit as they cool, so do not overcook them. Drain vegetables well.
  3. Toss boiled vegetables with scallions and herbs (see hint below). Drizzle with oil and vinegar. Season to taste with salt and pepper. If the salad needs more kick, add additional vinegar and salt. If it’s too tangy or salty, add an extra splash of olive oil.
  4. My added hint: Don’t mix too much while this mixture is piping hot.  Even if you don’t overcook the potatoes, if you mix hot potatoes round and round with the sauce, your potatoes will get mushy.  So let it cool slightly and gently fold veggies & sauce together. 
  5. Serve warm, room temperature, or chilled. Every way is delicious!


Julia Child & Jacques Pépin Cauliflower Au Gratin

au-gratin-1 au-gratin-2

I’m watching the entire series with Julia Child & Jacques Pépin Cooking at Home.  It’s wonderful; too bad there were only 22 episodes made before she passed on.  I liked how they joked together and enjoyed cooking with one another.  Anyway, instead of cream I used half and half because that’s what I had.  I bought a block of swiss cheese and grated it myself.  I put a little grated Parmesan on top of the dish before it went in the oven.  It’s really yummy and is a great recipe for a vegetable not many people prepare anymore.

Note: It makes 6-8 servings, next time I will halve the recipe just for the two of us.

INGREDIENTS:

DIRECTIONS:

  1. Preheat the oven to 400°F.
  2. Turn the cauliflower upside down and cut all around the stem with a sharp knife, slicing off the tough leafy stems that are attached to it. Pick off any remaining leaf pieces that may still be attached. Do not cut the florets apart.
  3. Put the cauliflower, stem end down, into a large pot with an inch of water and 1/4 teaspoon salt. Cover tightly and bring to a rapid boil. Cook until you can pierce a floret with a sharp knife (about 8 minutes). Carefully lift the cauliflower out of the pot and place it in the gratin dish to cool slightly.
  4. Turn the cauliflower upside down, and slice all around the core, through the floret stems, so the head falls apart. Arrange the florets in a single layer round side up, then chop up the cooked core and scatter the pieces in the dish. Reserve the cooking water for the sauce.
  5. Pour 2 cups of milk, and 1/2 cup cooking water, and 1/2 cup heavy cream into a saucepan and heat slowly. Do not boil!
  6. Melt the butter in a large saucepan and whisk in the flour to make a loose paste. Cook over medium heat for about 2 minutes while stirring constantly. Don’t let it color more than a light beige.
  7. Remove the roux from the heat. Pour the milk mixture into the roux and whisk vigorously to blend. Return to the heat and bring to a gentle boil, stirring constantly. Whisk in 1/2 teaspoon of salt, 1/8 teaspoon white pepper, and a pinch or two of nutmeg. Taste, adjust seasoning as needed to suit your taste. Simmer for 2 to 3 minutes, stirring constantly with a wooden spoon. The sauce should be thick, but pourable. If necessary, thin with a bit of milk or cooking liquid, stirring to blend well, and adjust the seasonings if needed.
  8. Season the florets with 1/8 teaspoon each salt and pepper, and scatter 1/4 cup of the grated cheese over the top. Set the gratin on a cookie sheet, then ladle or pour the sauce over the cauliflower. Sprinkle on the rest of the cheese.
  9. Place the sheet on the middle rack of the oven and bake until the sauce is bubbling and the cheese is browned, about 25 minutes.
  10. DO AHEAD NOTE: The assembled gratin can be made several hours ahead, and store, well wrapped in the refrigerator. Preheat the oven to 375F and allow 30 to 40 minutes for heating the gratin and browning the cheese.

Cheddar Cheese Loaves (No Yeast and Easy)!


cheesequickbread3cheesequickbread2

cheesequickbread1

I came across this recipe in an insert of Rachael Ray’s magazine.  Only six ingredients and you look like a rockstar!  I usually bake breads with yeast but thought I’d give it a try.  It was as simple as a quick bread with the taste of something more.  Also, it makes two loaves so I ended up freezing some slices and they came back perfectly!  Try it!

INGREDIENTS:

  • 3 1/2 cups flour
  • 1 1/4 tsp. salt
  • 1 tsp. baking soda
  • 3 T. butter, softened
  • 4 oz. sharp orange cheddar cheese, coarsely shredded
  • 1 3/4 cups buttermilk


DIRECTIONS:

  1. Preheat oven to 400 degrees F.
  2. Grease two 5×9″ loaf pans.
  3. In a large bowl, whisk together the flour, salt, and baking soda.
  4. Using your fingers, mix 2 T. butter into the flour mixture until well incorporated (it should look like sand here).
  5. Add the cheese, toss to coat.
  6. Add the buttermilk and stir until the dough just comes together.
  7. Divide between the pans, smooth the tops.
  8. Cut a shallow cross all the way across the tops of the loaves.
  9. Thinly slice the remaining 1 T. butter.  Place the butter in the cuts in each loaf. (see 3rd photo).
  10. Bake until the top is browned and a tester inserted in the center comes out clean, 25-30 minutes.
  11. Let cool in the pan at least 30 minutes before slicing.

Fast Homemade Pizza Crust

pizza-fast-crust-1


Happy New Year 2015!

This is a great quick pizza dough!  If you’ve baked with yeast, you know that the words ‘quick’ and ‘dough’ do not go together.  Sure, it’s a quick reaction for the yeast starter, but you usually have to wait for the dough to rest, rise, repeat.  It can be a whole day affair of a waiting game.  

pizza-fast-crust-2

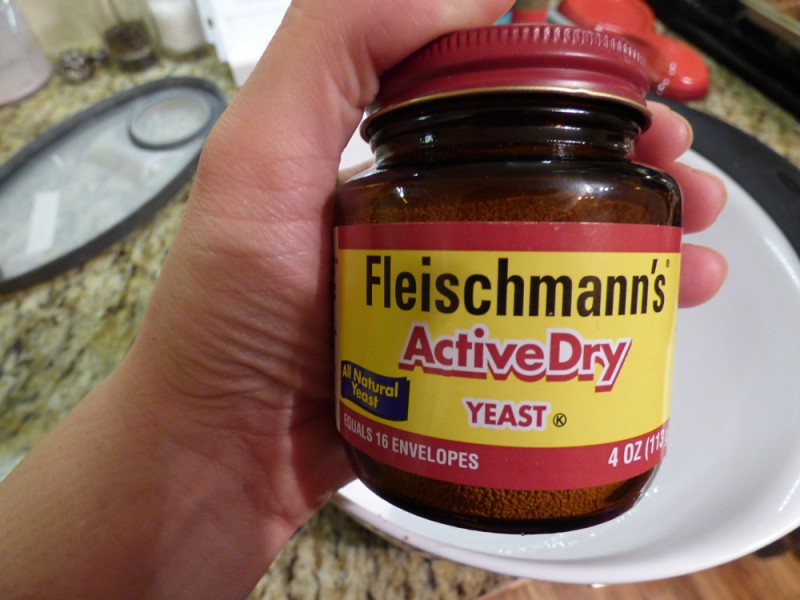
If you’re going to make bread or doughs more often than once or twice a year, I suggest trying this glass jar of yeast, which must be refrigerated after opening.  It is more convenient to dip your measuring spoon in here versus opening tiny packets and deal with waste packaging.  For reference 2 1/4 tsp. equals a standard envelope of active dry yeast.  I know this by heart now.  I spoon out my 2 1/4 tsp. and run it back to the fridge immediately.  

pizza-fast-crust-3

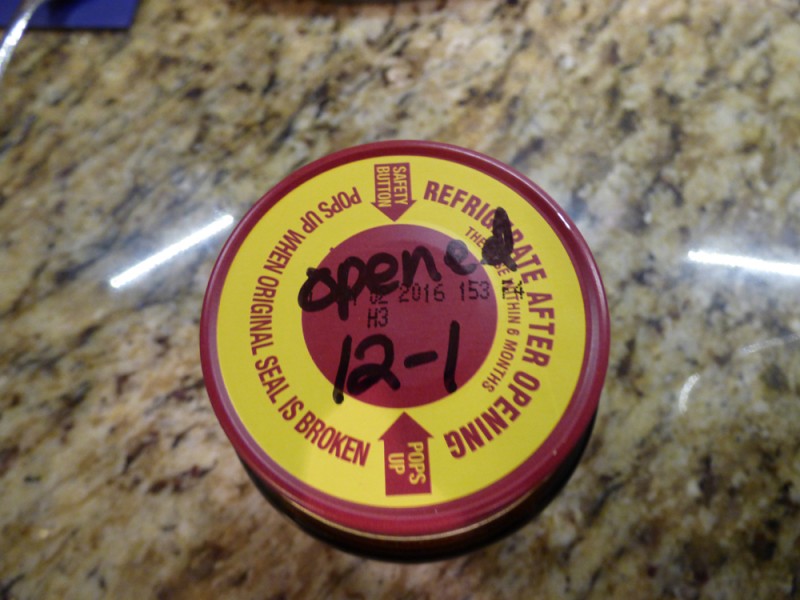
I also put the date I opened the yeast on the top of the jar in Sharpie.  Fresh is best – use within 6 months.  I’ve never had an issue with that because I make a lot of breads and such.

pizza-fast-crust-4

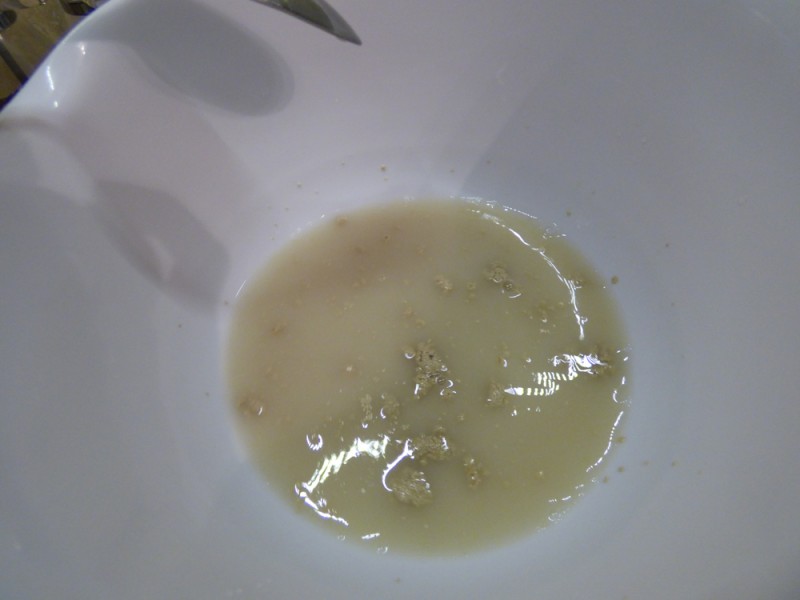
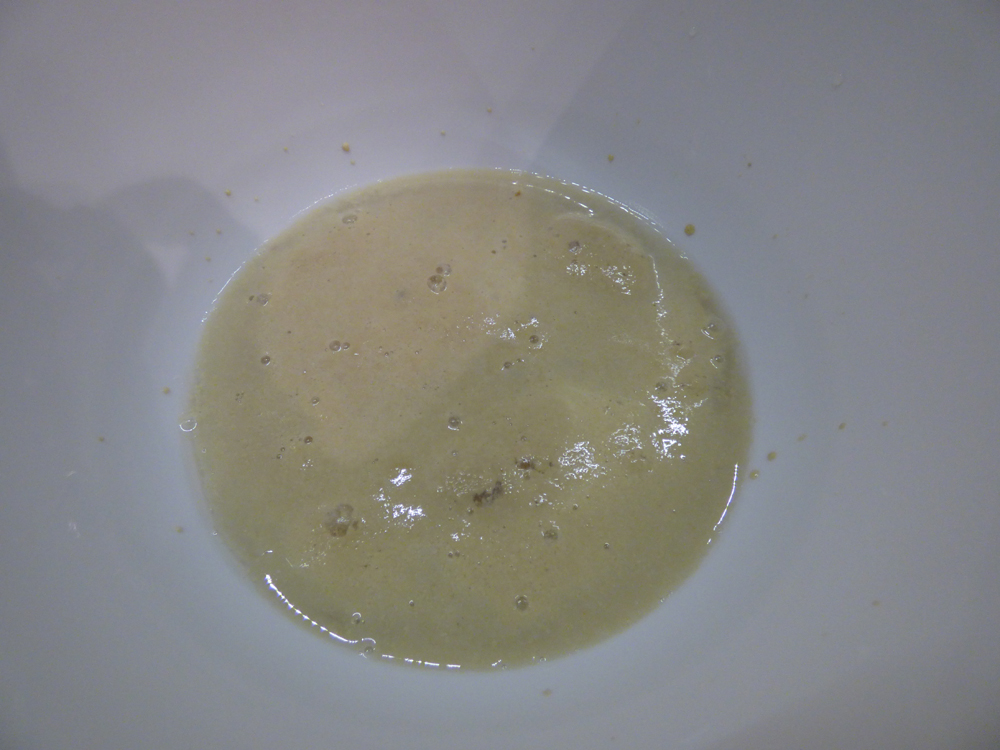
This photo above shows what it looks like about a minute after combining the yeast, sugar, and warm water (110 degrees) together.  You will see a few clumps of yeasty goodness.  But wait a few minutes and the real fun begins.  

pizza-fast-crust-5

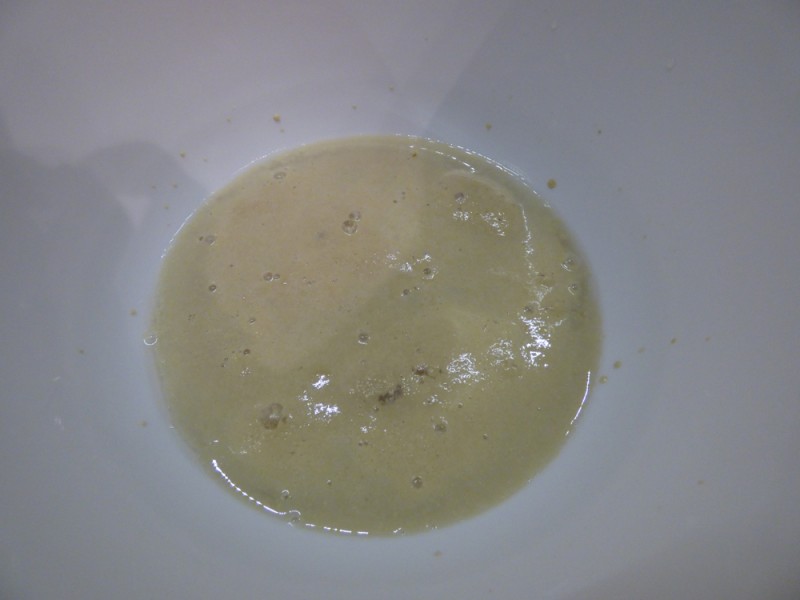
Above, after about 5-10 minutes of leaving the three ingredients together, you can see the little yeast reactions have overtaken the top of the water.  If you watch it at the right time, you can see all the bubbles and yeast come up and it’ll spread rapidly across the surface.  It’s fun to watch it at the right time – not that you have to do anything here- just watch. 

pizza-fast-crust-6

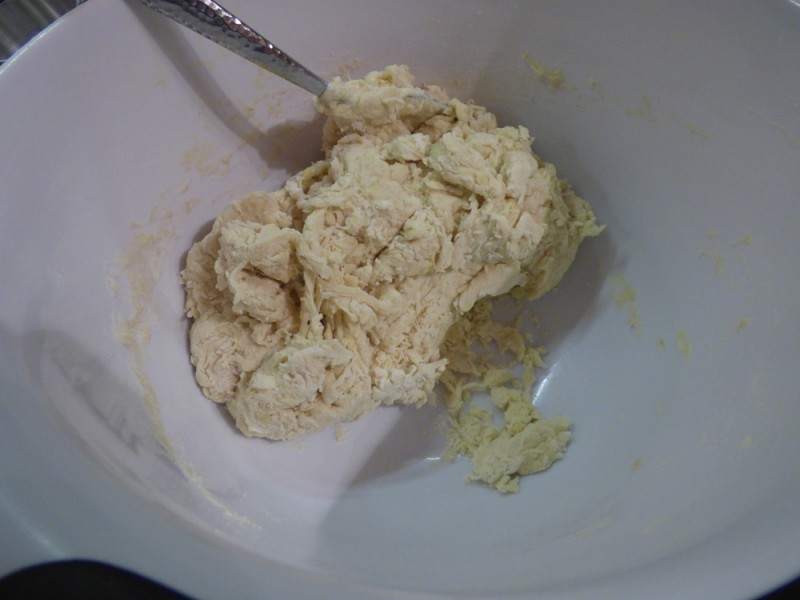
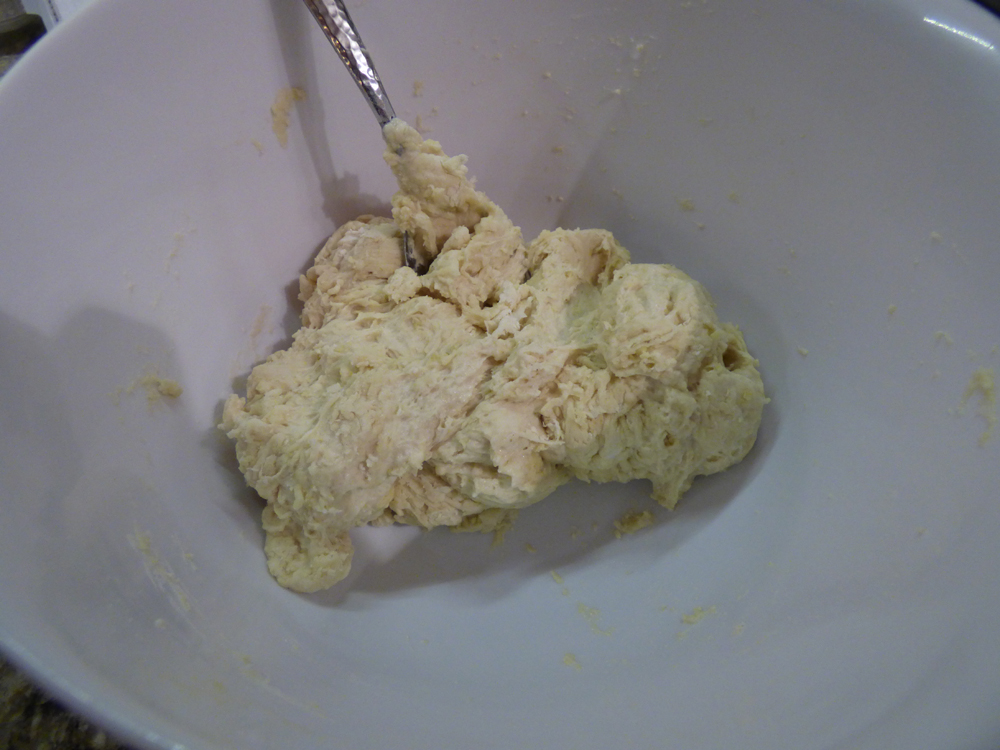
Above, after you mix in your flour, salt, and olive oil you will see the dough form.  I made my pizza crust in the dead of dry winter, so it needed additional water to mix thoroughly.  You can see the dry remainders on the bottom of the bowl that won’t absorb into the dough.  Add a tsp. of warm water at at time until it absorbs – but don’t add too much water!  Otherwise, your dough will be gummy and too sticky to roll (and a huge mess!), and you’ll have to add more flour!  And then we get into a circle effect of issues.

pizza-fast-crust-7


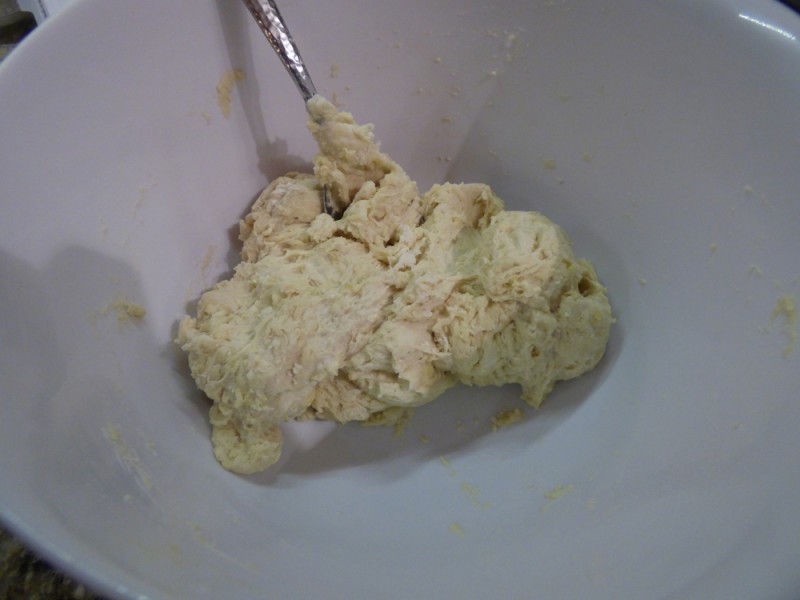
Above, a perfect amount of water and flour mixture equals a good dough.  

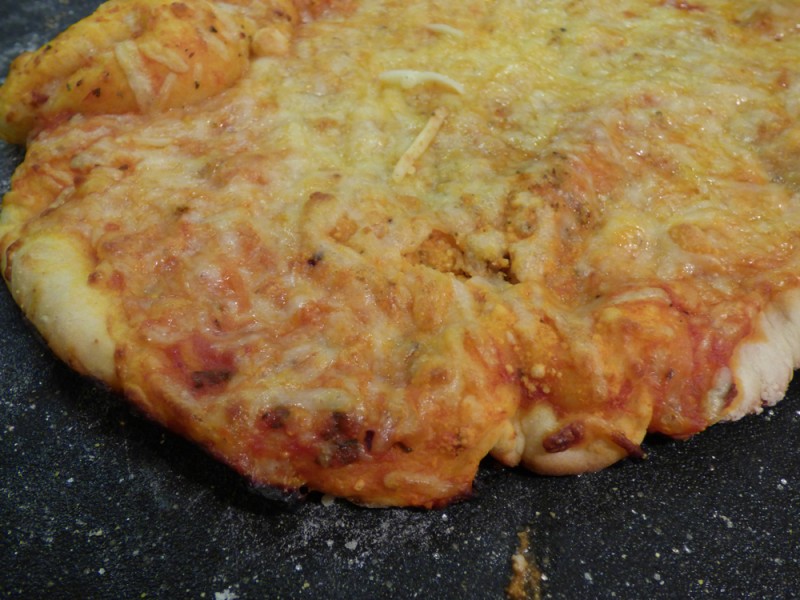
I’m telling you right now, even though this pizza crust is quick and easy, it is NOT as good as doing it the long way.  My other recipe for a pizza crust always turns out and tastes better, but this is a quick, we-need-it-now! dough.  If you want the best pizza crust, try this one.


INGREDIENTS:

  • One package of active dry yeast (.25 oz) or 2 1/4 tsp. active dry yeast from the scoopable jar
  • 1 tsp white sugar
  • 1 cup warm water (approx. 110 degrees F)
  • 2 1/2 cups bread flour
  • 2 T. olive oil
  • 1 tsp. salt


DIRECTIONS:

  1. Preheat oven to 450 degrees F.
  2. In a medium bowl, dissolve yeast and sugar in warm water.  Let stand until creamy and activated, about 10 minutes.
  3. Stir in bread flour, salt, and oil.  Mix until smooth.  Let rest 5 minutes.
  4. Turn dough out onto a lightly floured surface and pat or roll into a round.
  5. Transfer crust to a lightly greased pizza pan or peel dusted with cornmeal to prevent sticking.
  6. Spread with desired toppings and bake in a preheated oven for 15-20 minutes, or until golden brown.  Cool 5 minutes before serving.