Old School Simple Rice Pudding *

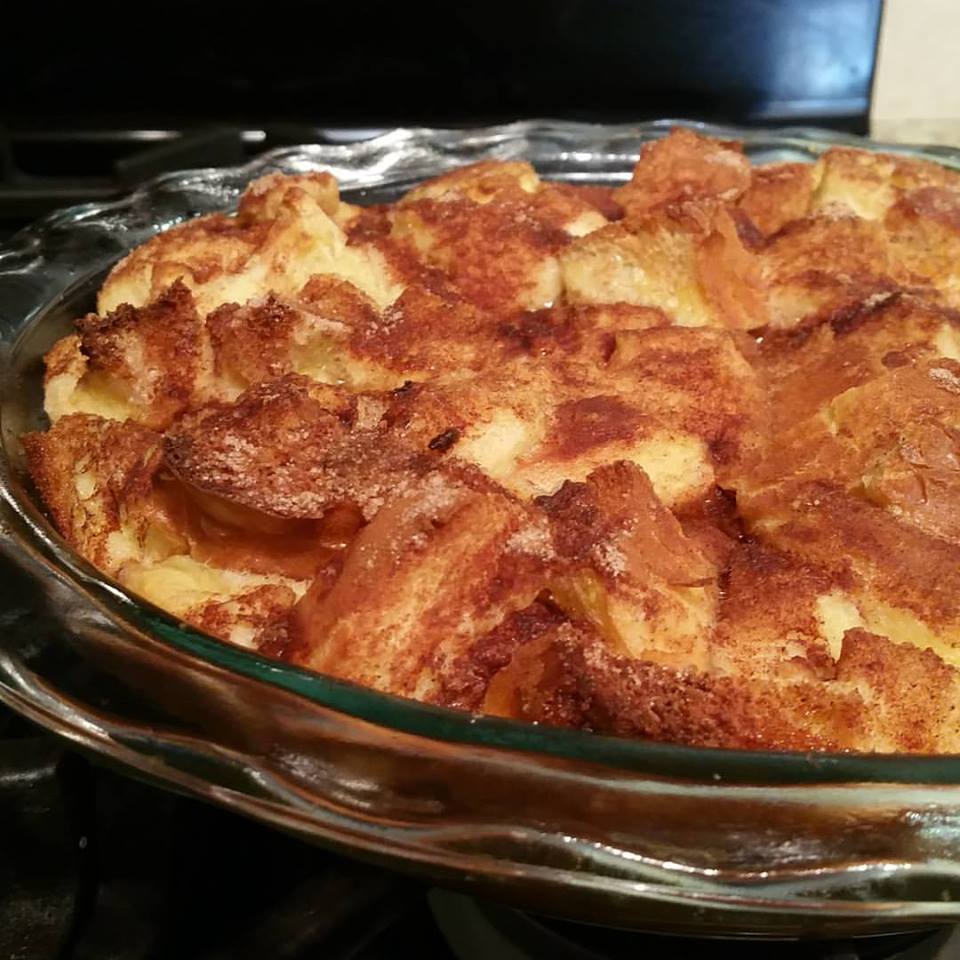
The photos can’t possibly do this rice pudding justice, but it’s the best I’ve ever made!  I highly recommend making this at least 6-12 hours before you are serving it, preferably a day ahead of time.  When it’s fully chilled, the flavor really deepens and becomes perfectly sweet and creamy.  Just believe me!  I use homemade vanilla and I doubled the amount of vanilla I added.

As of 3/2018, I can no longer tolerate vanilla or cinnamon.  So, I omit these and it still turns out good, but not as flavorful, of course.

INGREDIENTS:

  • 3cup medium grain rice or 34 cup long grain rice
  • 1 1cups water
  • 1teaspoon salt (heaping)
  • 4 cups whole milk (I use 2%)
  • 1cup sugar
  • 1teaspoon vanilla*
  • cinnamon (optional)**
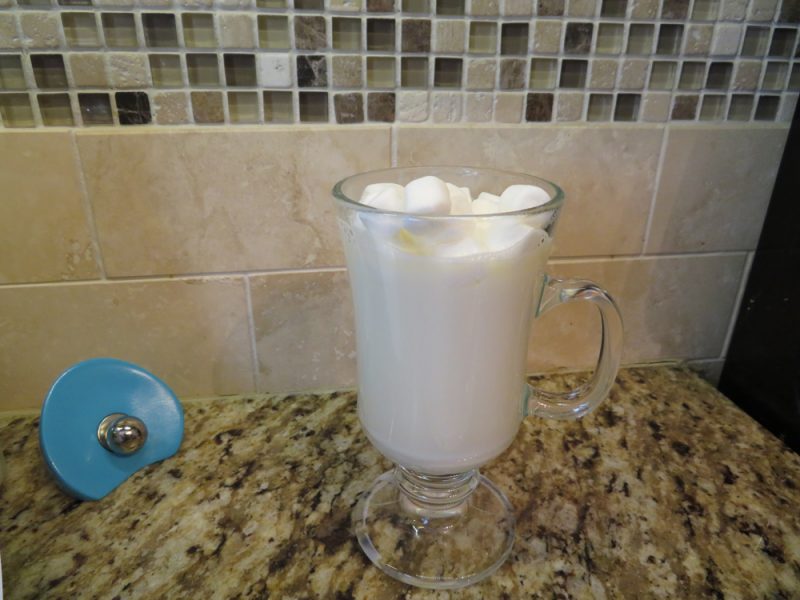
  • whip cream (optional)

NOTES: *Vanilla can be an irritant to some, I had to stop using it.  

**Cinnamon is a known irritant, remove if it bothers you. 

DIRECTIONS:

  1. Bring rice, water and salt to a boil over med-high heat.
  2. Simmer covered until water has been absorbed (approximately 15 minutes).
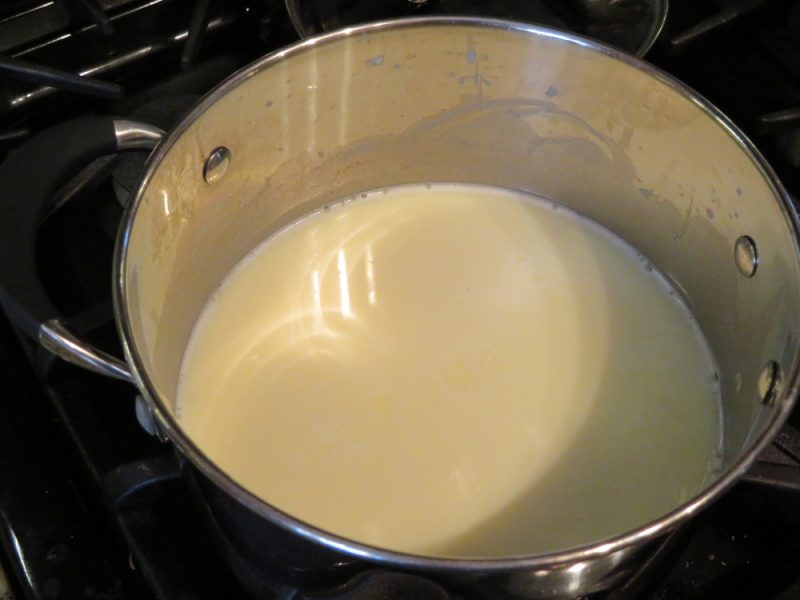
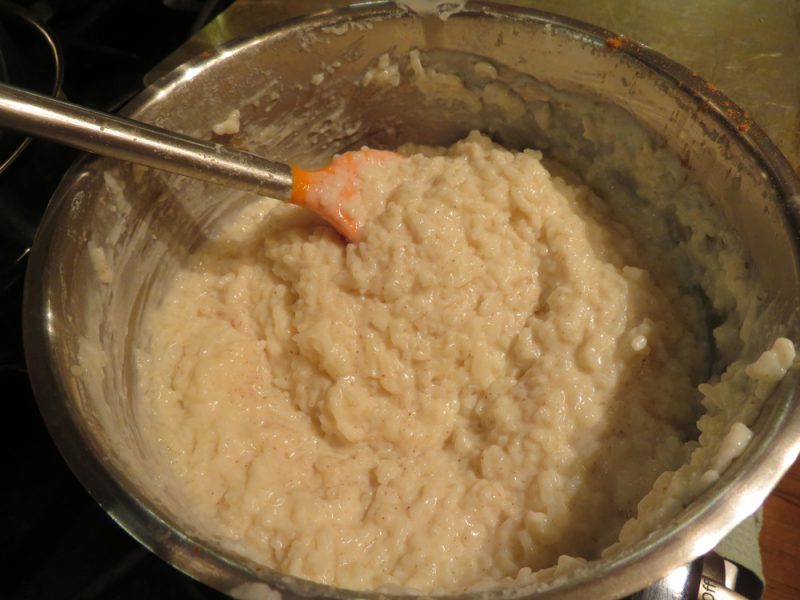
  3. Stir in milk and sugar and cook uncovered over medium heat for 30-40 minutes, stirring frequently–especially towards the end of cooking.
  4. The pudding is done when the rice and milk have amalgamated into a thick porridge-like consistency.
  5. DO NOT OVERCOOK or the pudding will be solid instead of creamy once cooled.
  6. Remove from heat and stir in vanilla.
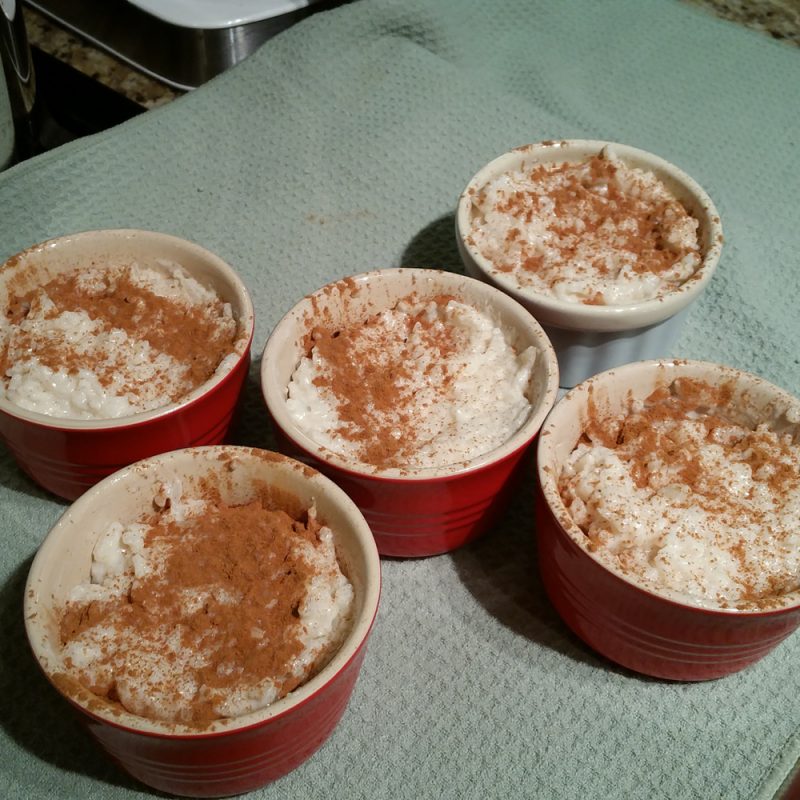
  7. Pour into a bowl or cups. (I use ramekins for a nice portion).
  8. You can sprinkle cinnamon on the top if you like.
  9. COVER with plastic wrap directly on surface “IF” you don’t want a skin.
  10. CHILL approx. 6 hours or more, preferably overnight for best flavor.  Serve with whip cream if desired.

Easier Garlic Cheesy Flatbread

I have posted another garlic cheese flatbread before, which involved making your own dough.  While it’s tasty, that recipe does have a bit of waiting and work involved.  Tonight I tried the same theory but with refrigerated pizza crust.  It tasted just as good, if not better!  Hooray.  So here is the recipe that saves a lot of time!

OLD RECIPE:  If you want to see my previous recipe, with the homemade dough, click here.  It takes longer, but if you don’t have refrigerated pizza dough on hand, it’s a great recipe!

You will find the refrigerated pizza crust near where your grocer keeps refrigerated biscuits and crescent rolls.


INGREDIENTS:

  • 13.8 oz. refrigerated pizza crust
  • 2 tablespoons unsalted butter, melted/softened
  • 1 tablespoon garlic powder
  • 1/4 cup grated Parmesan cheese
  • 1 cup+ shredded mozzarella or Italian blend cheese (add as much as you want!)
  • OPTIONAL but great:  Any Italian spices you prefer: basil, oregano, Italian seasoning, etc.

DIRECTIONS:

  1. Preheat oven to 350* F.
  2. Prepare your 17″ x 11″ baking sheet pan by putting aluminum foil on the bottom of it.  Lightly spray with any cooking spray like PAM so your dough doesn’t stick.
  3. Remove refrigerated pizza dough from packaging.  Use a rolling pin to roll to a suitable size to fit into the  17″ x 11″ baking sheet pan, previously mentioned.
  4. Spread melted or softened butter on the top of the raw dough.
  5. Sprinkle with garlic powder, Parmesan cheese, and mozzarella/Italian blend cheese.  Add spices if desired.
  6. Bake for approximately 20 minutes, or until golden brown and cheesy looks bubbly (and happy).
  7. Cut into slices and serve! 🙂


Easy Banana Muffins *


INGREDIENTS:

  • 3 large bananas (ripe, preferably with brown spots)
  • 1/2 cup white sugar
  • 1 egg (or use egg-replace like “Neat Egg” like we did), slightly beaten
  • 1 teaspoon baking soda
  • 1 teaspoon baking powder
  • 1 1/2 cups all-purpose flour
  • 1/3 cup melted butter
  • 1/2 teaspoon salt
  • chopped nuts (optional, but great) —Think walnut, cashew, peanut, etc. I used cashew, it was fantastic. **
  • Chocolate chips (optional)**

**Chocolate chips are not IC safe so please substitute or omit.

**Use unflavored nuts!  If you don’t check, you may purchase peanuts that have onion and garlic flavors in them.  Check your ingredient label.


Pro Tip:  if you want to save money, buy your nuts at ALDI or pay the price, literally.  I love all their nuts that I can have, but I especially love their giant, plump cashews.
DIRECTIONS:

  • Mash bananas with a fork.
  • Add sugar and the slightly beaten egg.
  • Stir in melted butter.
  • Stir in dry ingredients: baking soda, baking powder, flour, salt, nuts, and chocolate chips.
  • Put liners in your medium size muffin pans.  Spoon batter into your liners.
  • Bake approximately 20 minutes at 350* F.
  • Use a toothpick to check for doneness – also, they should be slightly golden brown.

Blueberry Hill Bread -Cook For The Cure Recipe

img_1770img_1762 img_1763 img_1764 img_1765 img_1766 img_1768


Here’s a fantastic blueberry bread that whips together quickly!  It features just a few simple ingredients.  Since you mix just until moistened, you can avoid using the stand mixer or electric mixer.  Highly recommended!

I got this book free via a promotion from ABT Electronics in Glenview, IL.  It’s a book called KitchenAid “Cook For The Cure” – Susan G. Komen.  Thanks, ABT!

Note: Frozen blueberries worked fine, I ran out of fresh.


INGREDIENTS:

  • 3/4 cup buttermilk
  • 1 egg
  • 3 tablespoons vegetable oil or melted butter –(I used butter)
  • 2 cups all-purpose flour
  • 3/4 cup packed brown sugar
  • 2 teaspoons baking powder
  • 1 teaspoon baking soda
  • 1 teaspoon salt
  • 1/2 teaspoon ground nutmeg
  • 1 cup fresh or frozen blueberries

DIRECTIONS:

  1. Preheat oven to 350F.  Grease 8×4″ loaf pan.
  2. Combine buttermilk, egg, and oil in small bowl.
  3. Combine flour, brown sugar, baking powder, baking soda, salt, and nutmeg in large bowl.
  4. Stir in buttermilk mixture just until moistened (batter will be lumpy).  Do not overmix.
  5. Fold in blueberries.
  6. Spread batter in prepared pan.
  7. Bake 50-60 minutes or until toothpick inserted in center comes out clean.
  8. Cool in pan 15 minutes.
  9. Remove to wire rack to cool completely.


Easy Bread Machine Rolls – Perfect for Thanksgiving! (And Eggless!)

img_1712

img_1713

img_1714

img_1706 img_1708 img_1710 img_1711


I finally found a bread machine recipe for fresh rolls that is eggless and easy!  Many bread roll recipes for the bread machine and regular baking involve eggs.  Thankfully, this one was very tasty and did not.  This is simple and uses inexpensive, common ingredients.  This makes about 20-24 rolls depending on size.


INGREDIENTS:

  • 1/4 cup canola oil
  • 1/3 cup sugar
  • 1 3/4 tsp. salt
  • 1 tablespoon active dry yeast
  • 3/4 cup warm water
  • 3/4 cup milk (I used 2%)
  • 4 cups flour (I weighed it – this equals about 500 g.)


Also needed:

  • Bread machine
  • Muffin pan (regular size) x 2 pans
  • Spatula
  • Pastry brush, etc
  • PAM spray


DIRECTIONS:

  1. Place liquid ingredients in bottom of loaf pan – including canola oil, warm water, and milk.
  2. Add other ingredients: sugar, salt, and flour on top of the liquid ingredients.
  3. Add yeast at the very top – not touching the liquid ingredients on bottom.
  4. Select the dough cycle.  (My dough cycle lasted 1.5 hours).
  5. Monitor dough cycle in about 5-10 minutes.  Scrape the sides of the pan with a soft spatula, if necessary, to scrape the flour back into the dough. (See photo #6 to see how dry flour sticks to the side of the pan).  Add a tiny bit of warm water, if needed, to get that flour incorporated into the dough.
  6. Once the dough cycle has ended, take out and shape into rolls or balls.  Place balls into muffin cups sprayed with PAM first.
  7. Leave rolls in muffin pans on counter to relax the gluten – about 20 minutes.
  8. Bake rolls at 400 degrees for 12 minutes, or until golden.  (Mine took about 15ish minutes).
  9. Using a pasty brush, brush butter on top of finished rolls.


From Bakingforboys.blogspot.com

Homemade White Hot Chocolate *

img_0605


img_0602


img_0600


I can no longer have amazing hot cocoa, coffee, and all those wonderful things.  With a very irritated I.C. bladder, I have to find another route to the joy of hot chocolate.  So I looked online and found this recipe from www.gimmesomeoven.com, and gave it a try.  I had the 2% milk and homemade vanilla on hand, so all I needed was the white chocolate.  I got a big bag of Ghirardelli white chocolate chips and gave it a whirl!  It’s creamy, whips up in about five minutes, and tastes Starbucks-like to me.

–Makes about four ample servings.  It’s a filling drink that is wonderful.  


INGREDIENTS:

  • 4 cups of milk of your choice (or you can substitute heavy cream or half and half, or do a mixture).
  • 1 tsp. vanilla extract
  • 8 oz. white chocolate, chopped into small pieces (or white chocolate chips)**
  • whipped cream or marshmallows for topping

NOTE: White chocolate and vanilla can irritate some IC sufferers, tread carefully!


TIP: Use real vanilla extract or homemade vanilla extract (click here to see my recipe).
DIRECTIONS:

  1. Stir together milk, vanilla, and chopped white chocolate in a medium saucepan.
  2. Cook over medium-low heat, stirring occasionally, until the white hot chocolate comes to a simmer.  (Do not let it come to a bowl).  *I just got the mixture very hot, I didn’t simmer it. 
  3. Remove from heat and serve immediately.  Top with whip cream or marshmallows, if desired.

ATK Rice and Pasta Pilaf *

ATK-Rice-a-roni-pilaf

I have a great substitute to Rice-a-Roni for you.  If you’re concerned, like I am, what goes into your boxed pantry goods, sometimes it’s good to make it yourself.  You will know exactly what the ingredients are and there won’t be any mystery flavorings or chemicals.  The best reward is that this tastes much, much better than the boxed version!  Thanks to America’s Test Kitchen for this recipe!  Enjoy! 🙂


*I used basmati rice because it has the most flavor for a dish like this.

*Be sure to use unsalted butter.  If all you have is salted butter, then don’t add the 1 1/4 tsp. salt. 

*I have raw and cooked onion issues so I subbed onion powder for the grated onion.

*If you want it vegetarian, replace chicken stock with vegetable broth.  


INGREDIENTS:

  • 1 1/2 cups basmati rice or other long-grain white rice
  • 3 T. unsalted butter
  • 2 ounces vermicelli, broken into 1″ pieces
  • 1 onion, grated, or onion powder *
  • 1 garlic clove, minced
  • 2 1/2 cups chicken broth
  • 1 1/4 tsp. salt
  • 3 T. minced fresh parsley

**Onion can be irritating to some IC sufferers, please know how you tolerate it first.  

DIRECTIONS:

  1. Place rice in medium bowl and cover with hot tap water by 2 inches; let stand for 15 minutes.  Don’t skip this step!
  2. Using your hands, gently swish grains to release excess starch.  Carefully pour off water, leaving rice in bowl.
  3. Add cold tap water to rice and pour off water.  Repeat adding and pouring off cold water 4-5 times, until water runs almost clear.
  4. Drain rice in fine-mesh strainer.
  5. Melt butter in saucepan over medium heat.  Add pasta and cook, stirring occasionally, until browned, about 3 minutes.
  6. Add onion and garlic and cook, stirring occasionally, until onion is softened but not brown, about 4 mins.
  7. Add rice and cook, stirring occasionally, until edges of rice begin to turn translucent, about 3 minutes.
  8. Add broth and salt, and bring to a boil.  Reduce heat to low, cover, and cool until all liquid is absorbed, about 10 minutes.
  9. Off heat, remove lid, fold a clean dish towel in half and place over pan, replace lid.  Let stand for 10 mins.  Fluff rice with fork, stir in fresh parsley, and serve.


Peach Blueberry Banana Smoothie *

This is a ‘recipe’ for a very tasty smoothie that I discovered myself.  Smoothies don’t need a recipe, you just need complimentary flavors and enough liquid.  No pic of the actual result this time, it was so good it was gone in moments. Just imagine a purple smoothie.  No measurements needed, eyeball this one!  Play with the amounts of ingredients.  It will be fine!

INGREDIENTS:

  • 1 peach, room temp. or refrigerated, cored and sliced
  • Approximately 1/3 cup to 1/2 cup frozen blueberries
  • Approximately 1/2 cup frozen sliced bananas**
  • Approximately 1 cup 2% (or your choice of fat) milk

Make sure these fruits are safe for  you!  They are IC safe for some.

DIRECTIONS:

  1. Pour your milk into the blender.
  2. Add your peach slices, frozen blueberries, and frozen slices of bananas.
  3. Cover with lid and process until super smooth – about 45 seconds to a minute.  (We love our NutriBullet much more than traditional blenders.  It makes the ingredients pulverized into super fine bits.  Even fruit seeds are no longer annoying to eat)
  4. If the smoothie gets too thick or the blender struggles, turn off blender, and add more milk, cover, and re-process.
  5. Enjoy!!

** When your banana is too ripe or on it’s way out, take off the peel, and slice it up.  You have two choices:

1) You can be lazy like I am sometimes and throw your banana slices into a Ziplock bag and put it in the freezer.  This works better for bananas than berries.  Bananas will freeze and clump together but they’re still seperate-able.  With berries, I recommend #2.

2) With berries or if you have time to freeze bananas the right way: slice your bananas and lay them on a parchment paper or aluminum foil-lined plate, making sure they don’t touch.  Freeze them for a few hours (1-2 hours).  Then take them off the plate and put them in a freezer bag, and label.  Initially freezing them separately keeps them from becoming a massive berry lump!  I’ve been there and learned the difficult way. LOL

ATK Buttermilk-Ranch Pita Chips *

pita-chips-1

pita-chips-3

ABOVE: Use pita pockets for easiest cutting.  I have made this recipe twice and using the pita pockets was infinitely easier to cut and resulted in uniform thickness chips versus cutting a non-pita pocket myself.

pita-chips-4

(ABOVE: Alternate wedges in order to fit maximum number of chips on the pan).

Buttermilk-powder-I-like

(ABOVE: The brand I buy for buttermilk powder).


I just subscribed to the three website deal on Americastestkitchen.com, that includes access to Cook’s Country website and Cook’s Illustrated.  So, you may be seeing a lot of these recipes from now on, since they are such a trusted source I will be making many of them.  I saw this recipe on the Cook’s Country website and had to try it immediately!  Everyone that has tasted it has ranted and raved about it.

Buttermilk powder is in the baking aisle at your larger, well-equipped stores.  It was maybe $5-6 and I had just bought it a month before this recipe came along for those instances where you need 1 cup of buttermilk and don’t want to buy a $4 container and have the rest go to waste.

****I had just run out of dried dill, it had lost all flavor and I threw it out.  So I went with dried parsley and it was fantastic!

Note: Use good quality extra-virgin olive oil here as this recipe uses a bit of it and it’s a major component!

Note #2: You can use regular or whole-wheat pita bread here.

Serves 8

INGREDIENTS:

  • Four 8″ pita breads (if you want to make life easy, but the pocket style!)
  • 1 T. buttermilk powder (see photo above)
  • 2 tsp. dried dill****
  • 1 tsp. kosher salt
  • 1/4 tsp. garlic powder (not salt)
  • 1/4 tsp. onion powder (not salt)**
  • 1/2 cup extra-virgin olive oil

**Onion can irritate some people, be careful.


DIRECTIONS:

  1. Adjust oven racks to upper-middle and lower-middle positions and heat oven to 350 degrees F.
  2. Using kitchen shears, cut around perimeter of each pita and separate into 2 thin rounds.
  3. Combine buttermilk powder, dill (or parsley), salt, garlic powder, and onion powder in bowl.
  4. Working with 1 round at a time, brush cut side generously with olive oil and sprinkle with spice mixture.
  5. Stack round on top of one another, cut side up, as you go.
  6. Using chef’s knives, cut pita stack into 8 wedges.
  7. Spread wedges, cut side up and in single layer, on 2 rimmed baking sheets. (See my photo for alternating pita chips on baking sheet to get maximum number of chips on each sheet).
  8. Bake until wedges are golden brown and crisp, about 15 minutes, rotating and switching sheets halfway through baking.
  9. Let cool slightly before serving. (They are best served slightly warm, but are great at any temperature!)


Easy French Toast Casserole *

French-toast-casserole

This is an excellent French toast casserole for breakfast or brunch.  It’s crispy on the top but just enough softness inside – NOT too gooey inside as that’s a pet peeve of mine for any French toast product.  I found this recipe in a French toast ebook.  Yes, French toast ebooks exist; c’mon get with the times! LOL  It is fantastic.  I’d say it will give you four servings if you’re famished and six servings if you appear to eat normally, or are eating it with something else.  Enjoy!

INGREDIENTS:

  • 5 cups bread cubes
  • 4 eggs
  • 1 1/2 cups milk (I used 2%)
  • 1/4 cup white sugar, divided
  • 1/4 tsp. salt
  • 1 tsp. vanilla extract**
  • 1 T. margarine or butter, softened
  • 1 tsp. ground cinnamon**

NOTE: Cinnamon is a known irritant, omit it if it bothers you.  Vanilla bothers me, so I omit it.  


DIRECTIONS:

  1. Preheat oven to 350 F.
  2. Lightly butter a 8×8″ baking pan.  (I used a 9″ round!)
  3. Line bottom of pan with bread cubes.
  4. In a large bowl, beat together eggs, milk, 2 T. sugar, salt, and vanilla.
  5. Pour egg mixture over bread.
  6. Dot with margarine/butter.  Let stand 10 minutes.
  7. Combine remaining 2 T. sugar with 1 tsp. cinnamon and sprinkle over the top.
  8. Bake in preheated oven about 45-50 minutes, until top is golden.