I.C. Bladder Safe Blueberry Bread (Eggless, Too!) *


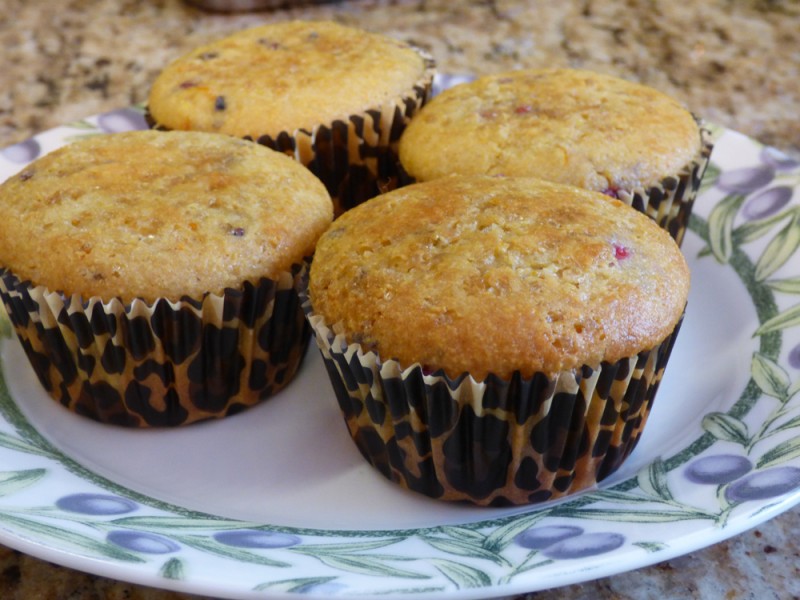
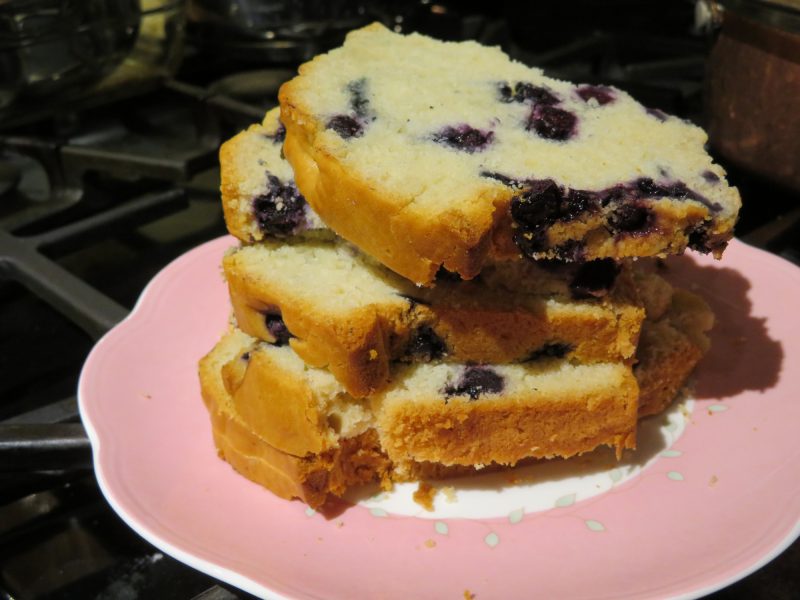
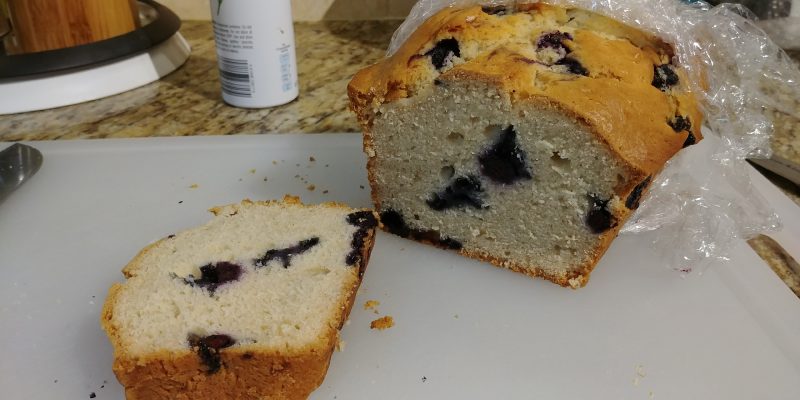
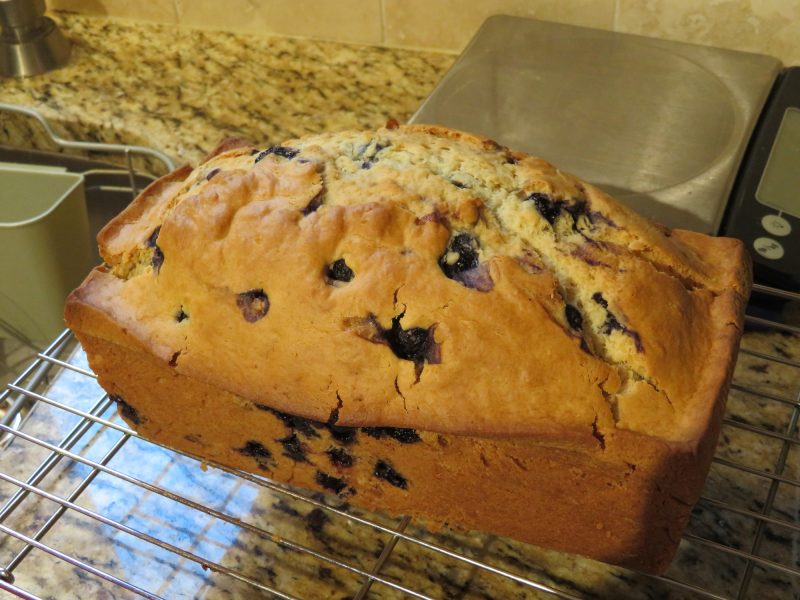
This is phenomenal blueberry bread all by itself: the texture is spot on with a bakery (even though it’s eggless!), the crust is perfectly browned, and it tastes wonderful but not sickly sweet!  What’s even more wonderful about it is it’s IC safe!  I had to edit a few ingredients and do some homework with apple juice to find one without ascorbic acid AND with added vitamin C – both IC irritants.

My husband’s allergic to eggs and I have IC (BOY are we a pair!)  So, with our combined restraints I’m pleasantly surprised and happy to find this recipe works for both of us AND is delicious.

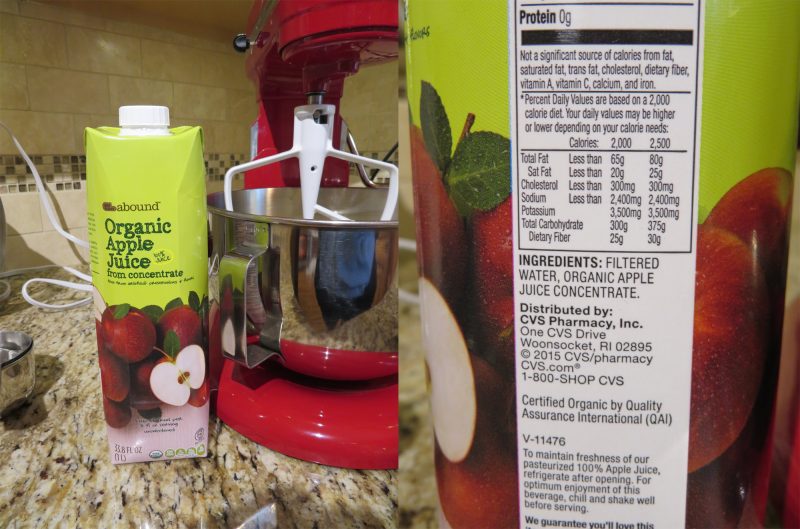
I found this safe apple juice, without added vitamin C or ascorbic acid, at CVS.  Maybe it’s somewhere else too.

Yields: one loaf


INGREDIENTS:

  • 1/2 cup (1 stick or 8 TBSP.) unsalted butter, melted
  • 3 TBSP. water
  • 1/2 cup milk (I used 2%)
  • 2/3 cup organic apple juice (check ingredients!)
  • 3 cups unbleached all-purpose flour
  • 3/4 cup granulated sugar
  • 1 TBSP. baking powder
  • 3/4 tsp. salt
  • 1/4 tsp. baking soda
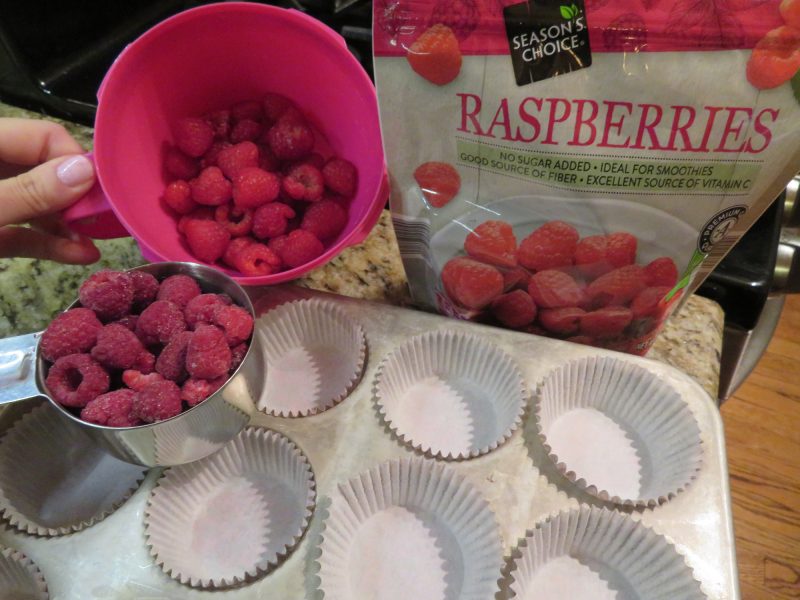
  • 1 cup blueberries, fresh or frozen (I used frozen and let them come to room temp, also increased to 1.25-1.5 cups)


NOTES: Try to find a high quality apple juice with the least amount of acids and no HFCS etc, or water it down. Acids are very irritating to the bladder.

DIRECTIONS: 

  1. Preheat oven to 350* F.
  2. Spray a 9x5x3″ loaf pan with “PAM for Baking” or a similar spray.
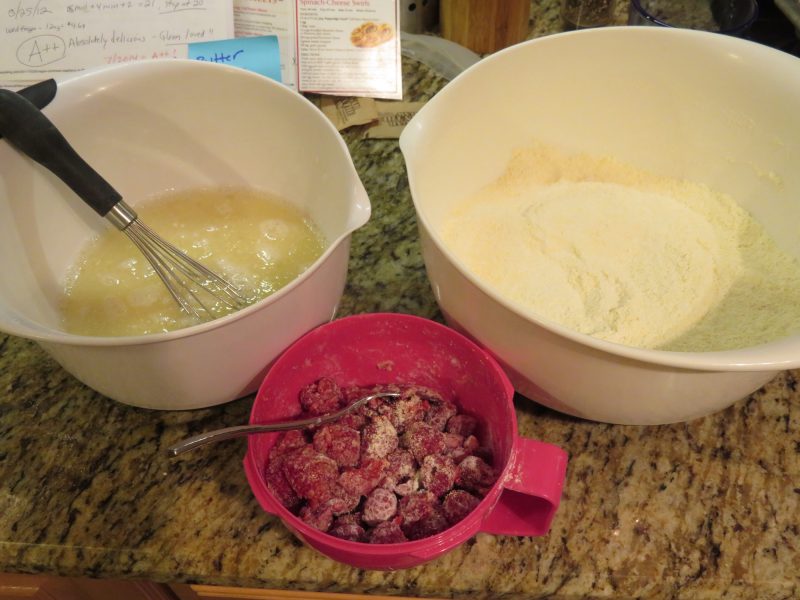
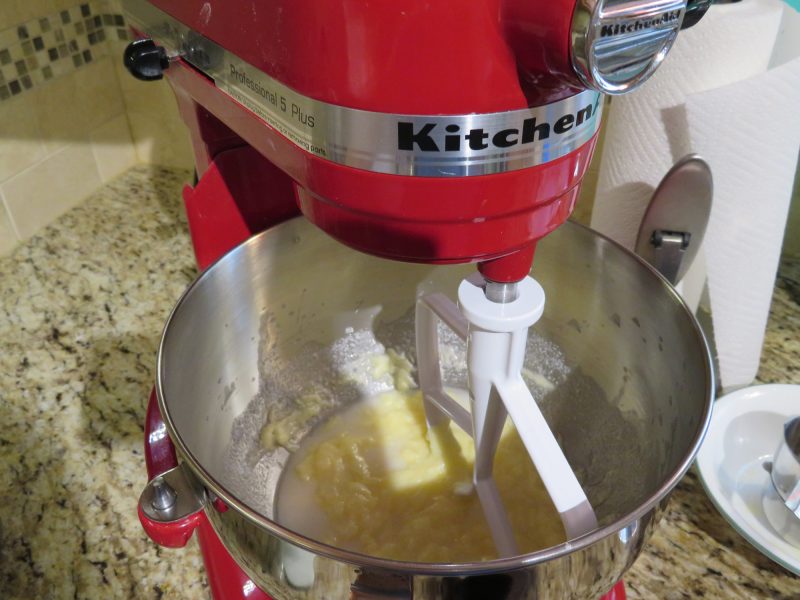
  3. In the bowl of a stand mixer fitted with a paddle attachment, combine the melted butter, water, milk, and apple juice until thoroughly combined.  At this stage the mixture will look a little unsightly and unmixed but it WILL come together later.  Trust me!
  4. In a separate medium bowl, combine the flour, sugar, baking powder, salt, and baking soda with a wire whisk.
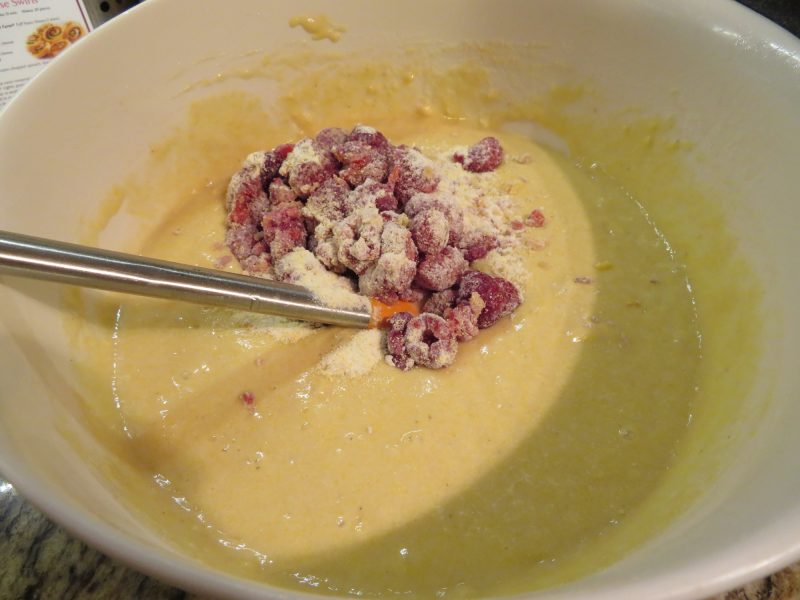
  5. Add the dry mixture to the butter mixture, and stir with a spatula until just combined.
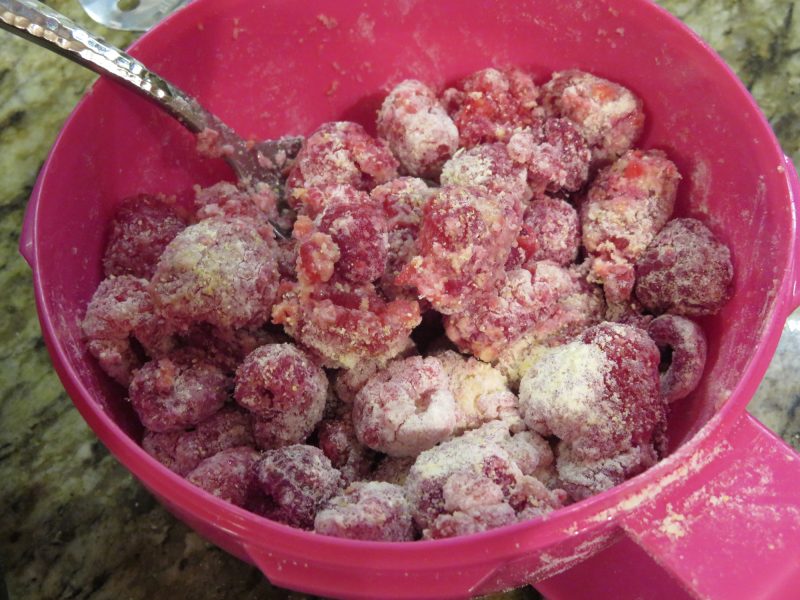
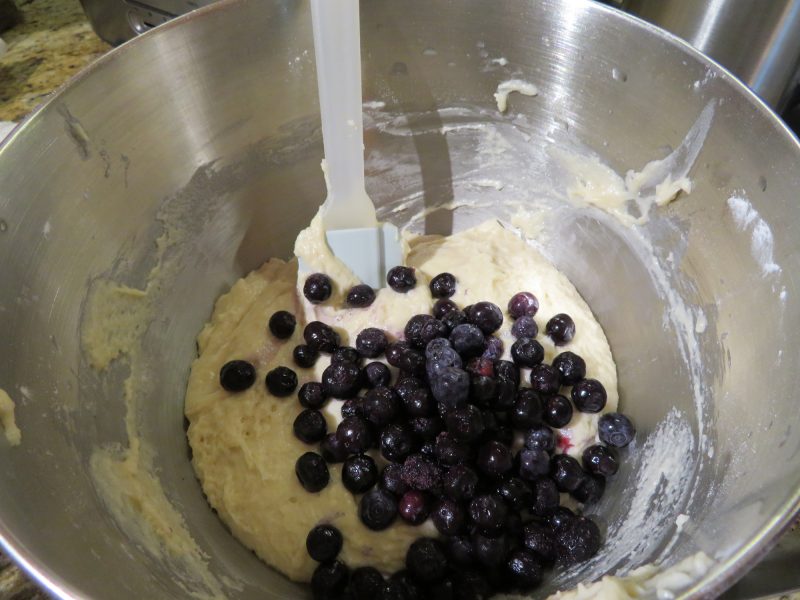
  6. Gently fold in the blueberries, trying not to crush them.
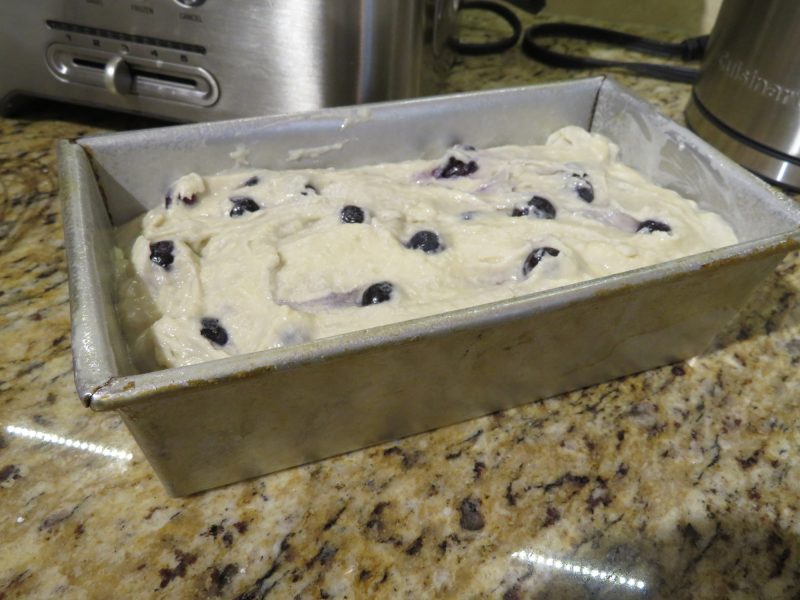
  7. Pour batter into prepared loaf pan, bake 55-60 minutes or until the top is golden brown.  (Since I added more blueberries than usual, it took me about 75-80 minutes for doneness. Don’t just rely on the golden brown crust, test it with a toothpick in center to make sure it doesn’t come out wet!)
  8. Cool completely before slicing.
Print Friendly, PDF & Email

Grilled Corn On The Cob With Fresh Herbs! *

INGREDIENTS:

  • 4 corn cobs, with husks still attached
  • 4 tablespoons unsalted butter, softened
  • coarse salt
  • fresh parley
  • fresh chives (or substitute your favorite herb)**
  • and any other seasonings you can tolerate/desire.

**Chives are from the onion family, please tread carefully as they are in the try it list.

TIP: The peeled back corn husks become a convenient “handle” when you are eating it! 

DIRECTIONS:

  1. Peel back the husk without removing it.  Pull it down in layers until you have lowered all the parts of the husk (without tearing them off!)  If you accidentally remove a piece of the husk, don’t worry, move on.
  2. Remove the corn silk fibers and discard.
  3. Use kitchen twine to tie the husk down, and knot. (See photo)
  4. Prepare your butter herb mixture by softening butter. (Either leave the butter at room temp. for 30 minutes prior to assembly or microwave for about 10 seconds).
  5. Mix butter with your desired amount of seasonings.  I chopped fresh chives and parsley from my garden, added a little freshly ground black pepper, and coarse salt.  Use whatever other seasonings you can tolerate.
  6. Use a culinary brush to smear the butter herb mixture onto all exposed parts of your corn cob, (not the husks).
  7. Heat grill to medium heat.  Place corn on grill, with tied-backed husks hanging over the edge of the grill. (You do not want the husks or twine exposed to direct heat, it will burn).
  8. Cook approximately 2-3 minutes a side until heated.
Print Friendly, PDF & Email

6 Ingredient Beef Barley Slow Cooker Soup *


Here’s a beef and barley soup that is simple to make and little work in the slow cooker!  It’s only six ingredients!  It’s delicious and very easy to throw together in the morning and have dinner steamy and tasty by evening.

If your I.C. bladder is extremely sensitive, you can definitely make your own beef broth and use safe seasoning.  Maybe for you that might be onion flakes or powder, garlic powder, and parsley.  Edit the recipe to make it safe for you! 🙂

For the ground beef I usually use 85-90% lean.


INGREDIENTS:

  • 1 lb. lean ground beef
  • 3 (14 oz.) cans beef broth or homemade (approx. 6 cups of broth)**
  • 3/4 cup quick-cooking barley
  • 3 cups sliced carrots
  • 2 cups sliced celery (chop up the celery leaves too!)
  • 1-2 tsp. of your favorite seasoning, IF tolerated

Update 3/2018: I had to stop using beef bouillon as I found out it was highly irritating to me, it had soy ingredients in it. So I either have to make my own stock or find a soy and irritant free one.  

DIRECTIONS:

  1. In skillet, brown ground beef, drain and transfer to 5 quart slow cooker.
  2. Add beef broth, barley, carrots, celery, and seasoning.
  3. Cover and cook on low for 6-8 hours depending on your slow cooker’s past performance.  (For myself, it was 6 hours on low).


Print Friendly, PDF & Email

Simple Shepherd’s Pie *

I had to find an I.C. bladder safe recipe for this shepherd’s pie.  Also, I didn’t want to use lamb and I wanted it only to have a few ingredients.  I’m a tough customer!

To make it I.C. safe I had to be safe by removing the Worcestershire sauce.  I replaced it with parsley and garlic powder.  It tasted just great!

I found this recipe on Simplyrecipes.com.  Wow.  It’s a keeper and it tastes like more than a sum of its ingredients.

This isn’t the time to skimp on the butter!!

I used 85% lean ground beef.  I did a mixture of frozen corn and peas.

I made 1 cup of beef broth and used a 1/2 cup initially, and added more as I needed it, to keep the pan from drying out.


INGREDIENTS:


  • 1 1/2 to 2 pounds potatoes (about 3 large potatoes), peeled and quartered
  • 8 Tablespoons (1 stick) butter
  • 1 medium onion, chopped (about 1 1/2 cups), or onion powder*
  • a clove of garlic or garlic powder, to taste
  • 1-2 cups vegetables—diced carrots, corn, peas
  • 1 1/2 lbs ground round beef
  • 1/2 cup beef broth
  • 1 teaspoon Worcestershire sauce*  *A known irritant.  Omit it, if you know it’ll hurt you.  
  • Salt, other safe seasonings of choice
  • parsley

*This recipe is IC safe for most, if you omit the Worcestershire sauce. Be careful with the onions, they can irritate some patients. You may want to try a few dashes of onion powder instead.    


DIRECTIONS:

1 Boil the potatoes: Place the peeled and quartered potatoes in medium sized pot. Cover with at least an inch of cold water. Add a teaspoon of salt. Bring to a boil, reduce to a simmer, and cook until tender (about 20 minutes.

2 Sauté vegetables: While the potatoes are cooking, melt 4 tablespoons of the butter in a large sauté pan on medium heat. Add the chopped onions or onion powder, a clove of garlic or garlic powder, and cook until tender, about 6 to 10 minutes.

If you are including vegetables, add them according to their cooking time. Carrots should be cooked with the onions, because they take as long to cook as the onions do.

If you are including peas or corn, add them toward the end of the cooking of the onions, or after the meat starts to cook, as they take very little cooking time.

3 Add the ground beef, then Worcestershire sauce and broth: Add ground beef to the pan with the onions and vegetables. Cook until no longer pink. Season with salt and any safe seasonings.

Add the Worcestershire sauce and beef broth. Bring the broth to a simmer and reduce heat to low. Cook uncovered for 10 minutes, adding more beef broth if necessary to keep the meat from drying out.


4 Mash the cooked potatoes: When the potatoes are done cooking (a fork can easily pierce), remove them from the pot and place them in a bowl with the remaining 4 Tbsp of butter. Mash with a fork or potato masher, and season with salt and any safe seasonings to taste.

5 Layer the meat mixture and mashed potatoes in a casserole dish: Preheat oven to 400°F. Spread the beef, onions, and vegetables (if using) in an even layer in a large baking dish (8×13 casserole).


Spread the mashed potatoes over the top of the ground beef. Rough up the surface of the mashed potatoes with a fork so there are peaks that will get well browned. You can even use a fork to make creative designs in the mashed potatoes.

6 Bake in oven: Place in a 400°F oven and cook until browned and bubbling, about 30 minutes. If necessary, broil for the last few minutes to help the surface of the mashed potatoes brown.


Optional / Suggested variations:

Put a layer of creamed corn between the ground beef and the mashed potatoes.

Sprinkle grated cheddar cheese over the top of the mashed potatoes before baking.

Read more: http://www.simplyrecipes.com/recipes/easy_shepherds_pie/#ixzz4gXMKyCuY


Read more: http://www.simplyrecipes.com/recipes/easy_shepherds_pie/#ixzz4gXMDsS28


Print Friendly, PDF & Email

Grilled Chicken Parmesan Sandwiches *

This recipe was DELICIOUS.  The flavor comes from the cheese and oiled & toasted bread, but mainly from the roasted tomatoes with garlic slivers. It’s divine.  I will definitely make this every few weeks!  Superb!  It cooks up quickly too.
Serves 4.

Please note: *This used to be I.C. safe for me because it used a small amount of raw tomatoes, not canned.  It may not be I.C. safe for you.  Tomatoes are a known irritant.  Adjust if desired.  As of 3/2018, I can no longer have any tomato, but I want to leave this awesome recipe on my blog, because maybe someone can still tolerate tomato.


INGREDIENTS:

  • 6 plum tomatoes (make sure they are more on the ripe side)**
  • 1 garlic clove
  • 1 tablespoon olive oil
  • 1/2 teaspoon oregano
  • Coarse salt
  • 4 split hero rolls (large enough for a filleted chicken breast)
  • 4 chicken cutlets (or filleted boneless skinless chicken breasts like I used)
  • 1/2 cup grated Parmesan cheese
  • 4 oz. thinly sliced mozzarella

DIRECTIONS:

  1. Core and halve the plum tomatoes. Slip some thinly sliced garlic into each half.
  2. Gently toss tomatoes with olive oil, oregano, and salt until well coated.
  3. Brush the split hero rolls with olive oil.  Separately grill rolls until toasted, and tomatoes until tender.
  4. Season 4 chicken cutlets as desired and grill one side, flip, then top with grated Parmesan and mozzarella.
  5. Grill until chicken is cooked through and cheese is melted.
  6. Make sandwiches with rolls, chicken, and tomatoes as pictured.
Print Friendly, PDF & Email

Cheddar and Thyme Flaky Biscuits

We really enjoyed these cheddar biscuits.  They were not too much work and you could even use the food processor to make it easier, like I did.  Definitely use butter instead of margarine.  Fresh thyme would be best but dried thyme works too.  Enjoy!

INGREDIENTS:

  • 2 cups flour
  • 4 teaspoons baking powder
  • 3 tablespoons white sugar
  • 1/2 teaspoon salt
  • 1/2 teaspoon cream of tartar
  • 1/2 cup butter, softened (not melted!)
  • 3/4 cup milk
  • 1/2 cup shredded cheddar cheese
  • 1 tablespoon fresh thyme, or 1 teaspoon dried thyme


DIRECTIONS:

  1. Preheat oven to 425* F.
  2. In a medium bowl, stir together the flour, baking powder, sugar, salt, and cream of tartar.
  3. Cut in butter using a pastry cutter or a fork until dough it is the size of peas.
  4. Make a well in the center of the mixture and measure the milk, shredded cheese, and thyme into the bowl. Gently mix until a soft dough forms.
  5. Roll or pat out on a floured surface to 3/4″ thick.  (Gradually add more flour if dough is too sticky to work with).
  6. Cut into circles with biscuit cutter and place on baking sheet.  (Use parchment paper if you want to go the extra mile).
  7. Bake for 10 minutes in the preheated oven, or until the bottoms of the biscuits are golden brown.


Print Friendly, PDF & Email

Easy Pressure Cooker Instant Pot Brown Rice *

This is a perfectly simple and fast way to cook your brown rice.  The pressure cooker (my Instapot) infuses so much flavor in a short time, it shocks me!

For the first time making it, I halved it with no issues.


INGREDIENTS:

  • 4 cups water
  • 2 cups long brown rice
  • 4 chicken bouillon cubes (or, if using bouillon from jar, use 4 tsp.)*
  • 3 dashes Mrs. Dash seasoning mix, original**
  • 3 tablespoons butter

**Instead of Mrs. Dash, which has ingredients I can not have, I used a mixture of dried oregano, basil, garlic, and onion (all dried) and it turned out fabulously!

*Please make sure your chicken bouillon is safe. I was using one with soy and it was irritating me.  I found a pre-made one from ALDI that does not have soy and it’s safe!  If using pre-made broth, omit bouillon cubes, and replace 4 cups water with 4 cups chicken broth.


DIRECTIONS:

  1. Spray pressure cooker with cooking oil / spray.
  2. Add all ingredients to cooker.
  3. Set pressure cooker to “sealing”, not venting.
  4. I set it on manual for 15 minutes.  Once the correct pressure is achieved, it will countdown from 15 minutes.
  5. I slowly and carefully released the steam vent with a long spoon with a hook at the end.
  6. It wasn’t done, so I put it on “keep warm” and about 5 minutes later, it was perfect!
Print Friendly, PDF & Email

Jacques Pépin Criques – Potato Pancakes via the Food Processor! *


This was a superb Jacques Pepin recipe!  I saw him demonstrate this recipe on More Fast Food My Way on TV.  It’s really simple thanks to the food processor and was fun to make.  I highly suggest using a fish turner like he uses.  Make sure you place the finished pancakes on a raised rack so they do not sit directly on a plate or paper towels and get soggy!  Enjoy!

This makes about 12 potato pancakes!


INGREDIENTS:

  • 2 cups potatoes
  • 2 eggs
  • 1/2 cup diced white or yellow onion, or a few dashes onion powder*
  • 2 cloves crushes garlic
  • 2 T. potato starch
  • 1/2 tsp. baking powder
  • few pinches of salt
  • scallion/chives/or green onion*
  • Vegetable oil

NOTES: Onion can be an irritant for some patients, please tread carefully.

DIRECTIONS:

  1. Begin by peeling your potatoes, rinse any dirt off with water.  Place them in a bowl with water to cover.
  2. Once all your potatoes are peeled and in water, take one out to chop it and put the chopped potatoes directly in your food processor.  Do NOT rinse the chopped potatoes at this point; you will rinse all the starch away.
  3. Once all the potatoes are chopped and into your food processor, add the 2 eggs, chopped onion, 2 cloves of crushed garlic, potato starch, baking powder, and salt.
  4. Puree until you get an applesauce texture.
  5. Pour batter into a fresh bowl, add chopped green onions.
  6. Heat your oil in your skillet.
  7. Pour about 1/4 cup of the batter into the hot oil, you should be able to get 4 potato pancakes into a 12″ skillet.  It will take about 3 batches.  Flip pancake to cook the other side when you sneak a peek and the bottom is browned. Add more oil as needed and adjust temperature as needed for proper browning, not burning.  
  8. When you remove the cooked pancake, place it on a raised cooling rack.  You do not want to put it directly on paper towels or a plate, it will get soggy!
  9. Serve with sour cream or eat plain.  YUM!


Print Friendly, PDF & Email

Vegan Cornmeal Raspberry Muffins *


vegan-cornmeal-muffins1

vegan-cornmeal-muffins2

This is a tasty raspberry muffin recipe that adds the flavor of cornmeal to the mix!  It’s yummy and has that cornmeal crunch!  I used a mixture of fresh raspberries and frozen, but you could do all fresh or all frozen too!  It’s okay to mash the fresh raspberries a little if you want a more unified flavor.  I sprinkled the tops with Turbinado sugar.  A+!

——PLEASE MAKE SURE YOU TOLERATE RASPBERRIES BEFORE MAKING THIS. THEY ARE ON THE ‘TRY IT’ LIST.  MY ADVICE WOULD BE TO TRY JUST A FEW (MAYBE 3-5) WITHOUT OTHER IRRITATING FOODS AND SEE HOW YOU HANDLE IT. 

INGREDIENTS:

  • 1 And 1/2 Cups All Purpose Flour
  • 3/4 Cup Cornmeal
  • 3/4 Cup Sugar
  • 3 Teaspoons Baking Powder
  • 1 Teaspoon Baking Soda
  • 1/4 Teaspoon Salt
  • 1 Cup fresh raspberries (Can Use Frozen too, but no not thaw them!)
  • 1 And 1/4 Cups Almond Milk, or regular milk 
  • 1/4 Cup vegetable oil
  • 1 Teaspoon Vanilla Extract
  • Turbinado sugar, or brown sugar to coat the tops before baking

NOTES:

**This recipe originally had orange zest, apple cider vinegar, but they had to removed to be IC safe. See how you handle vanilla extract, for me it’s irritating. If irritating to you, omit it.

If tolerated, vanilla almond milk works well in this recipe!  


DIRECTIONS:
  1. Preheat oven to 400F for 15 minutes. Grease or line a 12-cup muffin tin with paper liners.
  2. In a large bowl combine together the dry ingredients. Take 2 tablespoons of this mixture and
  3. combine it with the berries, in a separate bowl. This will avoid the berries from sinking to the bottom of the muffins.
  4. In another bowl whisk together the milk, oil, and vanilla extract.
  5. Gently fold in the wet ingredients into the dry mixture. Stir in the berries. Do not over mix the batter.
  6. Spoon the batter into the prepared muffin tins, about 2/3rds full. I got only 11 muffins for the above measurement.
  7. Sprinkle some Turbinado or brown sugar on top of the muffins.
  8. Bake for about 15-20 minutes or until a toothpick inserted in the center of the muffin comes out clean.
  9. Transfer to a wire rack and let it cool for at least 5 minutes before removing from the pan.
TASTE:
  1. These muffins had a very nice texture from the cornmeal. The quantity of sugar mentioned in the original recipe is 1/2, which is what I used and felt that it could use some more sugar. That’s why I have increased the quantity to 3/4th cup in the recipe.
NOTES:
  1. If using frozen berries, do not thaw it.
  2. Instead of sprinkling granulated sugar on top of the muffins, using turbinado sugar would give it a much nicer look.


Print Friendly, PDF & Email

Cookbook Organization -Post-it Notes & Tabs Trick!

So, if you have many awesome cookbooks like me (i.e. too many, but you use them all, so there!), you need to keep things organized.  There’s nothing worse than having the perfect soup recipe for an occasion and not knowing which cookbook it’s in!  And then having to waste your time Googling for 30 minutes…

And yes, to make this work you need to invest in tabs.  For the best prices check Amazon. I know, I buy a plethora of  tabs because I love them and they don’t re-stick that well.
So, I started doing this organizational hack for cookbooks and realized it may help others.

1) “MUST KEEP THIS AND MAKE AGAIN” TABS:  The large top tabs are made of 3×3″ post-it notes cut in half.  I make sure to put them on the right side page of the cookbook so you can see the labeled tabs from the front.

2) “RECIPE TO TRY IMMEDIATELY” TABS:  The tab sticking out at the top right of the cookbook, diagonally, is only for recipes I plan to make very soon.  For instance, I will go to the grocery store, come back, and lose my recipe unless I do this!  It saves time!  You could even Sharpie label this tab with the recipe name, if you had multiple “recipes to try immediately” tabs.

3) “NEED TO TRY LATER” TABS:  The tabs sticking out on the right side are tabs labeling recipes I want to make in the future.

So, if a side tab becomes a “must make again” recipe (because I made the recipe and it is a knockout!), then I take the time to make a labeled TOP tab with the name of the recipe for easy access.

Hopefully this helps someone in internet land who loves to cook…

Print Friendly, PDF & Email