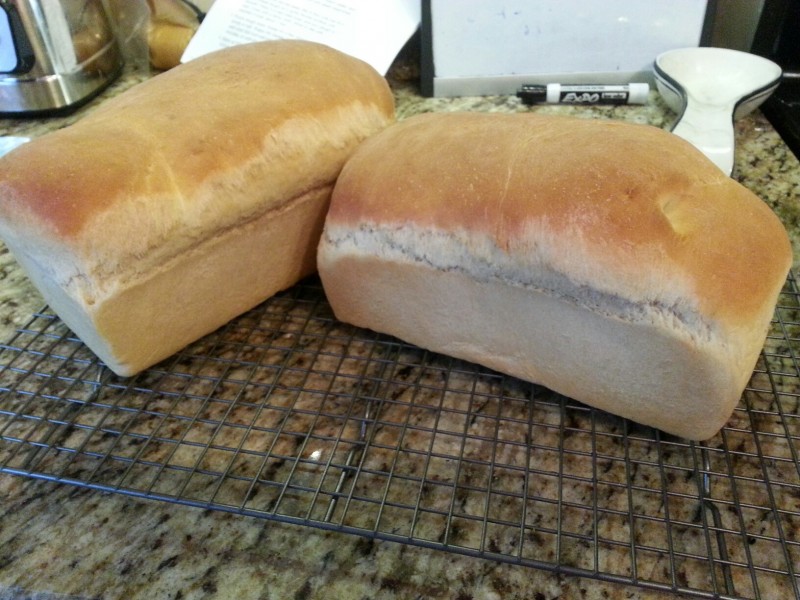
Cheddar Cheese Loaves (No Yeast and Easy)!


cheesequickbread3cheesequickbread2

cheesequickbread1

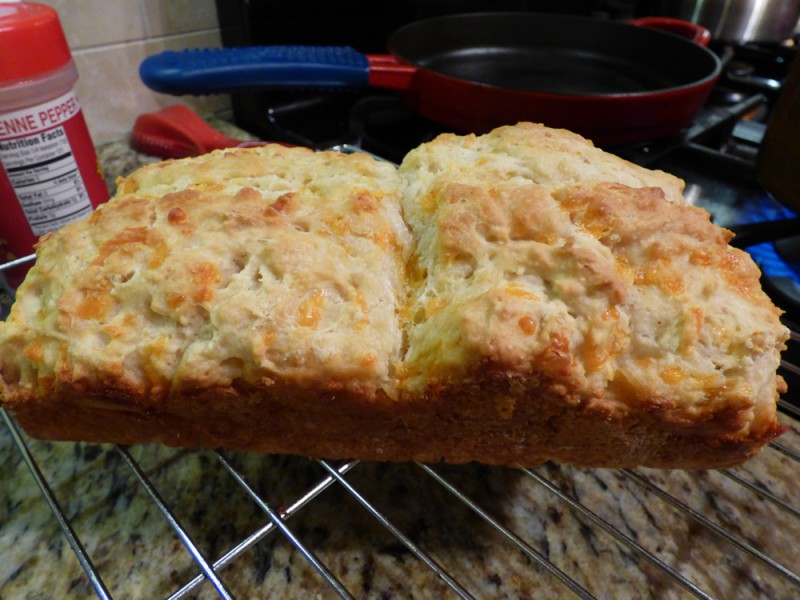
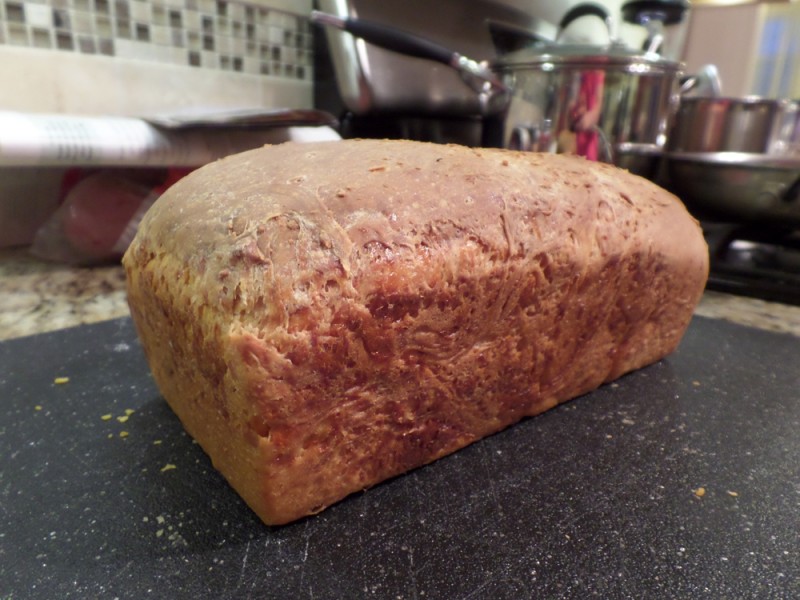
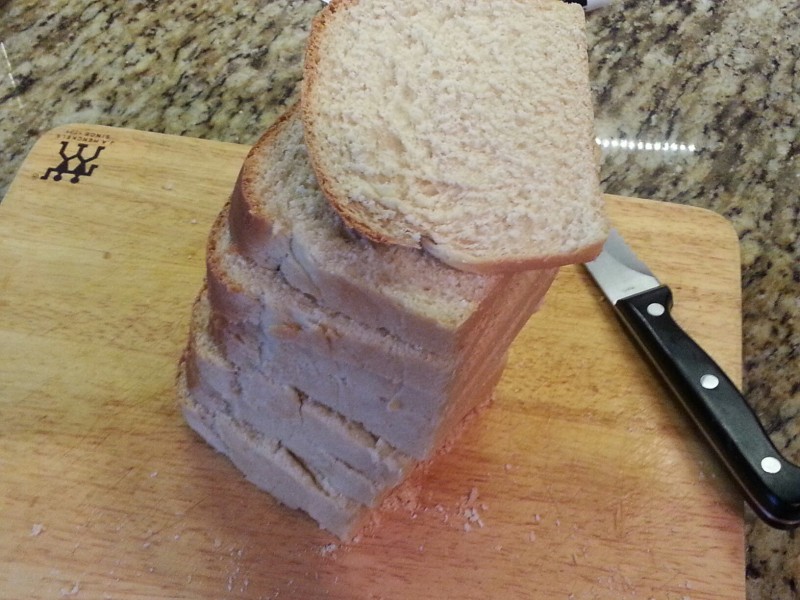
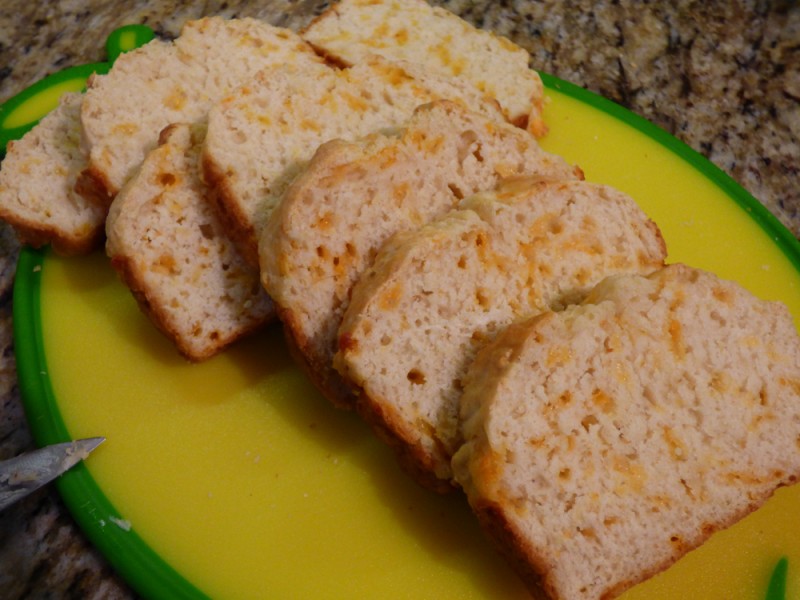
I came across this recipe in an insert of Rachael Ray’s magazine.  Only six ingredients and you look like a rockstar!  I usually bake breads with yeast but thought I’d give it a try.  It was as simple as a quick bread with the taste of something more.  Also, it makes two loaves so I ended up freezing some slices and they came back perfectly!  Try it!

INGREDIENTS:

  • 3 1/2 cups flour
  • 1 1/4 tsp. salt
  • 1 tsp. baking soda
  • 3 T. butter, softened
  • 4 oz. sharp orange cheddar cheese, coarsely shredded
  • 1 3/4 cups buttermilk


DIRECTIONS:

  1. Preheat oven to 400 degrees F.
  2. Grease two 5×9″ loaf pans.
  3. In a large bowl, whisk together the flour, salt, and baking soda.
  4. Using your fingers, mix 2 T. butter into the flour mixture until well incorporated (it should look like sand here).
  5. Add the cheese, toss to coat.
  6. Add the buttermilk and stir until the dough just comes together.
  7. Divide between the pans, smooth the tops.
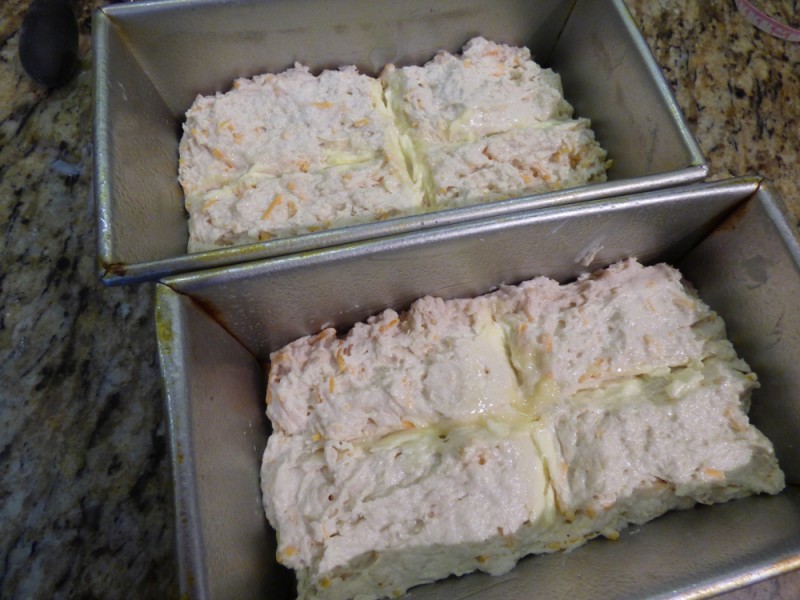
  8. Cut a shallow cross all the way across the tops of the loaves.
  9. Thinly slice the remaining 1 T. butter.  Place the butter in the cuts in each loaf. (see 3rd photo).
  10. Bake until the top is browned and a tester inserted in the center comes out clean, 25-30 minutes.
  11. Let cool in the pan at least 30 minutes before slicing.

Fast Homemade Pizza Crust

pizza-fast-crust-1


Happy New Year 2015!

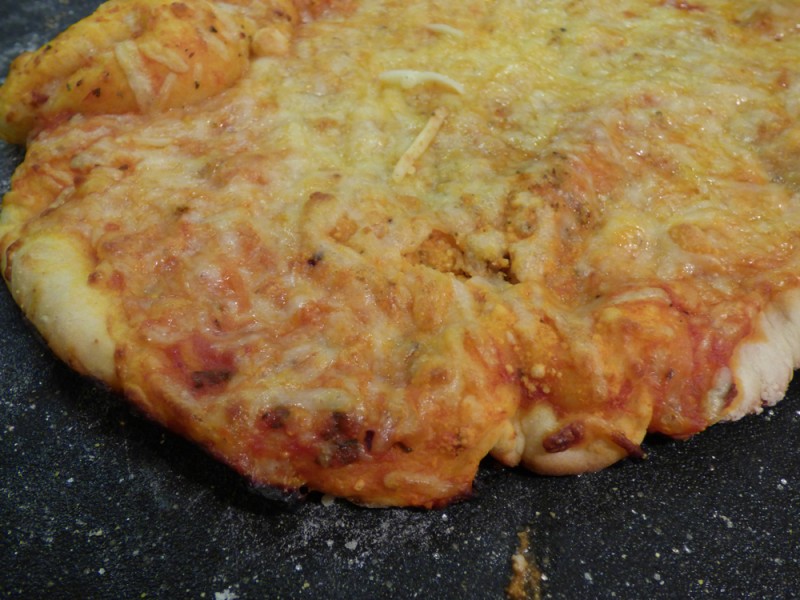
This is a great quick pizza dough!  If you’ve baked with yeast, you know that the words ‘quick’ and ‘dough’ do not go together.  Sure, it’s a quick reaction for the yeast starter, but you usually have to wait for the dough to rest, rise, repeat.  It can be a whole day affair of a waiting game.  
pizza-fast-crust-2

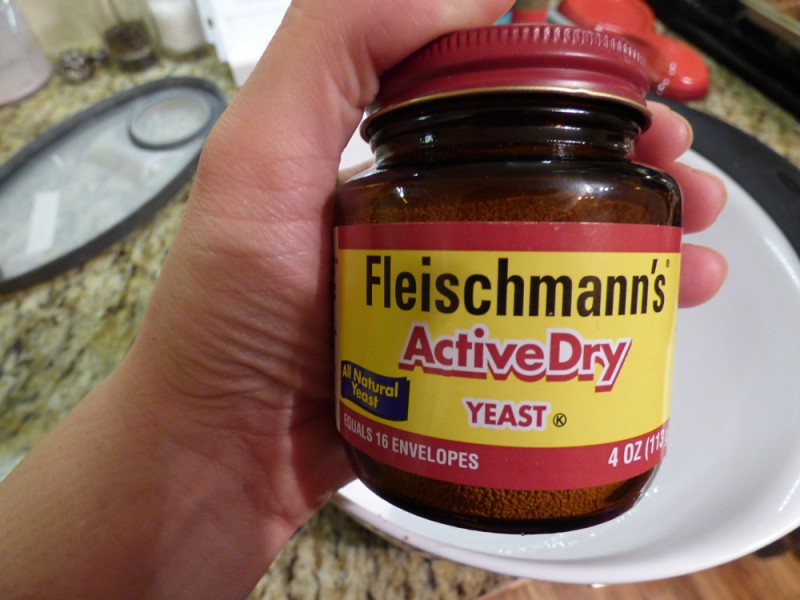
If you’re going to make bread or doughs more often than once or twice a year, I suggest trying this glass jar of yeast, which must be refrigerated after opening.  It is more convenient to dip your measuring spoon in here versus opening tiny packets and deal with waste packaging.  For reference 2 1/4 tsp. equals a standard envelope of active dry yeast.  I know this by heart now.  I spoon out my 2 1/4 tsp. and run it back to the fridge immediately.  
pizza-fast-crust-3

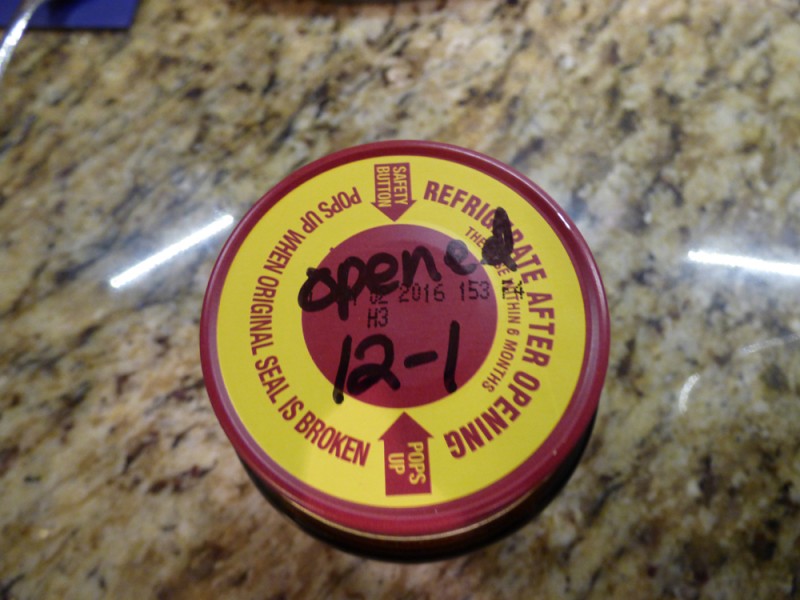
I also put the date I opened the yeast on the top of the jar in Sharpie.  Fresh is best – use within 6 months.  I’ve never had an issue with that because I make a lot of breads and such.
pizza-fast-crust-4

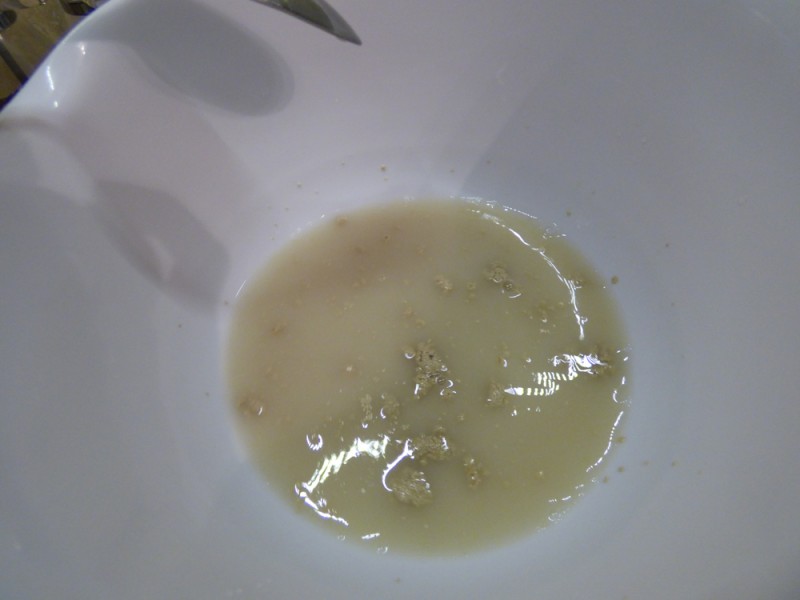
This photo above shows what it looks like about a minute after combining the yeast, sugar, and warm water (110 degrees) together.  You will see a few clumps of yeasty goodness.  But wait a few minutes and the real fun begins.  
pizza-fast-crust-5

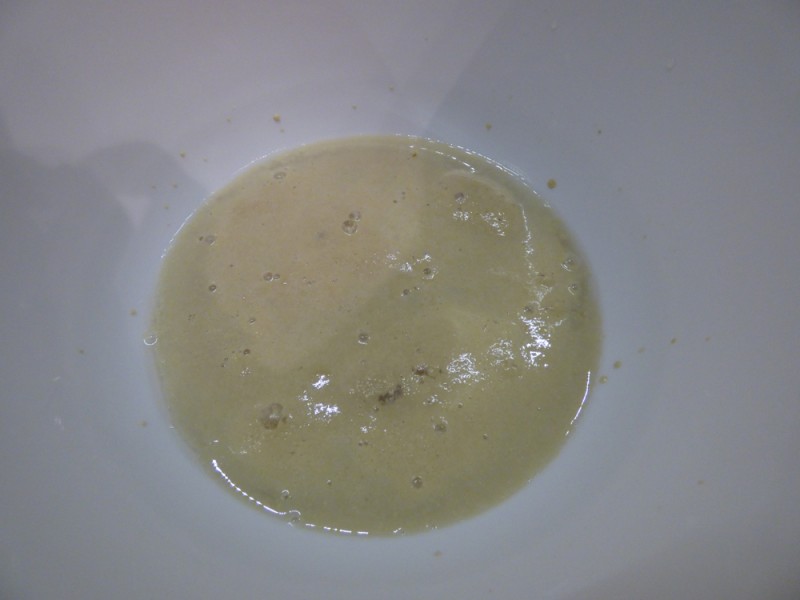
Above, after about 5-10 minutes of leaving the three ingredients together, you can see the little yeast reactions have overtaken the top of the water.  If you watch it at the right time, you can see all the bubbles and yeast come up and it’ll spread rapidly across the surface.  It’s fun to watch it at the right time – not that you have to do anything here- just watch. 
pizza-fast-crust-6

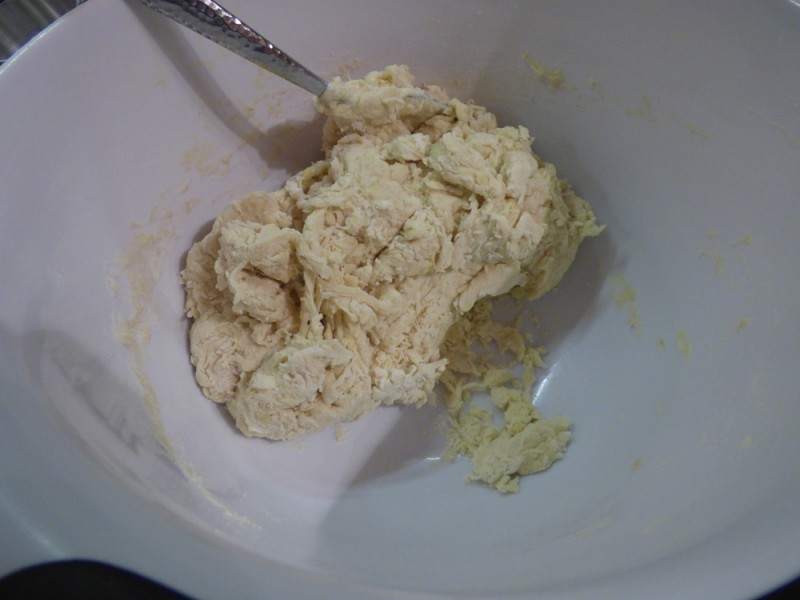
Above, after you mix in your flour, salt, and olive oil you will see the dough form.  I made my pizza crust in the dead of dry winter, so it needed additional water to mix thoroughly.  You can see the dry remainders on the bottom of the bowl that won’t absorb into the dough.  Add a tsp. of warm water at at time until it absorbs – but don’t add too much water!  Otherwise, your dough will be gummy and too sticky to roll (and a huge mess!), and you’ll have to add more flour!  And then we get into a circle effect of issues.
pizza-fast-crust-7


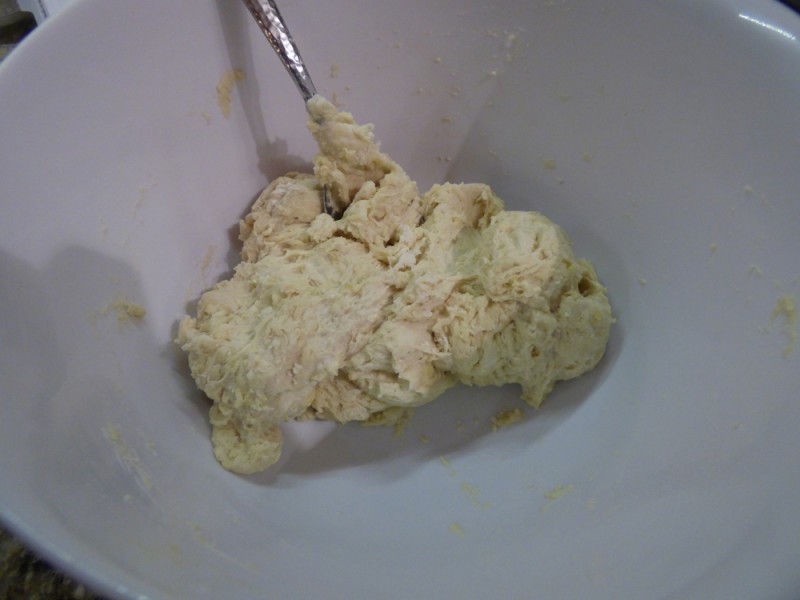
Above, a perfect amount of water and flour mixture equals a good dough.  

I’m telling you right now, even though this pizza crust is quick and easy, it is NOT as good as doing it the long way.  My other recipe for a pizza crust always turns out and tastes better, but this is a quick, we-need-it-now! dough.  If you want the best pizza crust, try this one.


INGREDIENTS:

  • One package of active dry yeast (.25 oz) or 2 1/4 tsp. active dry yeast from the scoopable jar
  • 1 tsp white sugar
  • 1 cup warm water (approx. 110 degrees F)
  • 2 1/2 cups bread flour
  • 2 T. olive oil
  • 1 tsp. salt


DIRECTIONS:

  1. Preheat oven to 450 degrees F.
  2. In a medium bowl, dissolve yeast and sugar in warm water.  Let stand until creamy and activated, about 10 minutes.
  3. Stir in bread flour, salt, and oil.  Mix until smooth.  Let rest 5 minutes.
  4. Turn dough out onto a lightly floured surface and pat or roll into a round.
  5. Transfer crust to a lightly greased pizza pan or peel dusted with cornmeal to prevent sticking.
  6. Spread with desired toppings and bake in a preheated oven for 15-20 minutes, or until golden brown.  Cool 5 minutes before serving.
 

Knead Not Sourdough Bread

P1000981

P1000959 P1000980


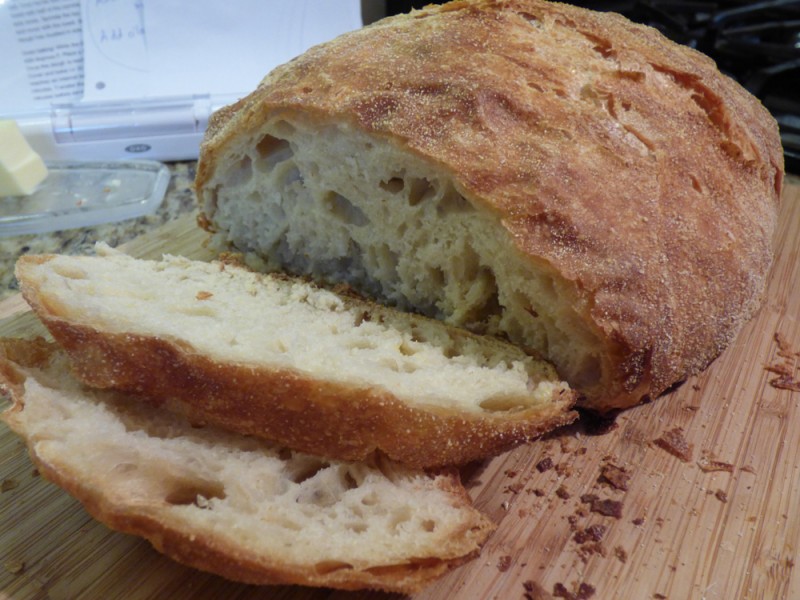
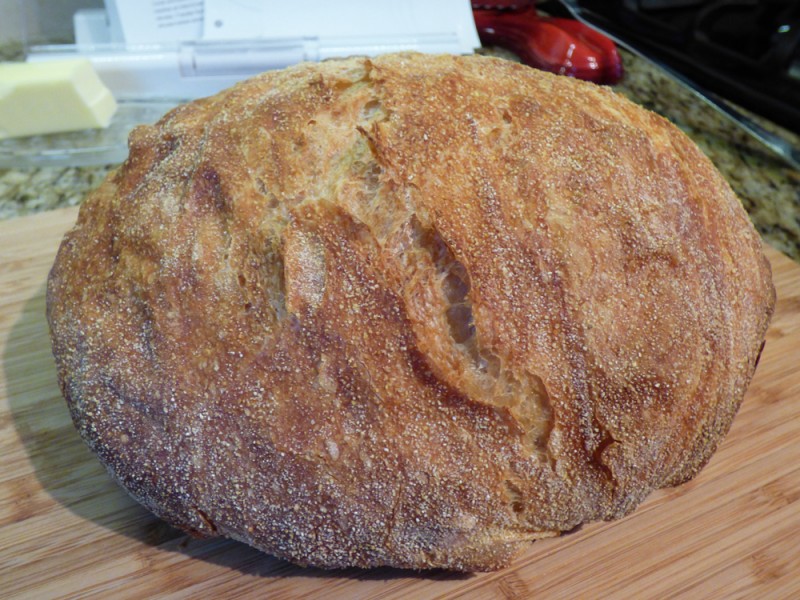
THIS IS AN AMAZING SOURDOUGH BREAD.  It tastes professional!  I had always wanted to make sourdough bread, but I let cooking fear get the best of me, and I put it off for years.  After ‘mastering’ other yeast recipes, I gained the courage to try this recipe, which honestly looked a lot easier than other sourdough bread recipes!  I only had to simplify one step (the tea towel step) because the last thing you want is dough on a towel – I speak from experience – it’s a pain to launder, if you can!  So I came up with my own step (using sprayed plastic wrap).  ENJOY!

INGREDIENTS:

  • 17 1/2 ounces bread flour, plus extra for shaping later (Don’t sub any other flour, I weighed the flour).
  • 1/4 tsp. active-dry yeast
  • 2 1/2 tsp. kosher salt
  • 12 ounces filtered water, (room temp is just fine)
  • 2 T. cornmeal
  • Nonstick spray, like PAM

DIRECTIONS:

  1. Whisk together the flour, yeast, and salt in a large mixing bowl.
  2. Add the water and stir until combined.  Cover the bowl with plastic wrap and allow to sit at room temperature for 19 hours.  (Yes, it’s a waiting game, so plan ahead.  But remember you don’t even need to check on it during this stage!)
  3. After 19 hours, turn the dough out onto a lightly floured work surface.  Punch down the dough with your fist (to release trapped air) and turn it over onto itself a couple of times.
  4. Cover with nonstick-sprayed plastic wrap, or a clean tea towel, and allow to rest 15 minutes.
  5. After 15 minutes, shape the dough into a ball.  Coat hands with flour, if needed, to prevent sticking.
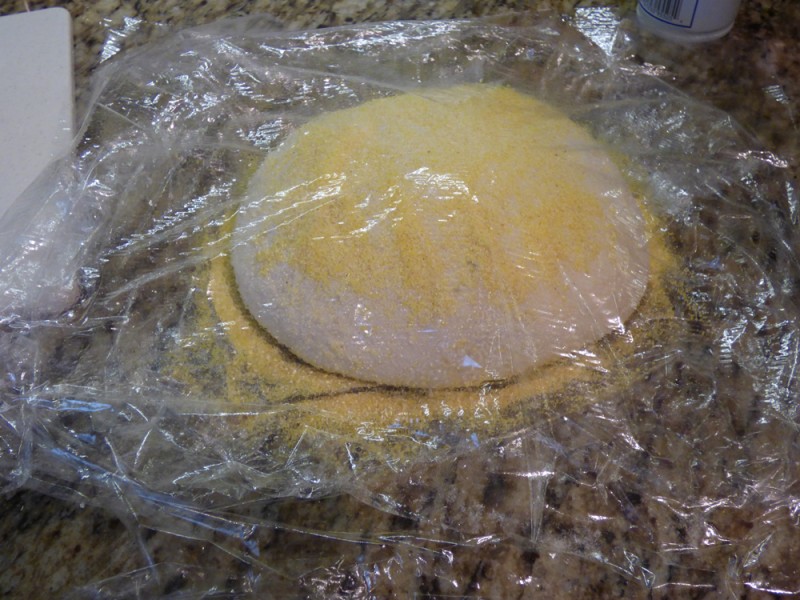
  6. Sprinkle the nonstick-sprayed plastic wrap with half of the cornmeal and lay the dough on top of it, seam side down.
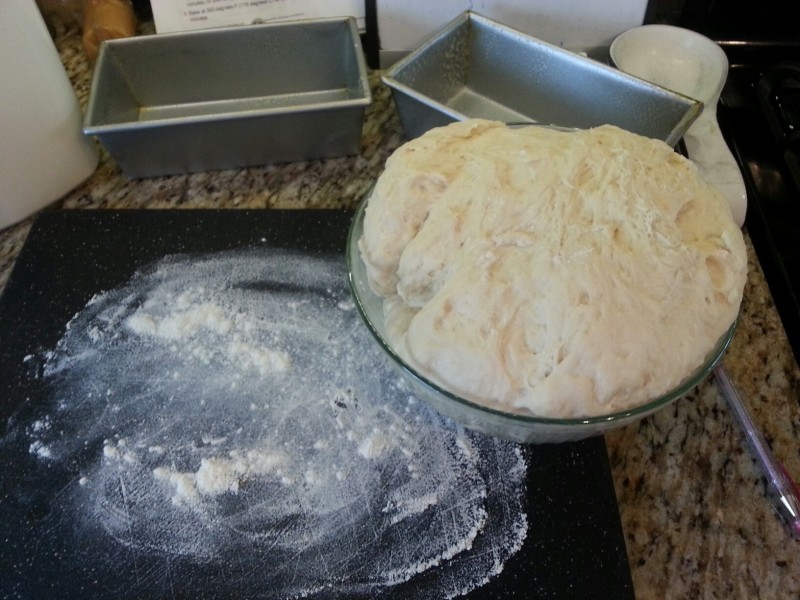
  7. Sprinkle the top of the dough with the other half of the cornmeal and cover with nonstick-sprayed plastic wrap, or a clean tea towel (see my second photo for details!)
  8. Allow to rise for another 2-3 hours, or until the dough has approximately doubled in size.
  9. While the dough is rising the second time, preheat the oven to 450 degrees F.
  10. Place a 4-5 QT. Dutch oven in the oven while it preheats. 
  11.  Once the dough is ready, VERY carefully transfer it to the pre-heated Dutch oven.  Please remember that Dutch oven is HOT!!
  12. Cover with lid and bake for 30 minutes.
  13. Remove the lid and bake until the bread reaches an internal temp. of 210-212 degrees F (use a digital thermometer), another 15 minutes.
  14. Transfer the bread to a cooking rack and allow to cool at least 15 minutes before serving.
 

Buttery Mini Soft Pretzel Bites

pretzel-bites1 pretzel-bites2


I got this great recipe from www.centercutcook.com.

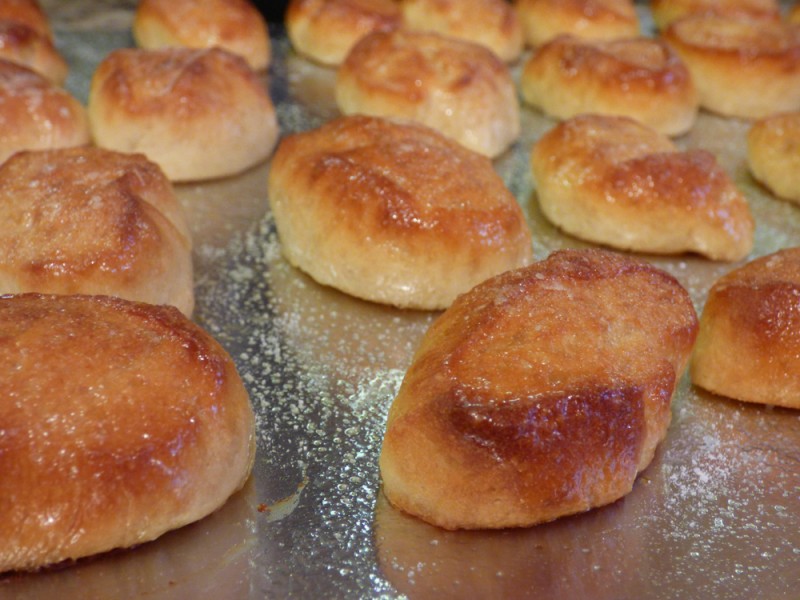
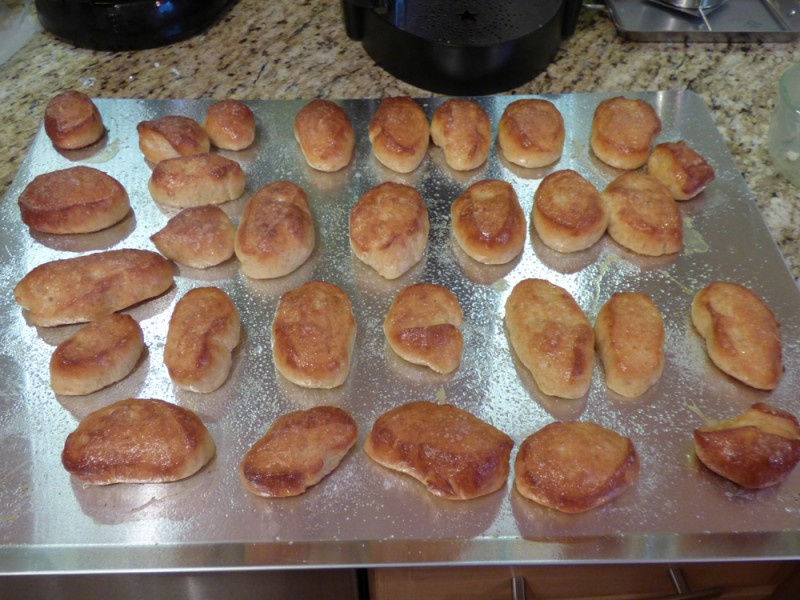
It’s everything I ever wanted from a pretzel and is best warm!  Forget about the fancy shapes, this tastes so wonderful!  I used only 2 Tablespoons butter and it was more than enough.  Eat one quickly, they go fast!  ENJOY…..  

Recipe: http://centercutcook.com/buttery-mini-soft-pretzel-bites/


DOUGH INGREDIENTS

2 1/2 cups flour

1 teaspoon salt

2 teaspoons sugar

2 1/4 teaspoons instant yeast

1 cup warm water


TOPPING INGREDIENTS

1 cup very hot water

2 tablespoons baking soda

Kosher or sea salt

3 tablespoons melted butter


DIRECTIONS

  1. Pre-heat your oven to 475 degrees.
  2. In the bowl of your mixer, sift together flour, salt, sugar, and yeast. Add in 1 cup of very warm water and use the dough hook to mix it well. You could also do this by hand or use a food processor.
  3. Knead the dough until it is smooth. Sprinkle flour in the bottom of a bowl. Place the dough in the bowl and cover it. Allow it to sit for about 30 minutes to rise.
  4. After 30 minutes, knead the dough for 30 seconds to 1 minute.
  5. Divide the dough into 4 equal sections. Form each section into strips about 8 inches long and about 1 inch wide. Cut each strip into about 6-8 pieces. You should end up with 24-32 pretzel bites.
  6. In a shallow dish (I used a cake pan), combine the very hot water (I microwaved it for 2 minutes, you could also boil the water on the stovetop) with the baking soda and stir to dissolve. Place the pretzel bites in the water/baking soda mixture and allow to sit for one minute. Then flip the pretzel bites and allow to sit in the mixture for one minute longer.
  7. Arrange the pretzel bites on a greased baking sheet. Allow the pretzel bites to rest for about 5 minutes, then sprinkle with a bit of kosher or sea salt before baking them for 10-11 minutes, or until the pretzel bites are nice and brown!
  8. While the pretzel bites are baking, melt 3 tablespoons of butter (1 minute in the microwave).
  9. When the pretzel bites are done baking, immediately brush each bite with melted butter. Keep brushing the bites with butter until it is all gone. Serve with your favorite dip!


Recipe: http://centercutcook.com/buttery-mini-soft-pretzel-bites/


Out-Of-This-World Cheese Bread

SAMSUNG CAMERA PICTURES SAMSUNG CAMERA PICTURES

This is simply put, an amazing cheese bread.  I highly recommend it in every way!  **During the rising process, I tried something new that worked.  I set the oven to 200 and let it preheat.  When the bread was ready to rise, I turned off the oven and put the bread in.  It worked very well, sped up the time, and didn’t harm the bread!


INGREDIENTS:

  • 1 pkg. active dry yeast
  • 1 cup lukewarm milk
  • 2 T. butter (I used unsalted)
  • 3 cups flour
  • 2 tsp. salt
  • 1 cup grated sharp cheddar cheese

DIRECTIONS:

  1. Combine the yeast and milk, stir, and leave for 15 mins. to dissolve.
  2. Melt the butter, let cool, and add to the yeast mixture.
  3. Mix the flour and salt together in a large bowl.  Make a well in the center and pour in the yeast mixture.
  4. With a wooden spoon, stir from the center, incorporating flour with each turn, to obtain a rough dough.  (I DID THIS STEP IN MY STAND MIXER.)  If the dough seems too dry, add 2-3 T. water.
  5. Transfer to a floured surface and knead until smooth and elastic.
  6. Return to the bowl, cover, and leave to rise in a warm place until doubled in volume, 2-3 hours.  **I think it took me 1-1.5 hours with my oven trick.
  7. Grease a 9×5″ loaf pan.  Punch down dough to release trapped air with your fist.  Knead in the cheese, distributing it as evenly as possible.
  8. Twist the dough, form into a loaf shape, and place in pan, tucking the ends under. Leave in a warm place until the dough rises above the rim of the pan.
  9. Preheat the oven to 400° F.  Bake for 15 mins, then lower the heat to 375° and bake until the bottom sounds hollow when tapped, about 30 mins. more.
  10. Cool on rack.


Amish White Bread

20130811_115946_resized

I have a few bread recipes on my culinary ‘must bake list’ and this was one of them.  It was pretty effortless!  I used my stand mixer for the kneading step and it was a waiting game!  It took exactly 30 mins. in my oven!  It makes two 9×5″ loaves.  For best results use stainless loaf pans with ‘PAM with baking’ spray.  The loaves just fell out of the pans easily!  Even though it was baked through the sides of the bread and the inside were perfectly soft!  I usually eat and make only whole wheat based bread products, but this was a nice change!

INGREDIENTS:

  • 2 cups warm water (110 degrees F/45 degrees C)

  • 2/3 cup white sugar

  • 1 1/2 tablespoons active dry yeast

  • 1 1/2 teaspoons salt

  • 1/4 cup vegetable oil

  • 6 cups bread flour


DIRECTIONS:

  1. In a large bowl, dissolve the sugar in warm water, and then stir in yeast. Allow to proof until yeast resembles a creamy foam.Mix salt and oil into the yeast.
  2. Mix in flour one cup at a time. Knead dough on a lightly floured surface until smooth. Place in a well oiled bowl, and turn dough to coat. Cover with a damp cloth. Allow to rise until doubled in bulk, about 1 hour.
  3. Punch dough down. Knead for a few minutes, and divide in half. Shape into loaves, and place into two well oiled 9×5 inch loaf pans. Allow to rise for 30 minutes, or until dough has risen 1 inch above pans.
  4. Bake at 350 degrees F (175 degrees C) for 30 minutes.

20130811_133151_resized


20130811_151511_resized

Italian Focaccia Bread * (Not IC Safe)

P1070262


P1070264

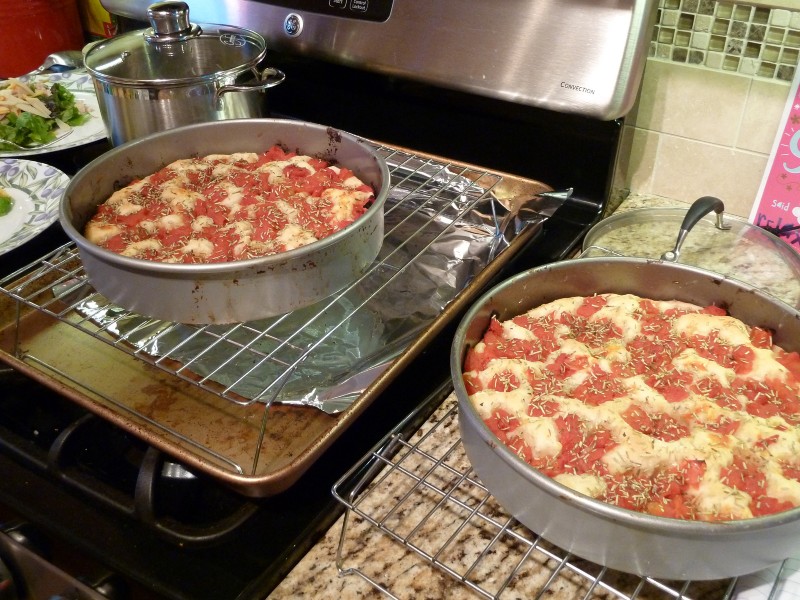
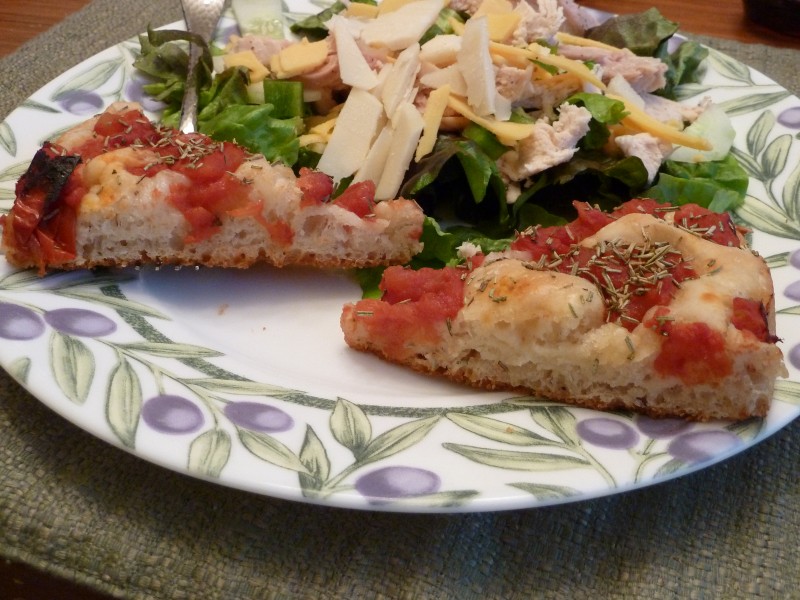
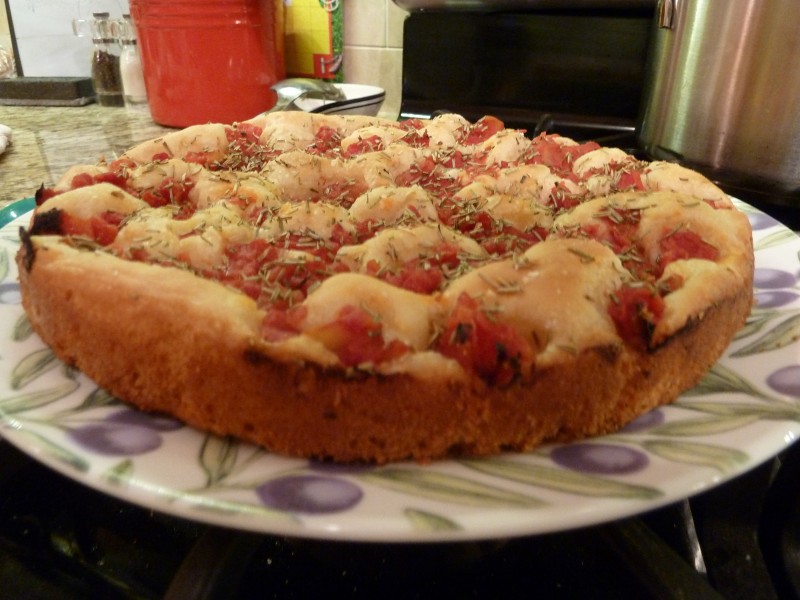
I love this recipe.  It’s from a cookbook I don’t use that often, but it’s a great book by Kelly Rudnicki called “The Food Allergy Mama’s Baking Book: Great Dairy, Egg, and Nut Free Treats for the Whole Family”.  I followed the directions exactly – make sure you drain those diced tomatoes well or you will have soggy bread!  Remove promptly from pan or it’s hard to remove.  At the time I did not own a 14″ round pizza pan so I used two nonstick pans.  Since then I’ve thrown out my nonstick pans (they always had horrible results for me; now I’m all for steel) and bought steel replacements including a 14″ round pizza pan. 

INGREDIENTS:

  • 1 1/3 cups warm water (about 110°F)
  • 1 package active dry yeast
  • 5 tablespoons olive oil, divided
  • 3 1/4 cups unbleached all-purpose flour
  • 1 1/2 teaspoons salt
  • 2 cups canned diced tomatoes, drained**
  • 1 tablespoon dried rosemary, crumbled
  • 1/4 teaspoon kosher salt for sprinkling

**Known IC irritants, tread carefully!

DIRECTIONS:

  1. Combine the warm water, yeast, and 3 tablespoons of the olive oil in a liquid measuring cup with a wire whisk. 
  2. In a medium bowl, combine the flour and 1 1/2 teaspoons salt with a wire whisk, and slowly mix this dry mixture into the water mixture with a rubber spatula.
  3. Stir until the mixture is well incorporated, and then mix quickly for about 2 minutes.
  4. Cover with plastic wrap, and let rise in a warm place until doubled in size, about 1 hour.
  5. Using a brush, spread 1 tablespoon olive oil on the bottom and up the sides of a 14″ round pizza pan. 
  6. Transfer the dough into the pan, and press the dough into the pan and up the sides.  Cover with plastic wrap sprayed with baking spray, and let rise again until doubled in size, 30-45 minutes.
  7. Preheat oven to 425°F.  Using your fingers, poke holes in the surface of the focaccia. 
  8. Drizzle the remaining 1 tablespoon olive oil evenly over the top. 
  9. Sprinkle with the drained tomatoes, rosemary, and kosher salt, and bake for 20-25 minutes, or until the top is golden brown. 
  10. Cool on a wire rack for about 10 minutes or less and cut into slices.


P1070267

Challah Bread


P1090499smallP1090501small

P1090504small

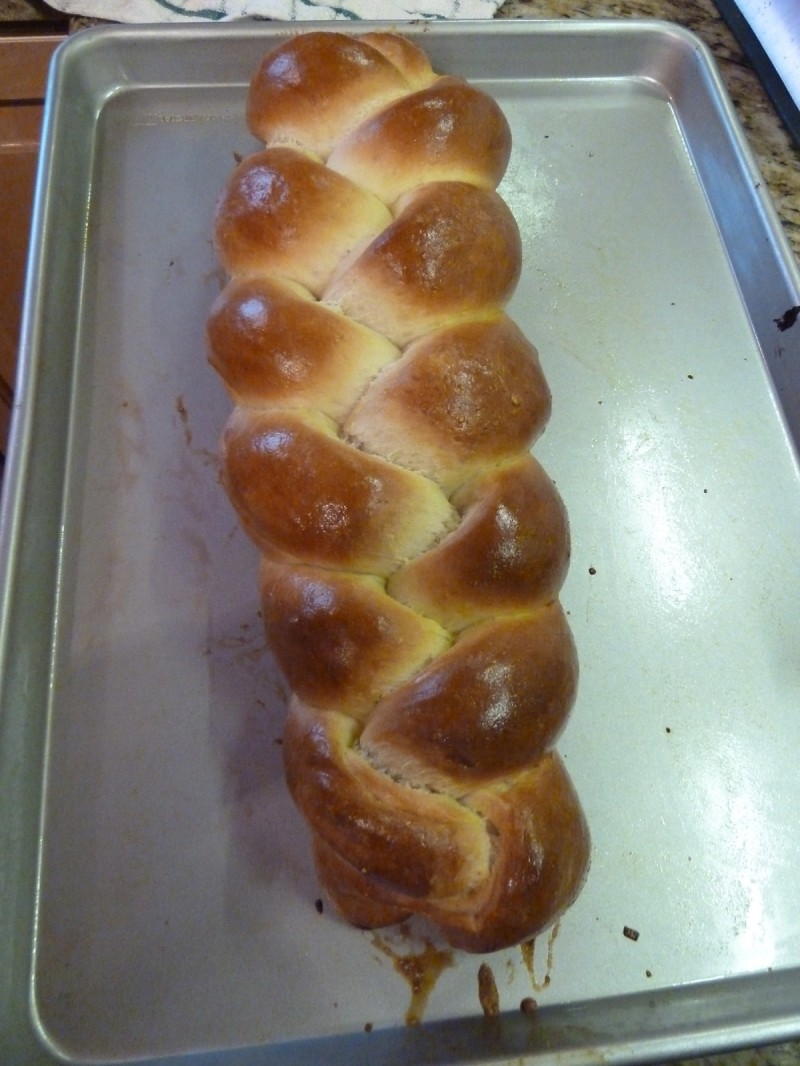
This was one of those recipes that I was so proud of myself for completing!  This is a confidence building recipe for sure!  Follow the directions exactly and you should have no problems…I used all purple flour.  This recipe is from my older book, “Betty Crocker Cookbook, New Edition” (c) 2005.  I used cooking spray in step #8.   I promise it is FUN!  My favorite photo is the one at the bottom of the page.

INGREDIENTS:

  • 3 to 3 1/4 cups all-purpose or bread flour
  • 1/4 cup sugar
  • 1 1/2 teaspoons salt
  • 1 package regular or quick active dry yeast (2 1/4 teaspoons)
  • 1 cup very warm water (120° to 130°F)
  • 2 tablespoons vegetable oil
  • 1 large egg
  • Butter or margarine, melted, if desired


DIRECTIONS:

  1. In large bowl, mix 1 1/2 cups of the flour, the sugar, salt and yeast.  Add warm water and oil.  Beat with electric mixer on low speed for 1 minute, scraping bowl frequently.
  2. Beat on medium speed 1 minute, scraping bowl frequently.
  3. Add egg; beat until smooth.  Stir in enough remaining flour to make dough easy to handle.
  4. Place dough on lightly floured surface.  Knead about 10 minutes or until dough is smooth and springy.  (I used my Kitchenaid for this step).
  5. Grease large bowl with shortening.  Place dough in bowl, turning dough to grease all sides.  (At this point, dough can be refrigerated up to 24 hours).
  6. Cover bowl loosely with plastic wrap and let rise in warm place about 1 hour or until dough has doubled in size. Dough is ready if indentation remains when touched.
  7. Lightly grease cookie sheet with shortening or spray with cooking spray.
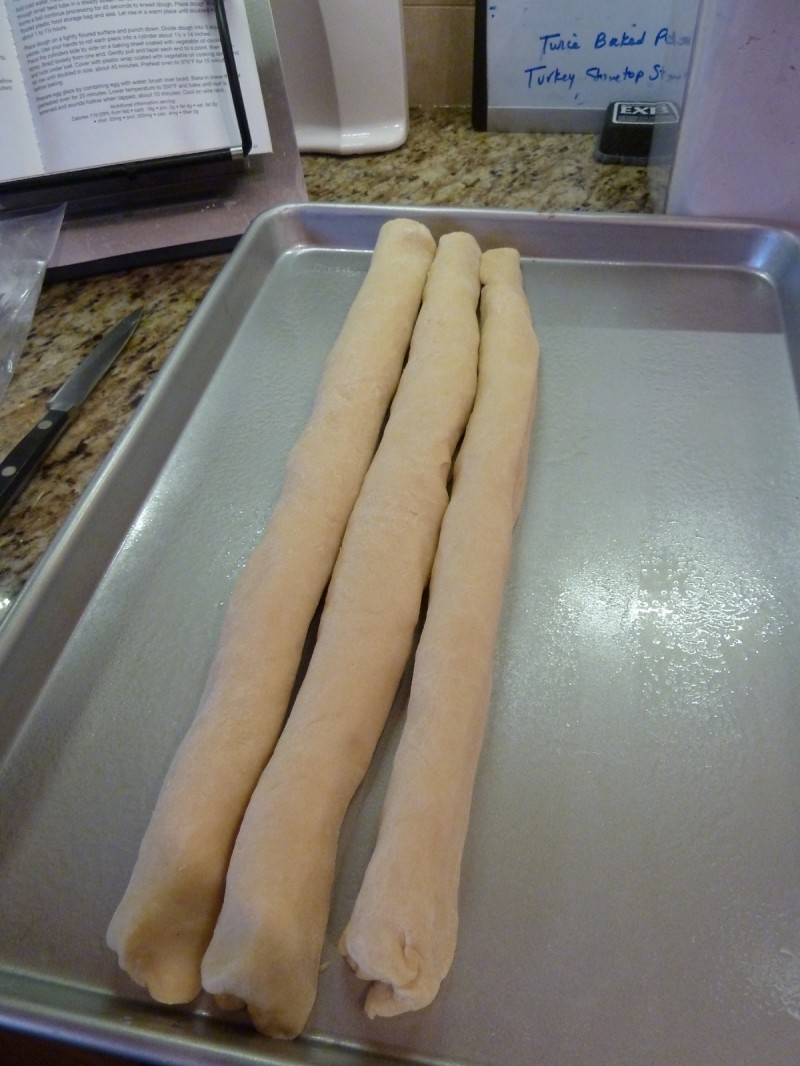
  8. After pushing fist into dough, divide into 3 equal parts.  Roll each part into 14-inch rope (use a ruler).
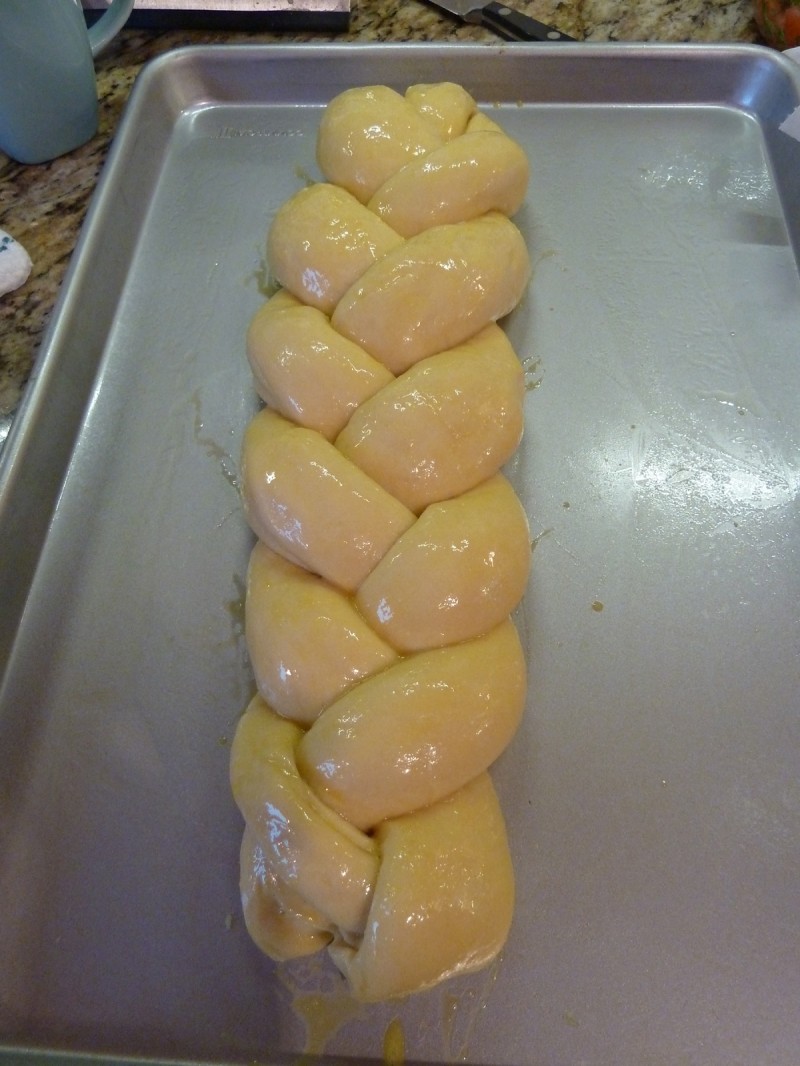
  9. Place ropes close together on cookie sheet.  Braid ropes gently and loosely, starting in the middle; do not stretch.  Pinch ends, tuck ends under braid securely. 
  10. Brush with vegetable oil.  Cover loosely with plastic wrap and let rise in warm place 40-50 minutes or until doubled in size.
  11. Heat oven to 375°.
  12. In a small bowl, mix 1 egg yolk and 2 tablespoons water, brush over braid.  (This gives it its shine!)
  13. Sprinkle with poppy seeds, if desired.  Bake 25-30 minutes or until golden brown.

IMG_1738s


IMG_1749s