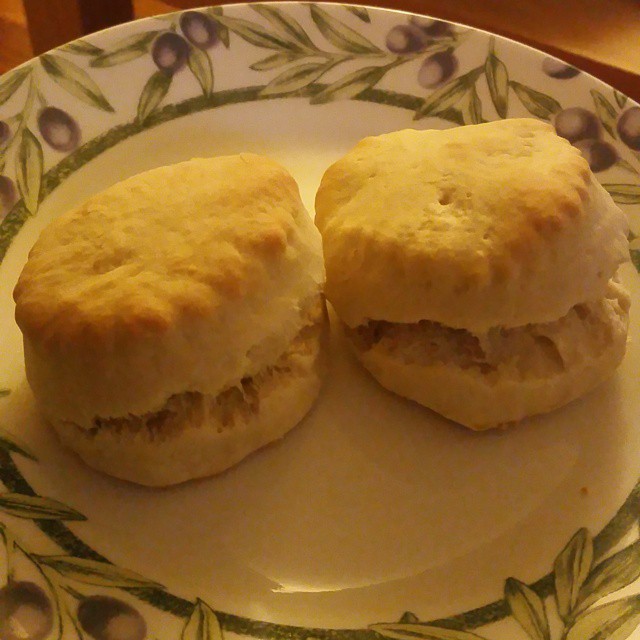
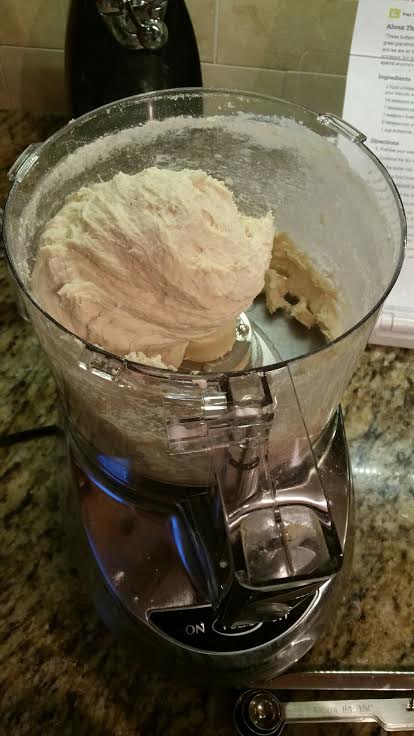
I found this recipe on Food.com and it sat in my “to-make” recipe folder for about a year and a half. I thought making buttermilk biscuits would be too difficult, but it turns out it was anything but! This really is a recipe where the food processor shines! You could do it by hand but it will be better mixed and so much easier on you to just use a food processor! Please make this! It’s a very easy recipe, it just sounds complex in the directions! It tastes so much better than canned biscuits!!
Use real buttermilk, this isn’t a circumstance where the milk soured with lemon would be good enough.
NOTE: Use unsalted butter. If you only have salted butter on hand, omit the salt so you don’t have overly salted biscuits. Cook and bake with unsalted butter for best results. For serving guests, use salted butter.
INGREDIENTS:
- 2 cups unbleached all-purpose flour, plus more for dusting the board
- 1⁄4 teaspoon baking soda
- 1 tablespoon baking powder (use one without aluminum)
- 1 teaspoon kosher salt or 1 teaspoon salt
- 6 tablespoons unsalted butter, very cold
- 1 cup buttermilk**
**Make sure your buttermilk ingredients are safe!
DIRECTIONS:
- Preheat your oven to 450°F.
- Combine the dry ingredients in a bowl, or in the bowl of a food processor.
- Cut the butter into chunks and cut into the flour until it resembles course meal. If using a food processor, just pulse a few times until this consistency is achieved.
- Add the buttermilk and mix JUST until combined. Do not over-mix.
- If it appears on the dry side, add a bit more buttermilk. It should be wet. Honestly, I like my dough a little on the dry side so I can work with it and not have extremely messy hands. So I covered my hands in flour while manipulating the dough and added more flour when necessary. It’s a giant mess if your dough is too wet while cutting it into shapes.
- Turn the dough out onto a floured board. Gently PAT (do NOT roll with a rolling pin) the dough out until it’s about 1/2″ thick.
- Flour the top of your dough lightly to prevent the cutter from sticking. Then, use a round cutter to cut into rounds.
- You can gently knead the scraps together and make a few more, but they will not be anywhere near as good as the first ones.
- I put parchment paper down on my pan and it turned out beautifully. Place the biscuits on a cookie sheet- if you like soft sides, put them touching each other. If you like”crusty” sides, put them about 1 inch apart- these will not rise as high as the biscuits put close together.
- Bake for about 10-12 minutes- the biscuits will be a beautiful light golden brown on top and bottom. Do not overbake.
Note: The key to real biscuits is not in the ingredients, but in the handling of the dough. The dough must be handled as little as possible or you will have tough biscuits. I (the original author) have found that a food processor produces superior biscuits, because the ingredients stay colder and there’s less chance of overmixing. You also must pat the dough out with your hands, lightly. Rolling with a rolling pin is a guaranteed way to overstimulate the gluten, resulting in a tougher biscuit. You can make these biscuits, cut them, put them on cookie sheets and freeze them for up to a month. When you want fresh biscuits, simply place them frozen on the cookie sheet and bake at 450°F for about 20 minutes.


