Pumpkin Spice Doughnut Holes – Food Network Magazine

img_1578

img_1581img_1579

img_1574


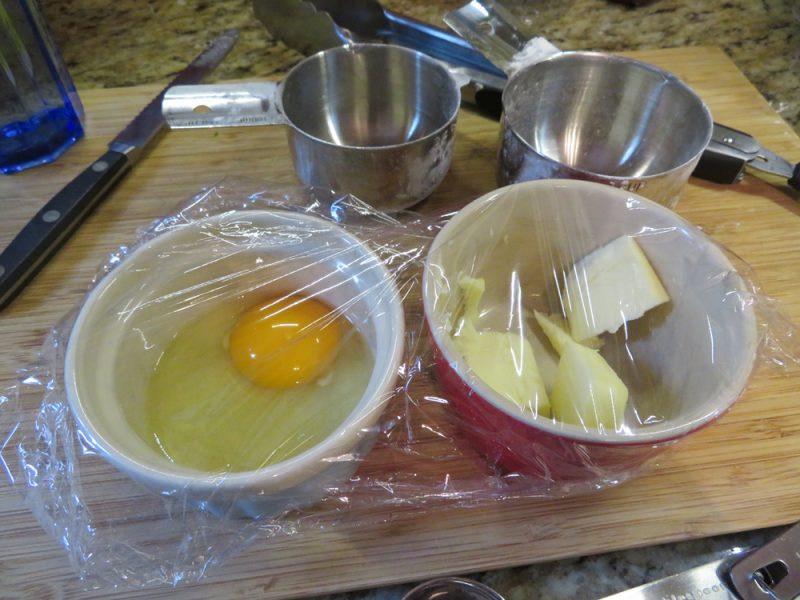
ABOVE:  Always let your egg come to room temperature for baking or frying (30 minutes), unless otherwise instructed.  In this recipe, the butter was eventually melted.  I left plastic wrap on these two ramekins because I had to leave the house for a short amount of time.  


img_1575 img_1576 img_1577

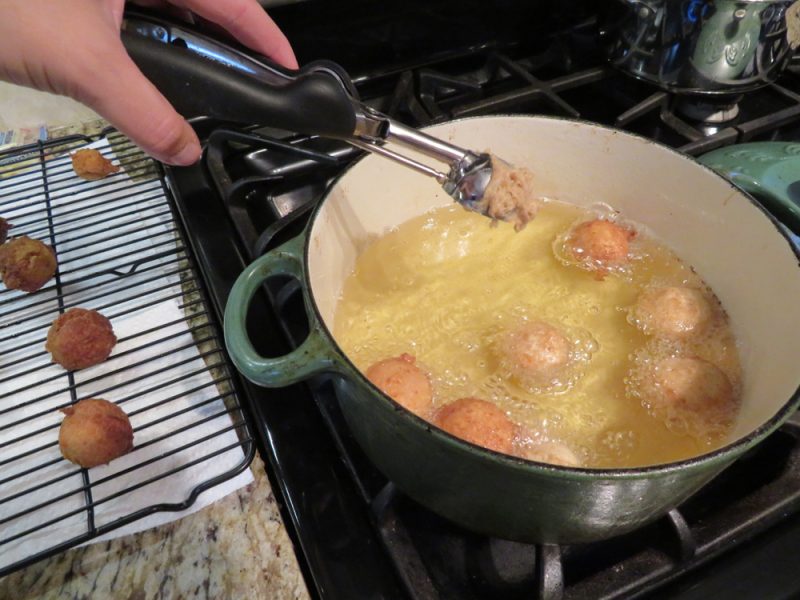
It’s nice to know doughnut holes are not that challenging to make.  I learned a lot making these.  The biggest learning curve was don’t let them cook too long.  Once they are brown, take them out.  If you leave them in further, they get a little bit of a burnt taste.

This was from Food Network Magazine – October/November 2016, most likely, edition.  Makes approximately 24 holes.


INGREDIENTS:

  • 1 3/4 cup flour
  • 2 teaspoons pumpkin pie spice
  • 1 teaspoon baking powder
  • 1 teaspoon salt
  • 1 egg
  • 2  tablespoons melted butter
  • 1/2 cup milk
  • 1/2 cup sugar
  • Good amount of vegetable oil for frying (a few cups, at least 3-4 cups)

For topping:

  • 1/3 cup sugar
  • 1 teaspoon pumpkin pie spice


DIRECTIONS:

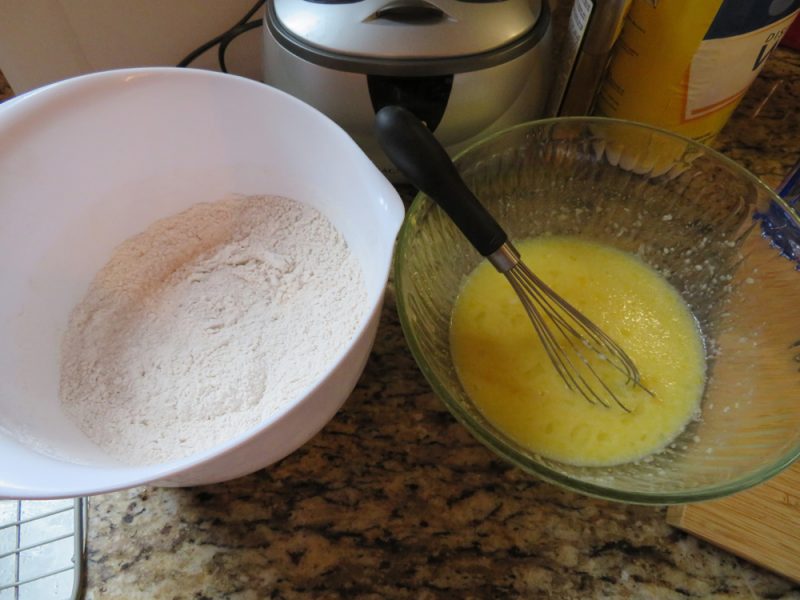
  1. Whisk 1 3/4 cup flour, 2 teaspoons pumpkin pie spice, 1 teaspoon baking powder, and 1 teaspoon salt.
  2. Separately, whisk 1 egg, 2 tablespoons melted butter, 1/2 cup milk, and 1/2 cup sugar.
  3. Then stir in the flour mixture.
  4. Deep-fry small scoops (I used a cookie scoop) in 350* vegetable oil.  Turn doughnut holes, until golden, 3-4 minutes.  Don’t overcook or they will burn.
  5. Transfer to a wire rack to drain, over paper towels.
  6. Mix 1/3 cup sugar and 1 teaspoon pumpkin pie spice.  Roll doughnut holes in this mixture and set aside.

Blueberry Hill Bread -Cook For The Cure Recipe

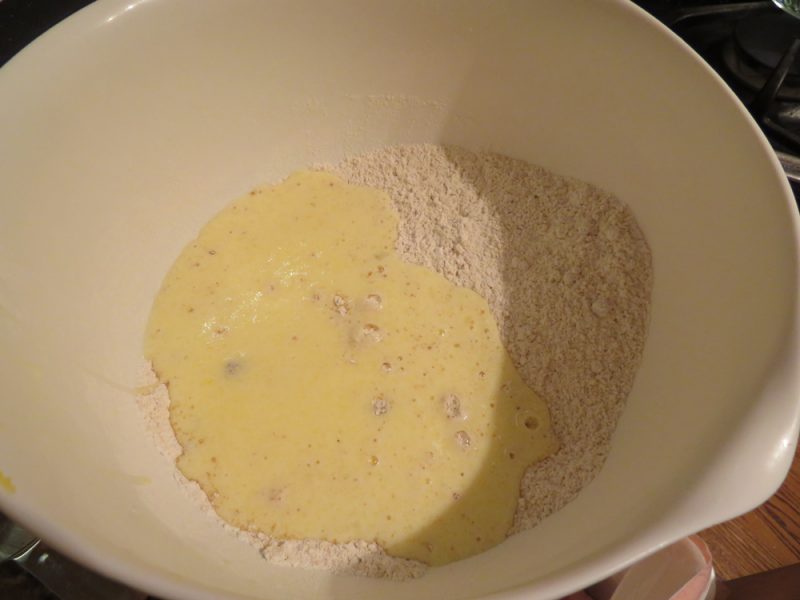
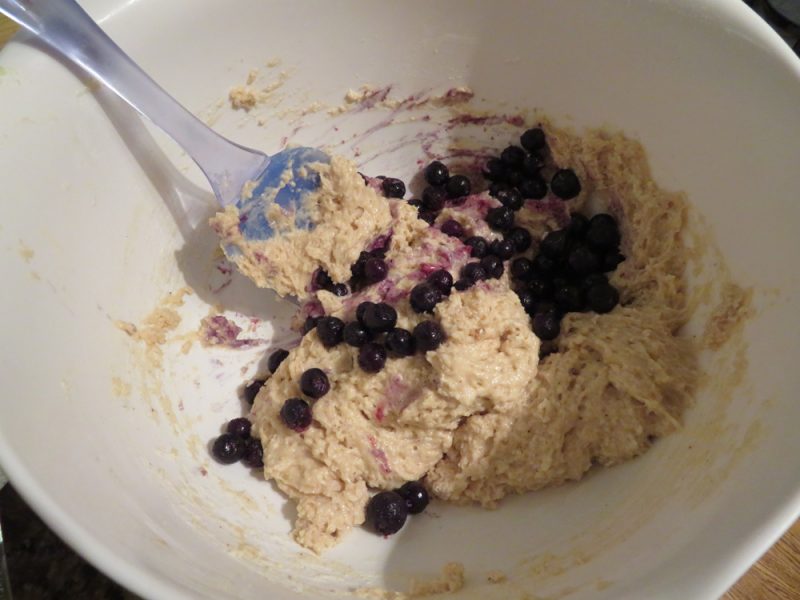
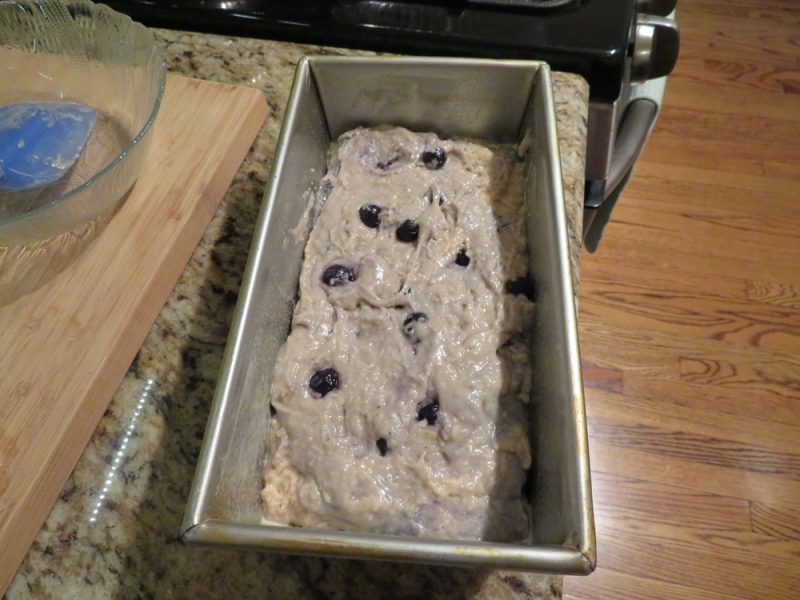
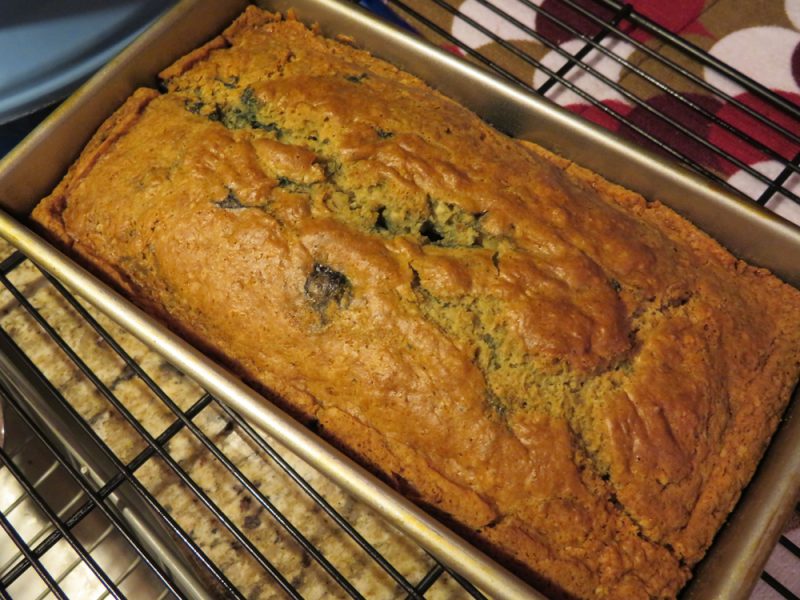
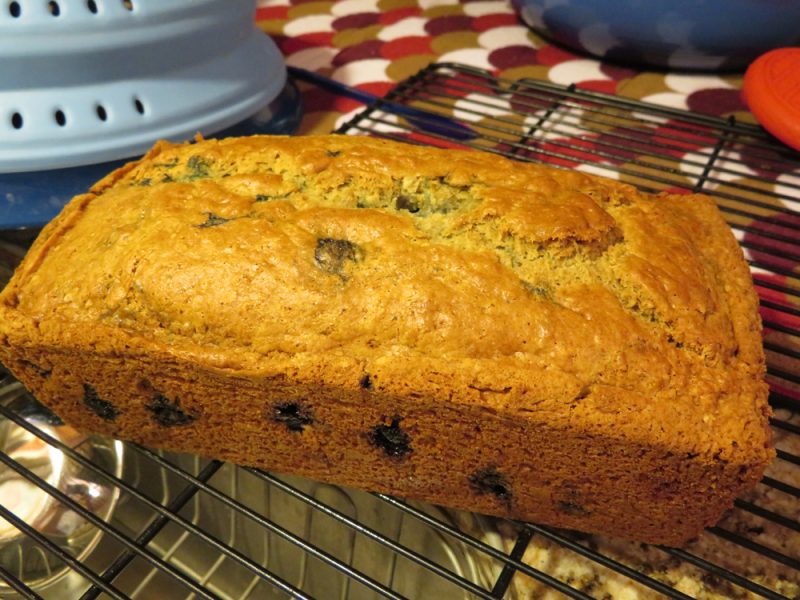
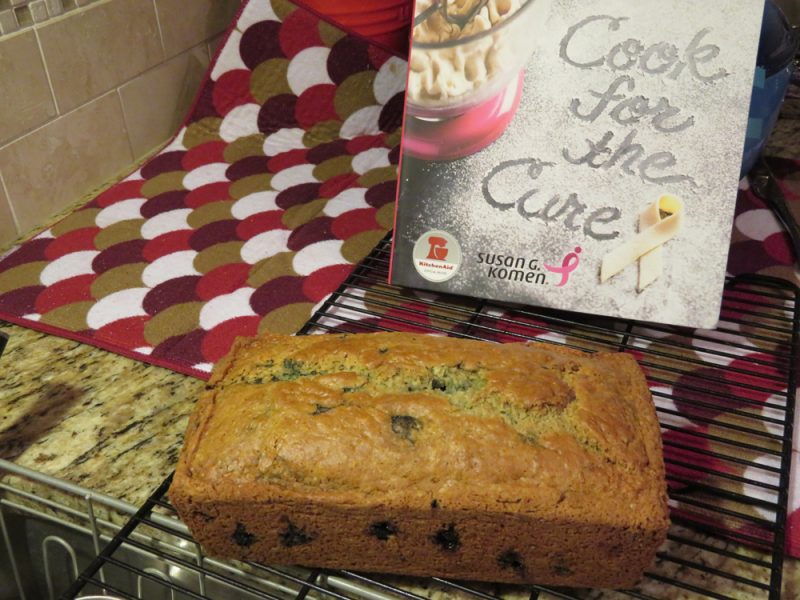
img_1770img_1762 img_1763 img_1764 img_1765 img_1766 img_1768


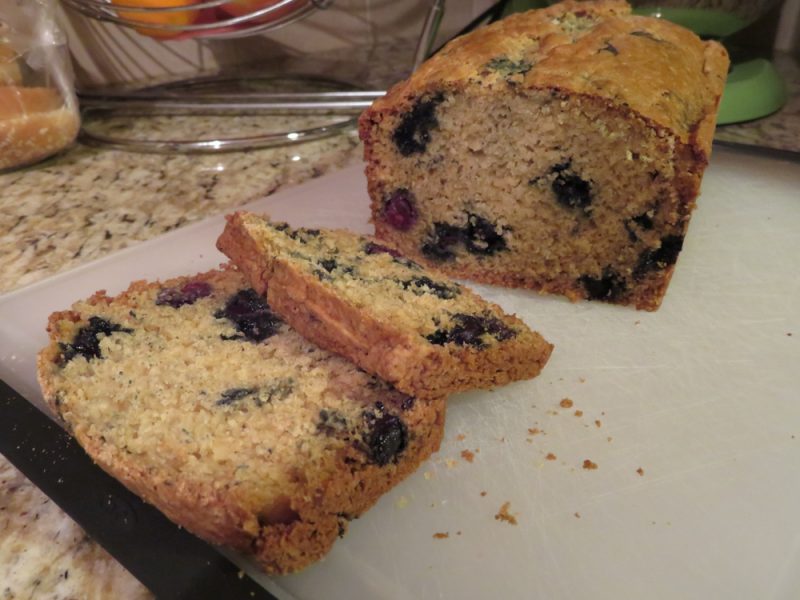
Here’s a fantastic blueberry bread that whips together quickly!  It features just a few simple ingredients.  Since you mix just until moistened, you can avoid using the stand mixer or electric mixer.  Highly recommended!

I got this book free via a promotion from ABT Electronics in Glenview, IL.  It’s a book called KitchenAid “Cook For The Cure” – Susan G. Komen.  Thanks, ABT!

Note: Frozen blueberries worked fine, I ran out of fresh.


INGREDIENTS:

  • 3/4 cup buttermilk
  • 1 egg
  • 3 tablespoons vegetable oil or melted butter –(I used butter)
  • 2 cups all-purpose flour
  • 3/4 cup packed brown sugar
  • 2 teaspoons baking powder
  • 1 teaspoon baking soda
  • 1 teaspoon salt
  • 1/2 teaspoon ground nutmeg
  • 1 cup fresh or frozen blueberries

DIRECTIONS:

  1. Preheat oven to 350F.  Grease 8×4″ loaf pan.
  2. Combine buttermilk, egg, and oil in small bowl.
  3. Combine flour, brown sugar, baking powder, baking soda, salt, and nutmeg in large bowl.
  4. Stir in buttermilk mixture just until moistened (batter will be lumpy).  Do not overmix.
  5. Fold in blueberries.
  6. Spread batter in prepared pan.
  7. Bake 50-60 minutes or until toothpick inserted in center comes out clean.
  8. Cool in pan 15 minutes.
  9. Remove to wire rack to cool completely.


Homemade White Hot Chocolate *

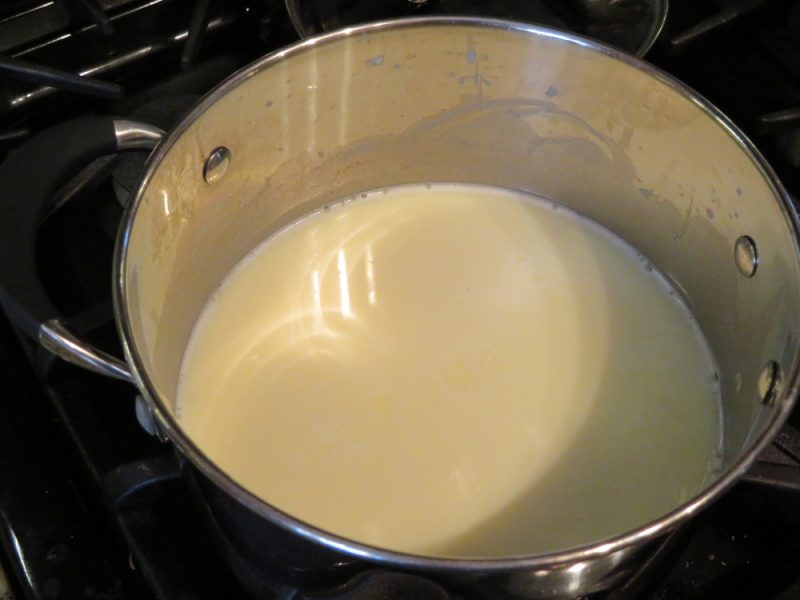
img_0605


img_0602


img_0600


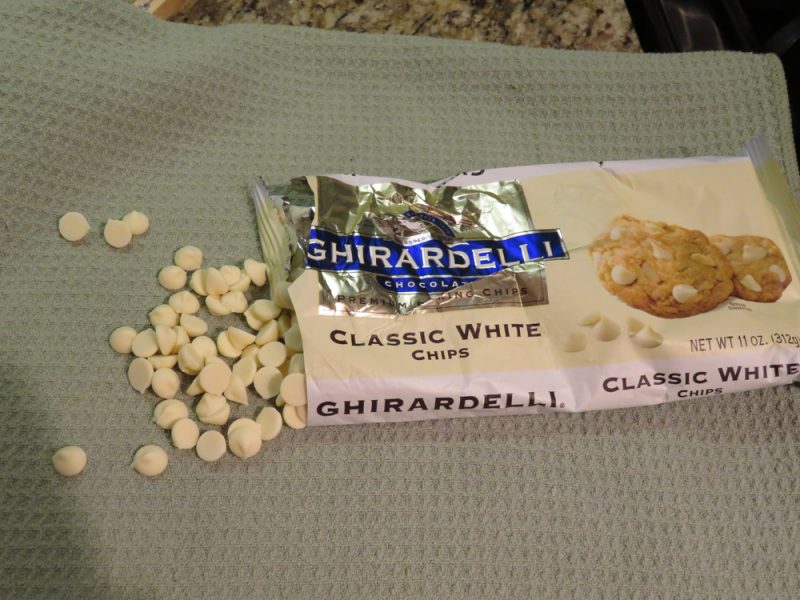
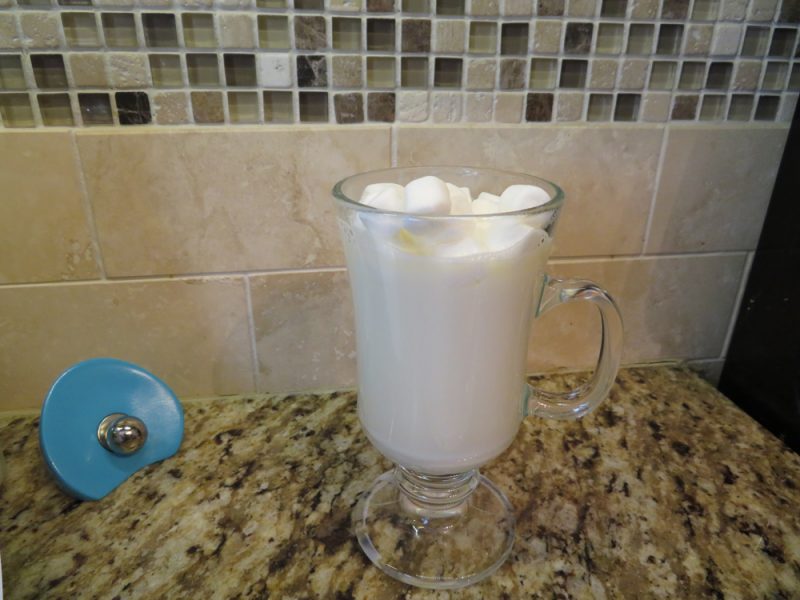
I can no longer have amazing hot cocoa, coffee, and all those wonderful things.  With a very irritated I.C. bladder, I have to find another route to the joy of hot chocolate.  So I looked online and found this recipe from www.gimmesomeoven.com, and gave it a try.  I had the 2% milk and homemade vanilla on hand, so all I needed was the white chocolate.  I got a big bag of Ghirardelli white chocolate chips and gave it a whirl!  It’s creamy, whips up in about five minutes, and tastes Starbucks-like to me.

–Makes about four ample servings.  It’s a filling drink that is wonderful.  


INGREDIENTS:

  • 4 cups of milk of your choice (or you can substitute heavy cream or half and half, or do a mixture).
  • 1 tsp. vanilla extract
  • 8 oz. white chocolate, chopped into small pieces (or white chocolate chips)**
  • whipped cream or marshmallows for topping

NOTE: White chocolate and vanilla can irritate some IC sufferers, tread carefully!


TIP: Use real vanilla extract or homemade vanilla extract (click here to see my recipe).
DIRECTIONS:

  1. Stir together milk, vanilla, and chopped white chocolate in a medium saucepan.
  2. Cook over medium-low heat, stirring occasionally, until the white hot chocolate comes to a simmer.  (Do not let it come to a bowl).  *I just got the mixture very hot, I didn’t simmer it. 
  3. Remove from heat and serve immediately.  Top with whip cream or marshmallows, if desired.

Hershey’s Hot Cocoa * (Not IC Safe)

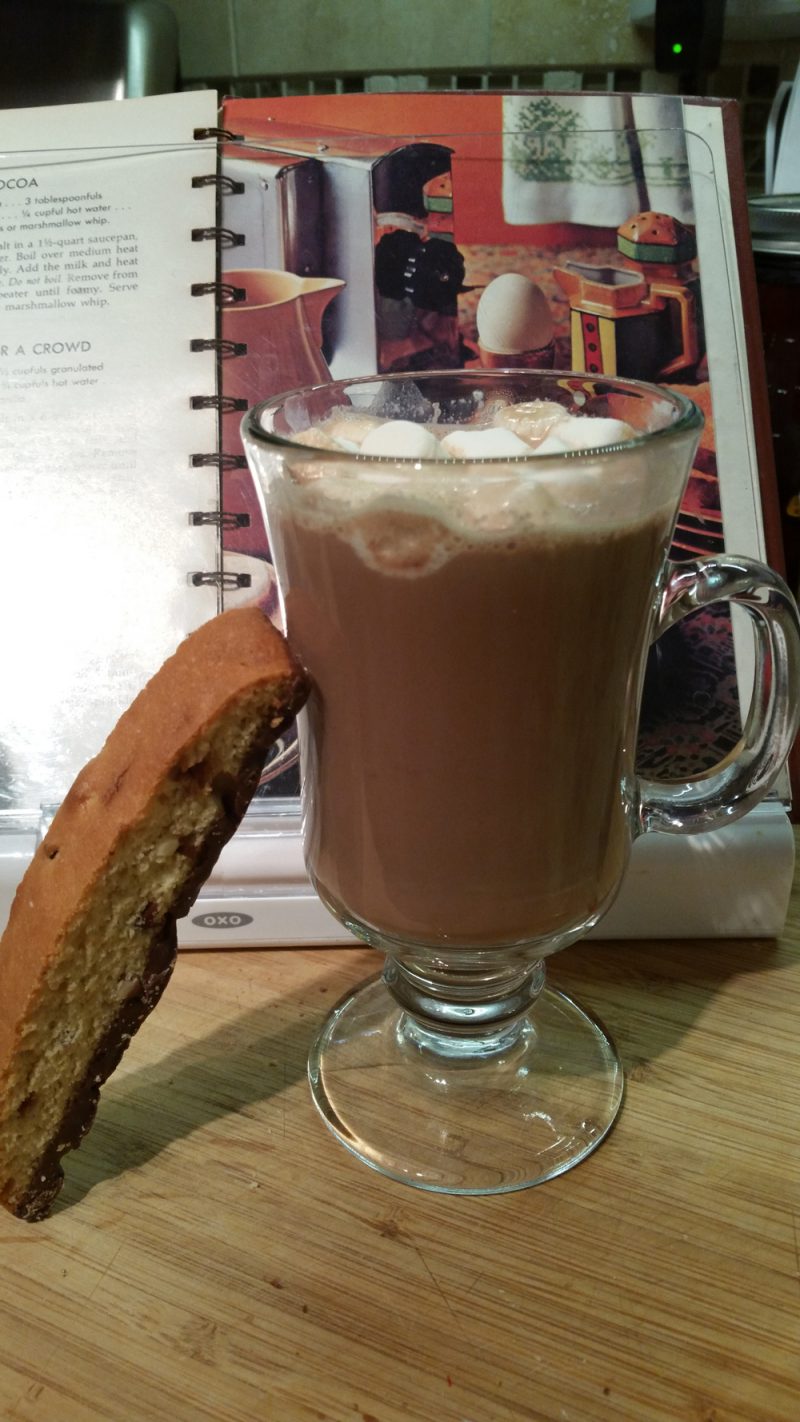
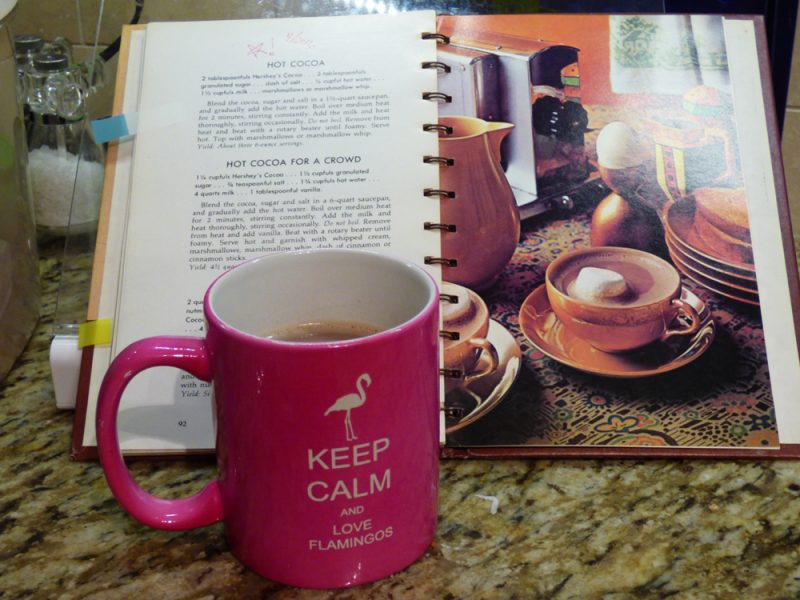
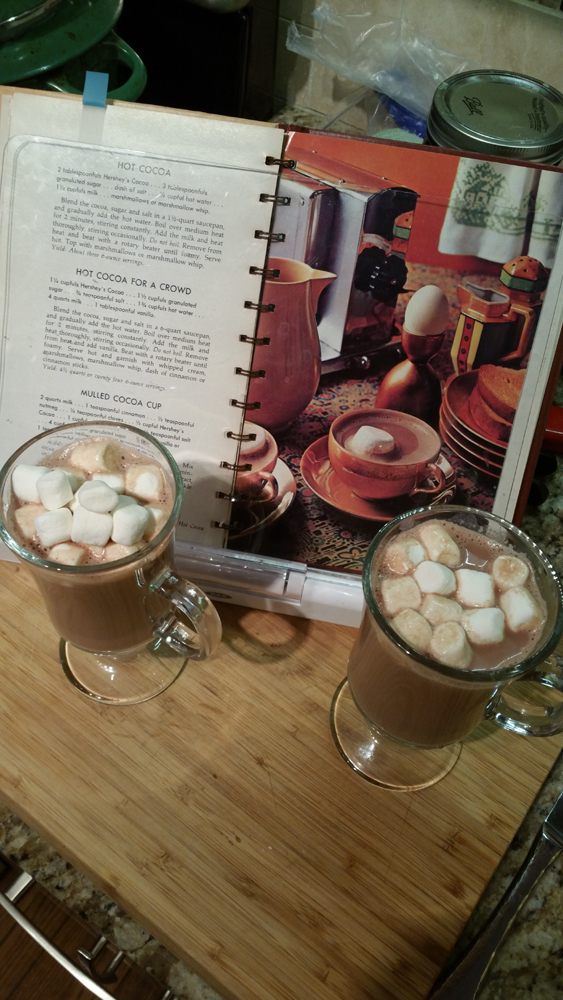
20160113_113412P109084220160113_113331   P1090844
We make this recipe when we want a cup of hot cocoa that a) doesn’t have preservatives, b) fake sweeteners, and c) doesn’t taste weird.  It takes a few minutes but the flavor is really worth it.

One note about this recipe, though, it states it makes three 6 oz. servings, but in reality, one recipe yields about two servings at best.  We always double this recipe for three people.  The recipe below serves approximately 2 people.  No one wants to have a small cup of hot cocoa…especially after smelling this recipe!


INGREDIENTS:  (for approximately 2 people)

  • 2 tablespoons Hershey’s cocoa powder**
  • 3 tablespoons granulated sugar
  • dash of salt
  • 1/4 cup hot water (doesn’t need to be boiling)
  • 1 1/2 cup milk (any percentage is fine, I used 2%)
  • marshmallows, if desired.

**Known IC irritants, tread carefully!


DIRECTIONS:

  1. Blend the cocoa powder, sugar, and salt in a medium saucepan.
  2. Gradually add the hot water.
  3. Boil over medium heat for 2 minutes, stirring constantly.
  4. Add the milk and heat thoroughly, stirring occasionally.  (Do not boil).
  5. Remove from heat and whisk until foamy.
  6. Serve hot – top with marshmallows, if desired.

Homemade Vanilla Extract

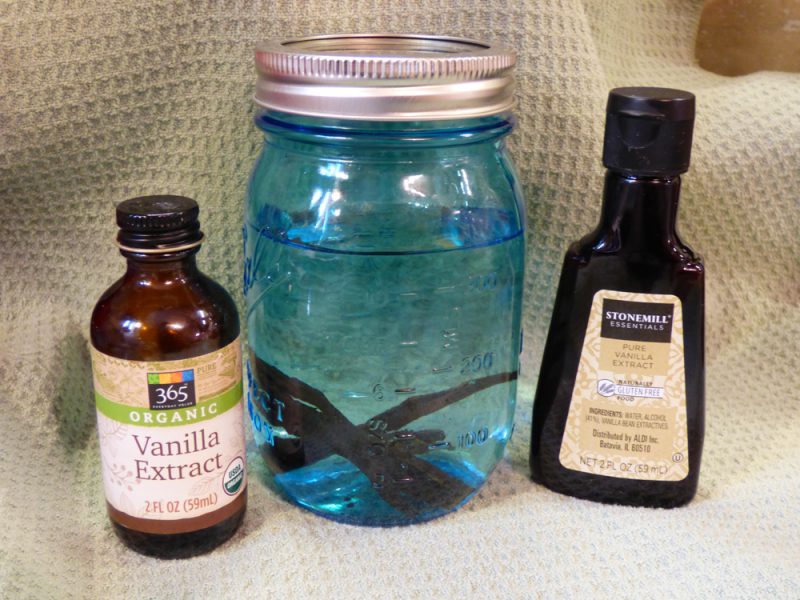
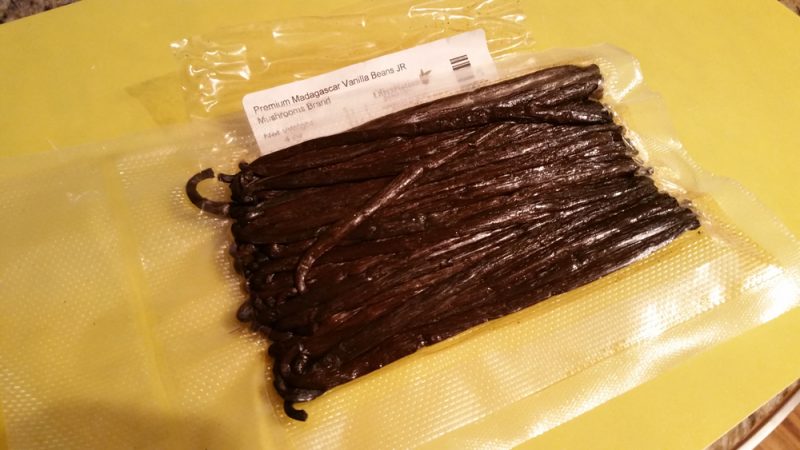
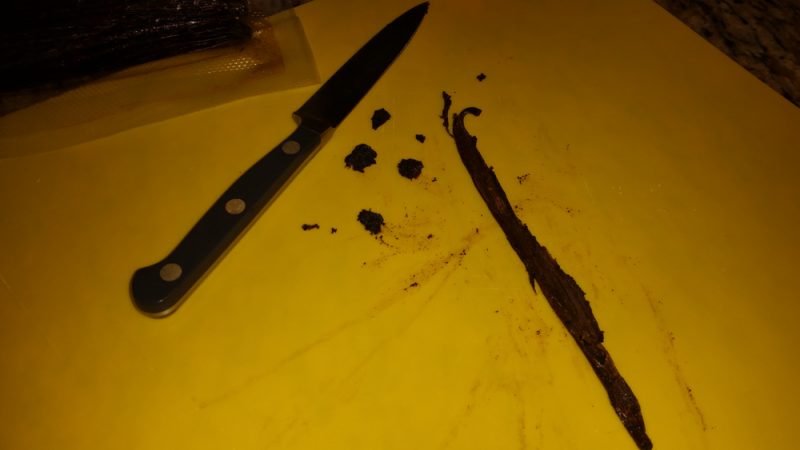
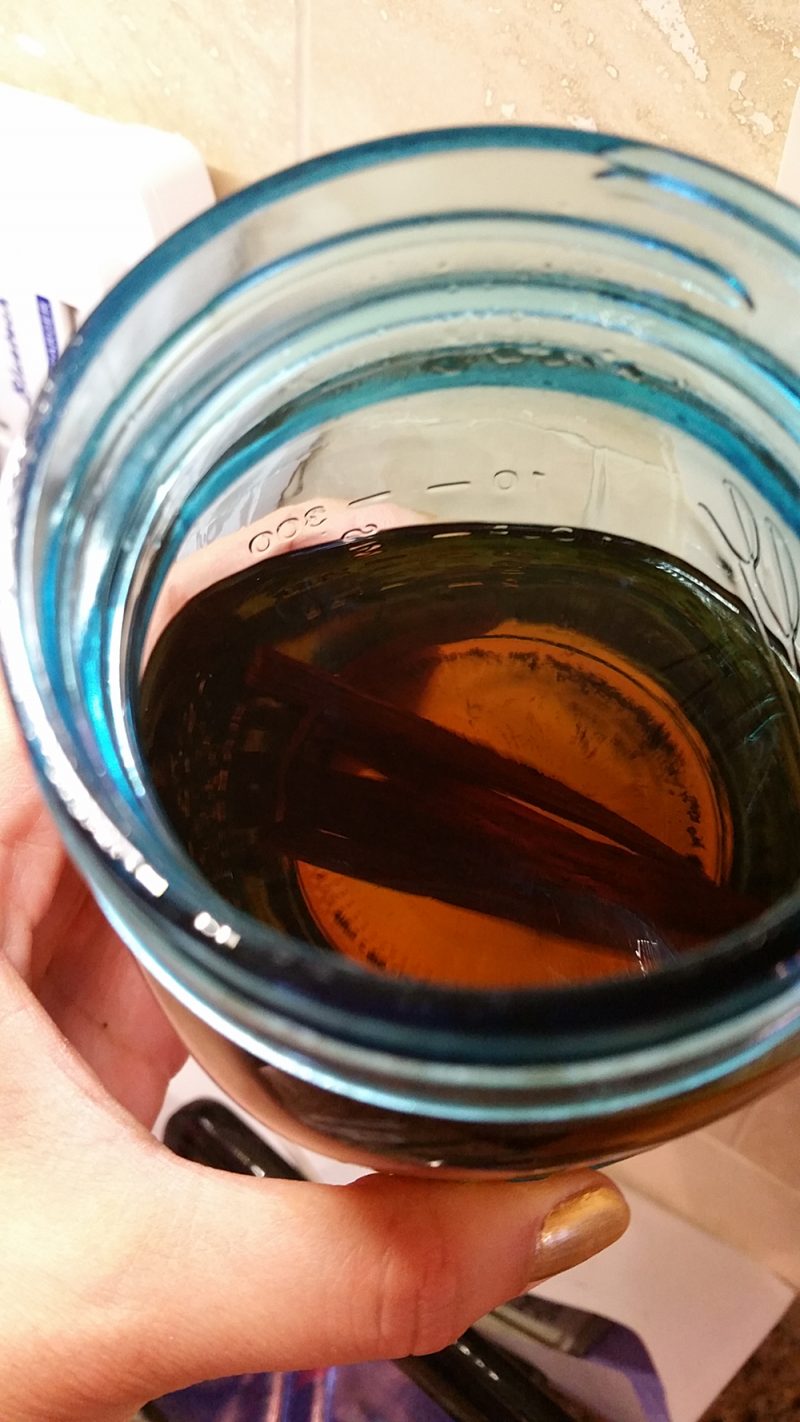
vanilla1 vanilla2 vanilla3 vanilla4 vanilla5

Homemade vanilla extract is something I never thought I’d make, but I am so glad I gave it a try.  I will definitely be making this again too.  With a little bottle of pure vanilla extract costing $5-10+, and with the possibility of the manufacturer putting unfortunate and fake ingredients in your vanilla, it’s a wise choice to make it yourself.  Also, it was simply fun to monitor it over the few weeks to watch (and smell) it morph from a vanilla bean inside a jar of vodka into vanilla extract.  The smell is heavenly!

Use this extract as a 1:1 replacement for store-bought extract.  This makes a great deal of vanilla extract!

For the best, most affordable deals on vanilla beans, head to Amazon or an online seller.  In the store, it’s a complete ripoff and will be a fun experiment but won’t save money.  In the store I’ve seen them ask $8 for one bean in a glass jar.  So, definitely buy online!


INGREDIENTS:

  • 2 vanilla beans
  • one 375-milliliter bottle of mid-grade vodka


DIRECTIONS:

  1. Using a sharp knife, split each vanilla bean in half down the middle.
  2. Add the sliced beans to the vodka bottle.
  3. Secure the lid and store the jar in your pantry for a couple of weeks, until the liquid starts to turn brown, then it’s ready to use.  (For me, this was about 6 weeks, give or take).


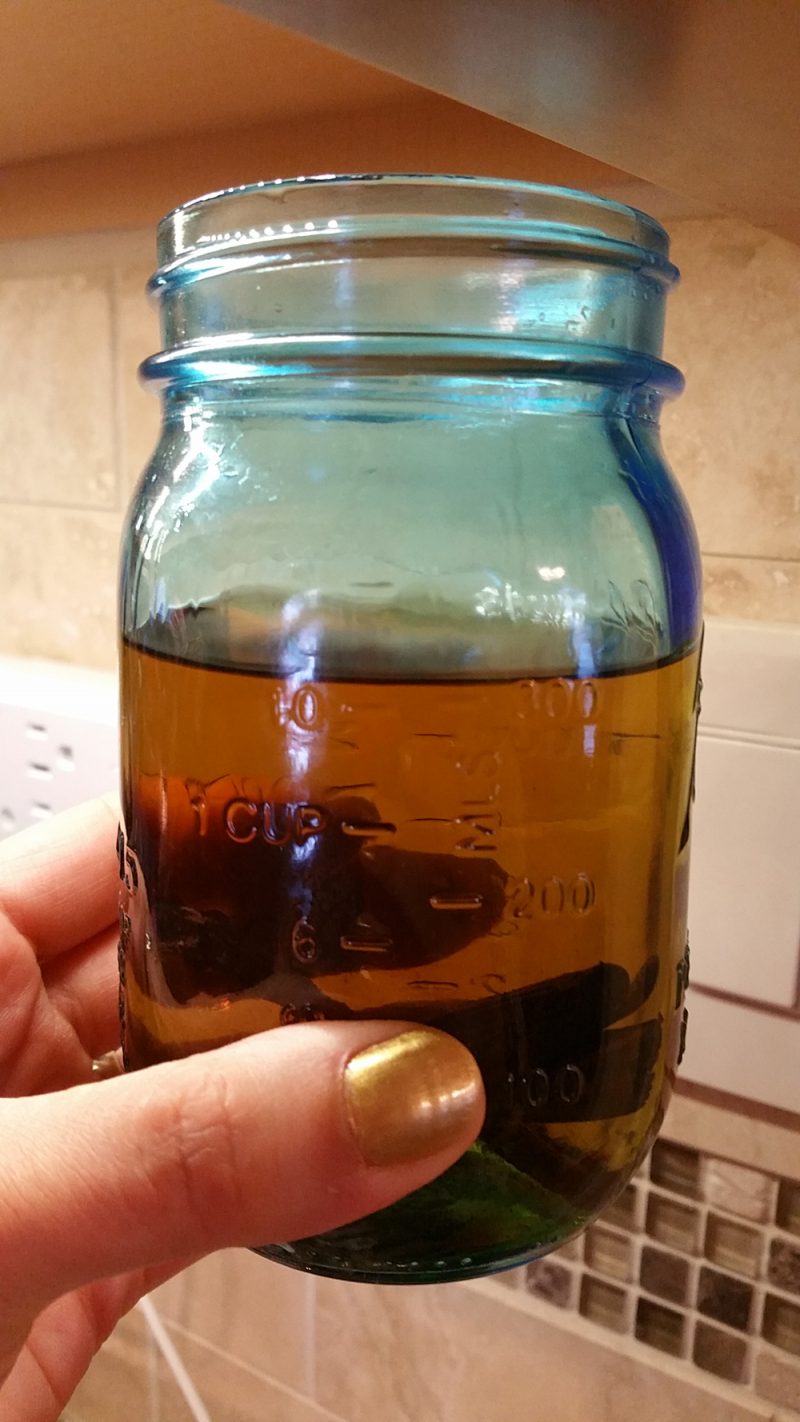
I found a bigger bottle of vodka and measured out the 375mL amount into a Mason jar and proceeded from there.  


Double Chocolate Zucchini Bread * (Not IC Safe)

P1090804

P1090787(I should not have peeled the zucchini beforehand — it was a mistake as that’s where the nutrients are.) Don’t make my mistake!  I won’t goof up again.

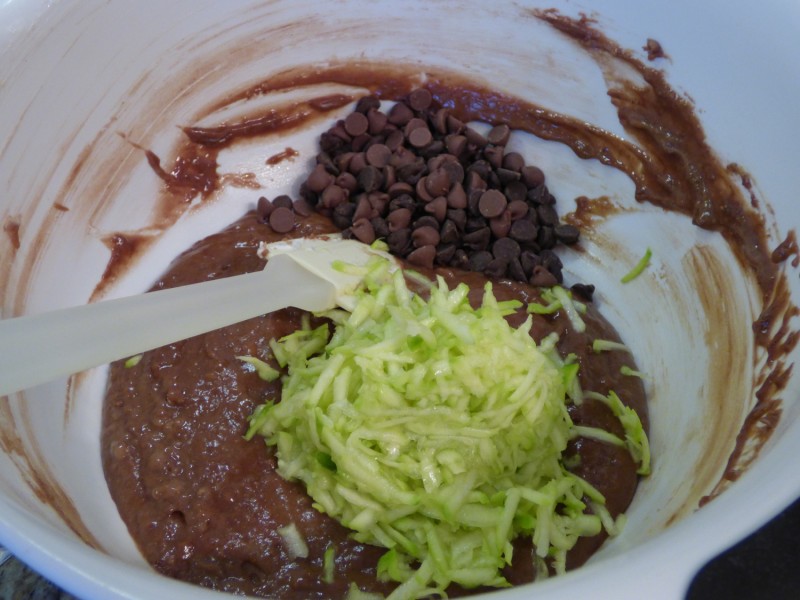
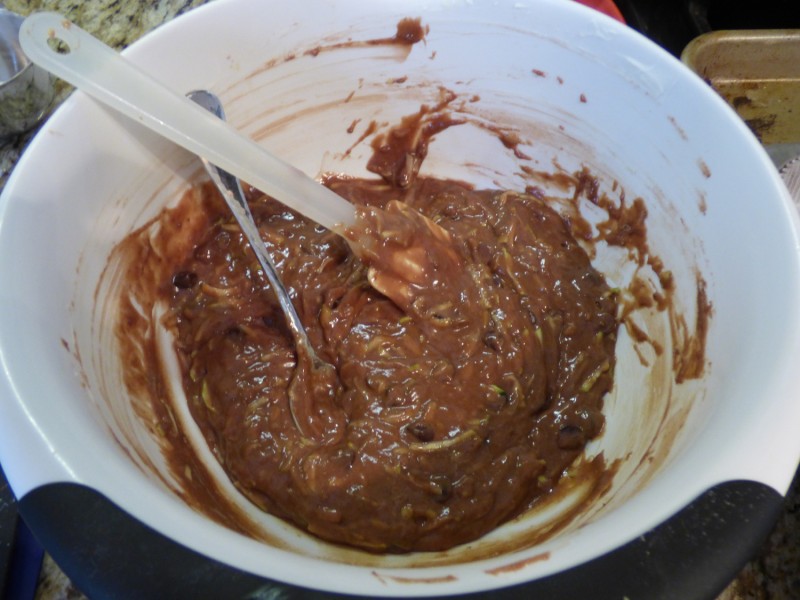
P1090788 P1090789 P1090791 P1090793 P1090796 P1090797

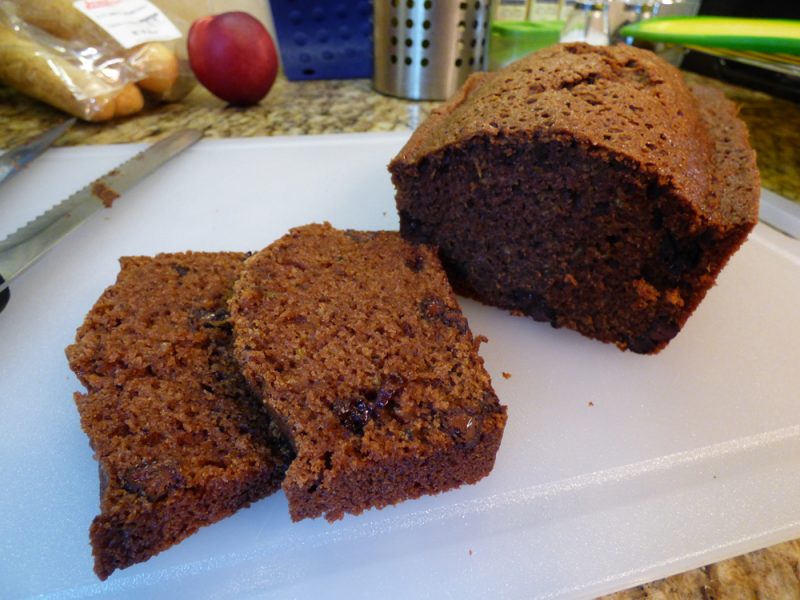
You will love this zucchini ‘double chocolate’ bread – that’s all I have to say!  It’s perfect.  

Obviously, it’s not a true bread – it doesn’t have yeast; it’s more of a dessert!  But it gets zucchini into your children, so you can’t complain too much.  

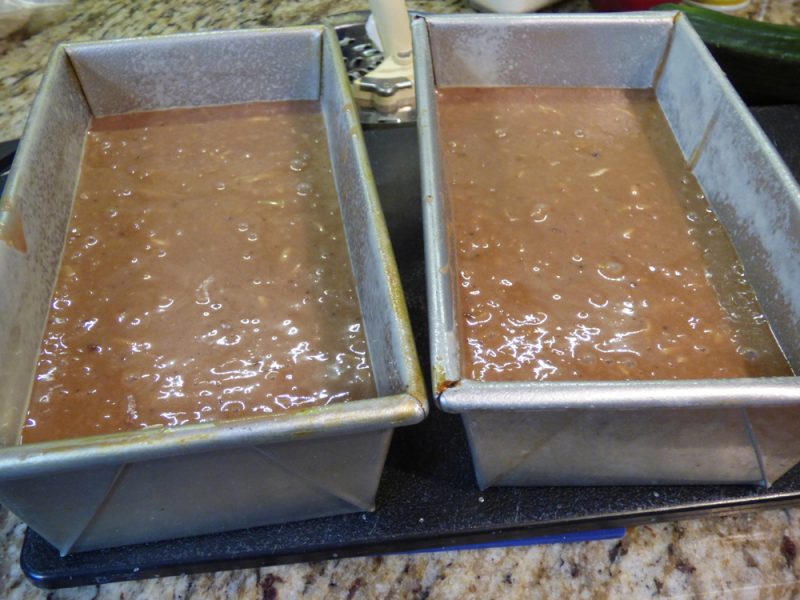
Make sure it’s fully cooked before removing from oven.  It shouldn’t look gooey at all on top.  I had to bake the two loaves for 1 hour 25 minutes.  

This recipe really is easier with the right tools: the food processor, the stand or hand mixer, and the right pans (See link below for the best pan).  The link goes to an Amazon pan that is very similar to the Williams-Sonoma pan but less than half the price.   

Warning #1: I consider this a weekend recipe because it does dirty up your food processor, mixer, and more.  It’s very worth it, but I wouldn’t tackle this on a weekday. 

Warning #2: Be glad this makes 2 loaves.  Don’t halve the recipe.  Once you taste it, you’ll  be glad you listened to me!

INGREDIENTS:

**Known IC irritants, tread carefully!

DIRECTIONS:

  1. Preheat oven to 325 degrees F.
  2. Grease and flour two 4″x8″ loaf pans.  (I used PAM for baking spray).  For best results use commercial, heavy weight aluminum pans (click link here to see which one I have).
  3. Wash zucchini, with green skin on, with warm water and dish soap.  Rinse thoroughly.  Dry.
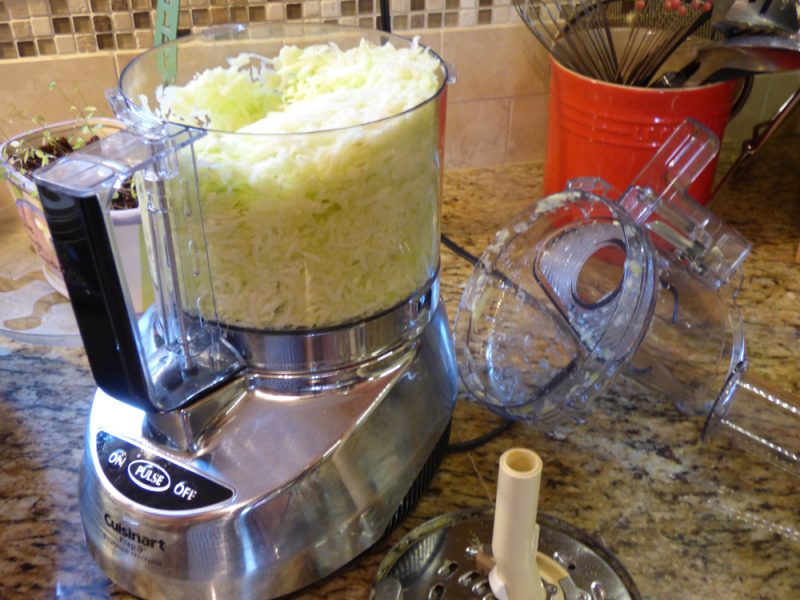
  4. Grate zucchini preferably with a food processor.
  5. Put grated zucchini in a clean cloth and squeeze out almost all the moisture.  Set aside.
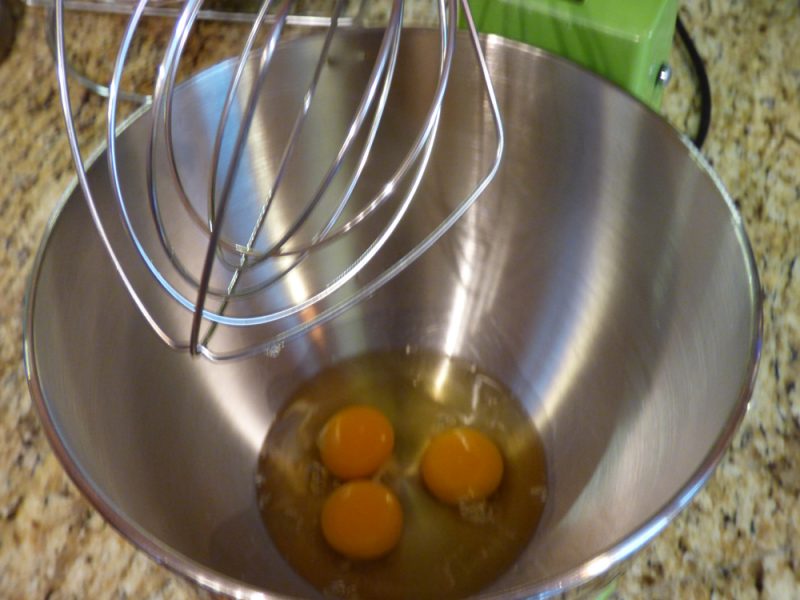
  6. Beat eggs in a large bowl (or Kitchenaid stand mixer, like mine) until light and foamy.
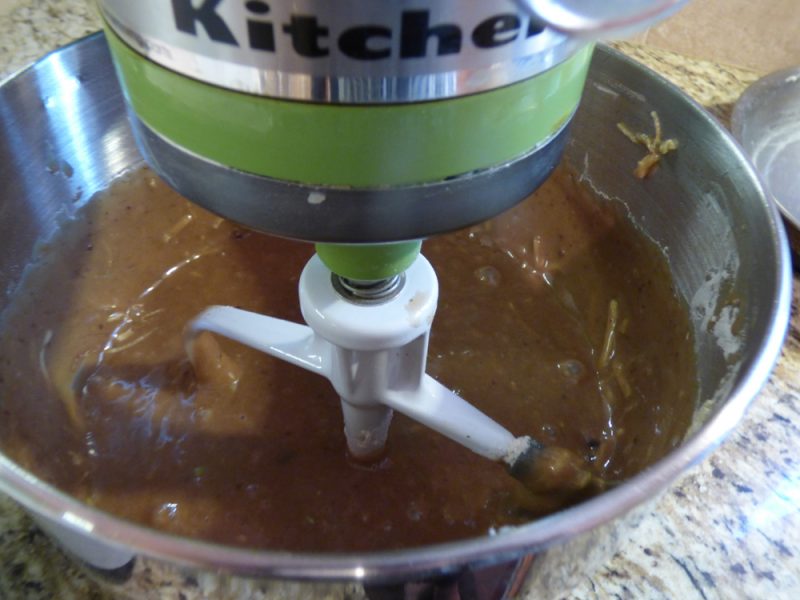
  7. Mix in vegetable oil, sugar, vanilla extract, and grated zucchini until thoroughly combined.
  8. Whisk flour, cocoa powder, salt, baking soda, and baking powder together in separate bowl.
  9. Stir the flour mixture into the zucchini mixture.
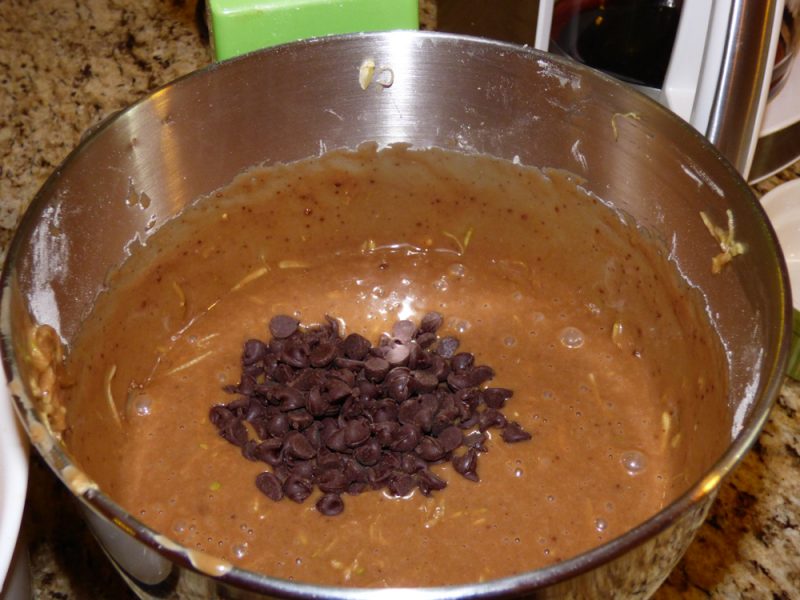
  10. Mix in chopped walnuts and chocolate chips.  (Or do what I did, because I can’t have walnuts.  I added 1 cup chocolate chips in total).
  11. Pour the batter into the prepared loaf pans.
  12. Bake in the preheated oven until a toothpick inserted into the center of the loaves comes out clean, about 1 hour.  (Mine took 1 hour and 25 minutes).
  13. Let cool in pans for 10 minutes before removing, to finish cooling on wire racks.

Creamy Panna Cotta

panna-cotta-small

I finally made this Italian dessert that I’ve always wanted to try: panna cotta.  It’s a cold Italian custard that magically doesn’t have eggs – great for anyone but especially my egg-allergic husband.  It’s creamy, has the perfect amount of flavor, is fattening, and too delicious.  It’s self-limiting as it’s high in fat and very satisfying!  Don’t die without eating or making this yourself.  I warned you! 

P1080840

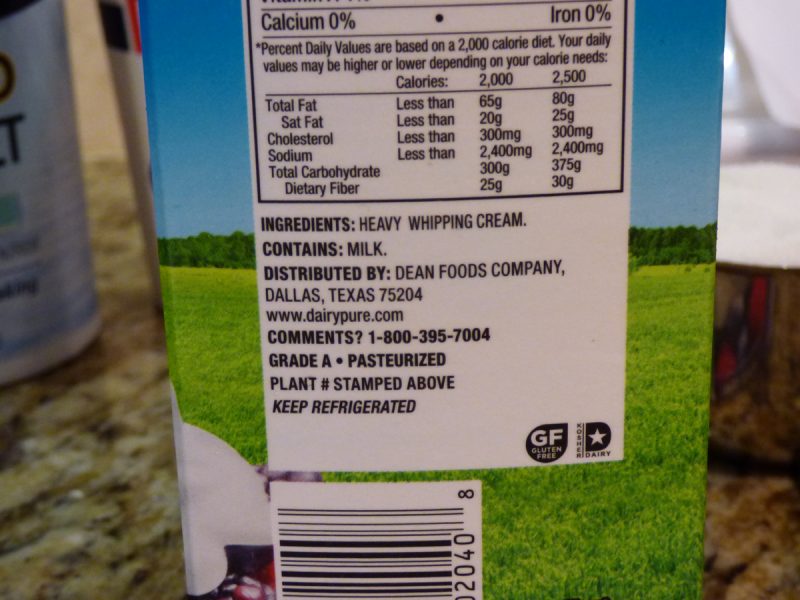
Only buy your heavy cream if it has one ingredient.  Otherwise it’s an impostor for this recipe (or any recipe).

P1080839

NOTE: Use only the highest quality ingredients for this dessert.  Do not use heavy cream that has any ingredient other than “heavy cream”.  It shouldn’t have any additives, preservatives, or carageenan etc.  DO NOT use any low fat or reduced fat ingredients.  This is not the time.  Only use full fat sour cream and unadulterated heavy cream.  No substitutes at all.  Follow the directions precisely and you will have an awesome dessert that you won’t believe.

INGREDIENTS:

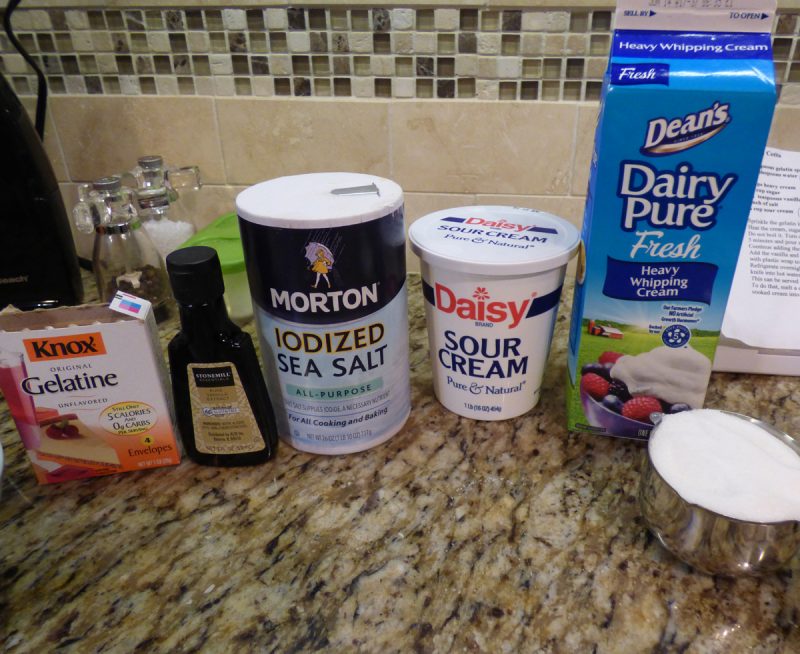
  • 2 teaspoons gelatin sprinkled over 2 tablespoons room temperature water
  • 3 cups heavy cream (no substitutes)
  • 2/3 cup sugar
  • 1 1/2 tsp. vanilla extract
  • pinch of salt
  • 3/4 cup sour cream (whole fat!)
  • Fresh berries, honey, or other toppings (optional)

DIRECTIONS:

  1. In a small bowl or ramekin: prinkle the gelatin in the room temp. water and let it sit for 5-10 minutes to gel up.
  2. Heat the cream, sugar, and salt until it’s very warm and steam starts to come off of it.  Do not boil it!  
  3. Turn off the heat, add the gelatin, and mix it until it’s melted.
  4. Cool for 5 minutes.
  5. While stirring with one hand, slowly pour a cup of the warm cream into the sour cream.  Mix well.
  6. Continue slowly adding the warm cream to the sour cream mixture, a cup at a time, until you’re done.
  7. Add the vanilla and stir.
  8. Pour it into 6 small, un-greased custard cups.
  9. Cover each cup with plastic wrap to avoid a skin forming.
  10. Refrigerate overnight (mandatory).
  11. I did not un-mold them, but to un-mold: run a sharp knife around the edge.  If necessary, dip the knife into hot water.

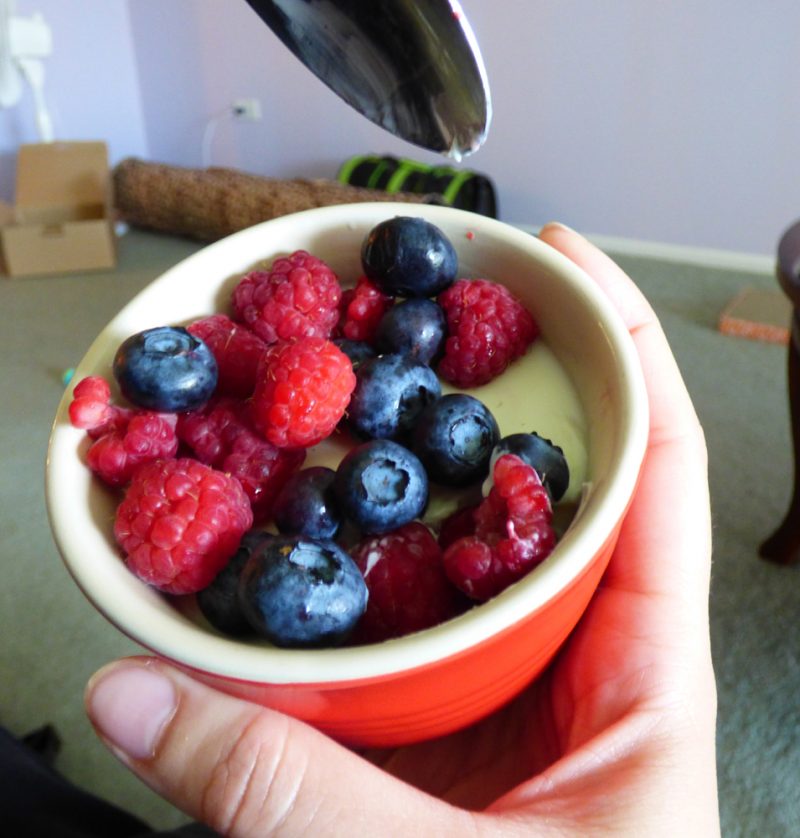
Tips: This can be served with honey, fruit syrups, or add a caramel cream.  I chose to go simple and just add fresh berries.


Delicious Double Chocolate Chip Zucchini Muffins * (Not IC Safe)

zucc1

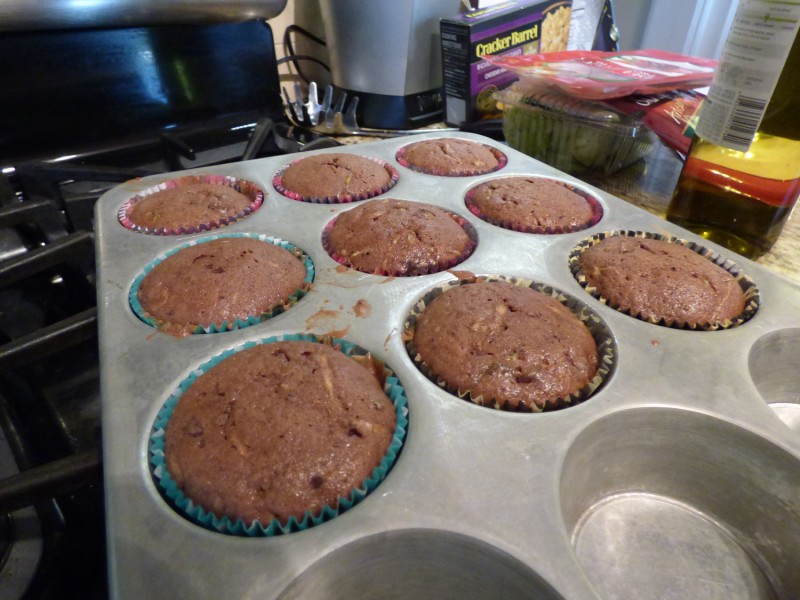
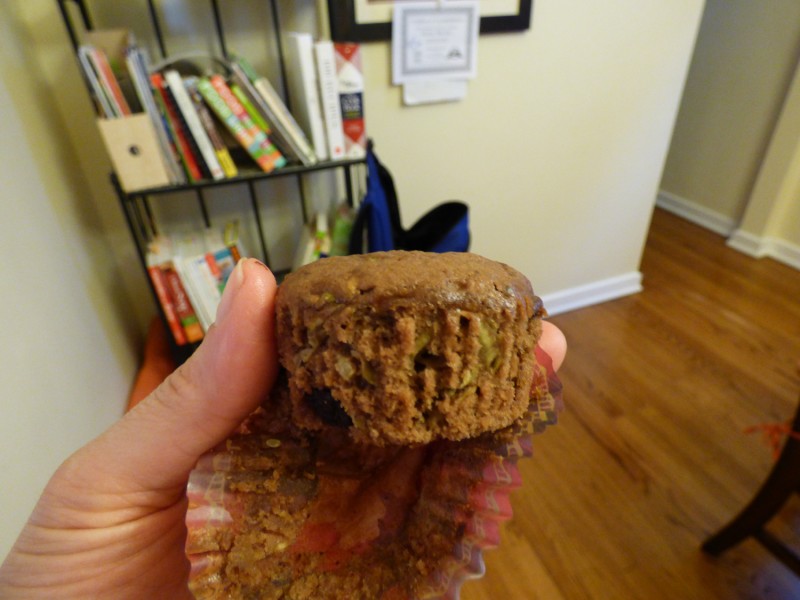
I made this recipe from Damndelicious.net.  I had wanted to try a double chocolate muffin but with a hidden health gem – shredded and peeled zucchini – and Greek yogurt.  I will make these FOREVER and I mean it.  They’re delicious and you’d never even care there’s zucchini in there.  Why? Because you can’t taste it!  My son and his friend didn’t care, and my son is picky!

zucc2

The flavor is really unique and deliciously chocolatey.

zucc3 zucc4 zucc5 zucc6

Her website says they’re only about 195 calories each.  There is absolutely no need to add frosting and ruin this.  It’s delicious all by itself.  I felt zero need for frosting to hide the healthiness.  It’s not a cupcake, it’s a healthy muffin that doesn’t taste too “healthy”!

I am so happy I found this recipe – it’s dessert but it’s on the healthy side – WIN!  

TIP—->  *I always use unsalted butter for baking and cooking, and add the salt myself on the side (when necessary) to control the salt.

INGREDIENTS:

  • 1 cup all-purpose flour
  • 3 tablespoons unsweetened cocoa powder**
  • 1 teaspoon baking powder
  • 1/2 teaspoon cinnamon**
  • 1/4 teaspoon salt
  • 2/3 cup sugar
  • 1/4 cup vegetable oil*
  • 1/4 cup plain Greek yogurt (I used Fage 2%, my favorite).
  • 2 large eggs (I used Egg-land’s Best cage free eggs).  
  • 2 tablespoons unsalted butter, melted
  • 1 teaspoon vanilla extract**
  • 1 cup shredded zucchini (and peeled).
  • 1/2 cup chocolate chips (I used 1/2 milk choc. chips and 1/2 semisweet chips).** 

*Apple sauce can be substituted.

INSTRUCTIONS:

  • Preheat oven to 350 degrees F. Line a 12-cup standard muffin tin with paper liners or coat with nonstick spray; set aside.
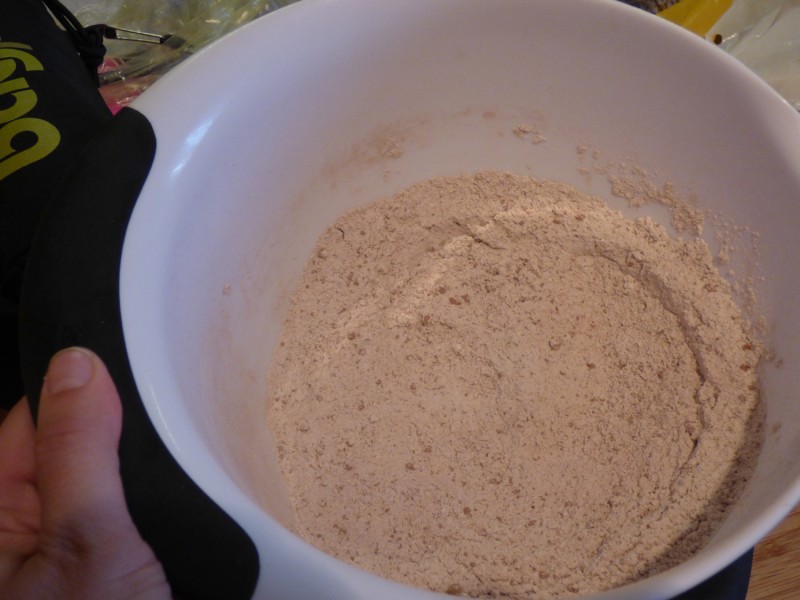
  • In a large bowl, combine flour, cocoa powder, baking powder, cinnamon and salt.
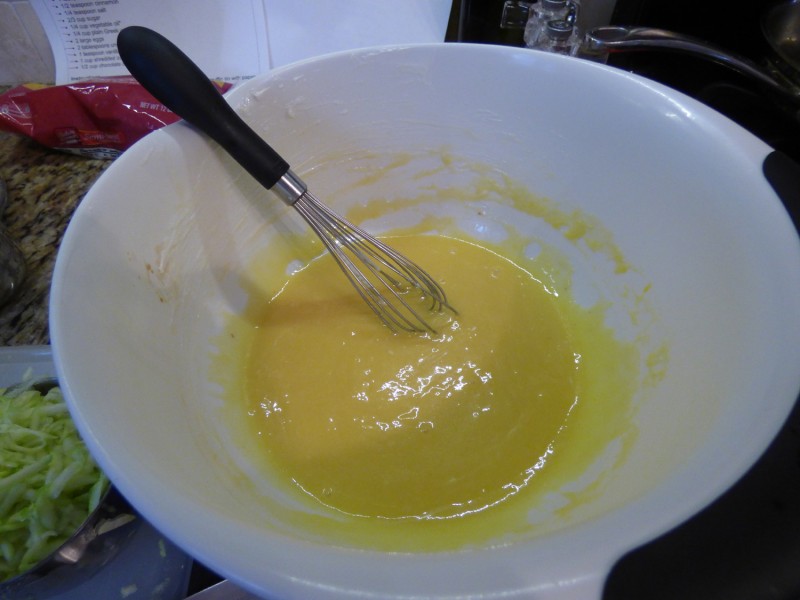
  • In a large glass measuring cup or another bowl, whisk together sugar, vegetable oil, Greek yogurt, eggs, butter and vanilla.
  • Pour mixture over dry ingredients and stir using a rubber spatula just until moist. Stir in zucchini and chocolate chips.  No need to squeeze zucchini dry.  Check your oven’s real operating temp, but my convection oven needed about 24-25 minutes for the toothpick to come out clean.
  • Scoop the batter evenly into the muffin tray. Place into oven and bake for 20-22 minutes, or until a tester inserted in the center comes out clean.
  • Remove from oven and cool on a wire rack.


Energy Balls (A Tidy Spherical Dessert) *

energy-balls-11-2015 energy-balls-11-2015_2nd

I found this recipe on the Washington Post, and altered it to fit our needs.  The original recipe had chia and/or flax seeds.  I used flax seeds the last time and something about them made my mouth itch and feel irritated.  So, I remade them this time with wheat bran and had no problem.  Wheat bran has 6g of fiber (24% of your day) in a 1/4 cup!  I found Bob’s Red Mill brand and it was affordable, unlike almond flour (LOL).

My son, age 9, would almost never eat sunflower seeds, peanuts, or raisins by themselves, but mixed in this awesome recipe, he’ll unknowingly gobble them down.  And I snuck in the wheat bran too!  I know him too well to know he wouldn’t eat it had I put cranberries in there, plus I can’t have cranberries, so it’s moot.

INGREDIENTS:

  • 1 cup creamy peanut butter (or any nut butter or faux nut butter)
  • 1/2 cup honey (add more if excessively crumbly)
  • 3 cups old fashioned oats
  • 1/4 cup wheat bran (such as Bob’s Red Mill)
  • 3/4 to 1 cup mini chocolate chips*
  • 1 cup total of (chopped peanuts / sunflower seeds / raisins*) combined**
  • 2-3 drops of vanilla extract

**1 cup any combination (that works for you) of nuts, seeds, soft dried fruits, raisins, cashews, peanuts, etc, sunflower seeds, or dried cranberries.

**Known IC irritants, tread carefully!

DIRECTIONS:

  1. Combine the nut butter and honey in a large mixing bowl and stir until smooth.
  2. Gradually add the oats and wheat bran until well combined. Add the chocolate chips and the nut-seed/fruit mixture, and mix gently to combine.
  3. NO BAKING NEEDED!   Use your hands to roll the mixture into balls (I used a cookie scoop for sanitation and uniformity) approximately the size of ping-pong balls. If desired, roll them in shredded coconut.
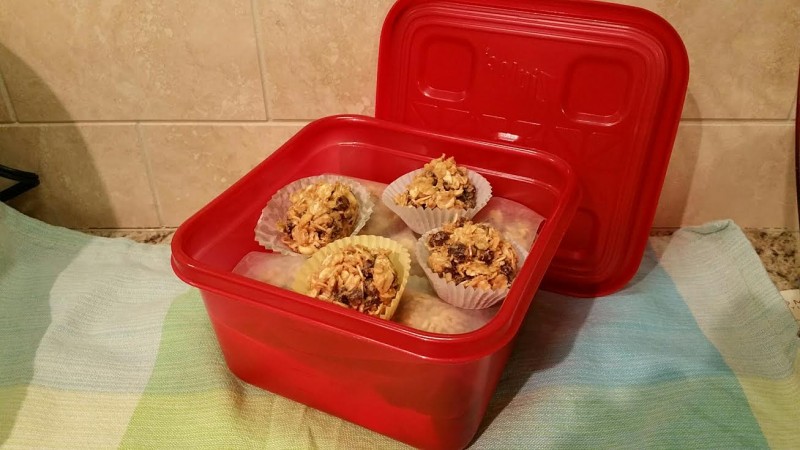
  4. Place the balls in paper mini-muffin cups. At this point, you can eat them, but they’ll be less sticky and less crumbly after a night in the refrigerator. They taste best after one day in the fridge.
  5. Layer the balls in an airtight container, using inexpensive wax paper (parchment paper is not necessary here)*** to separate the layers, and refrigerate for 7 to 10 days or freeze for up to 3 months.


***Parchment paper vs. wax paper debate:

–Parchment paper is for cooking and baking and can handle high temperatures, up to around 420 degrees F.  You can use it to separate the energy balls in a container for storage, but don’t.  Parchment paper is much more expensive than wax paper and is a waste to separate the energy balls.  I keep both parchment and wax paper on hand at all times.  Even though parchment’s safe in the oven, make sure your paper doesn’t extend beyond the rim of the baking sheet, the extended paper will brown horribly.

–Wax paper is NOT for cooking or baking.  It’s not heat safe, it’s covered in a wax coating to give it a smooth, non-stick surface.  It will smoke in the oven and cause a mess.  It can ruin your food! 

Here – Whisked Foodie explains it much better than I have time or desire to do, LOL:

Wax Paper Vs. Parchment Paper via Whisked Foodie

Ghirardelli White Chocolate Muffins with Fresh Raspberries * (May or May Not Be IC Safe For You)

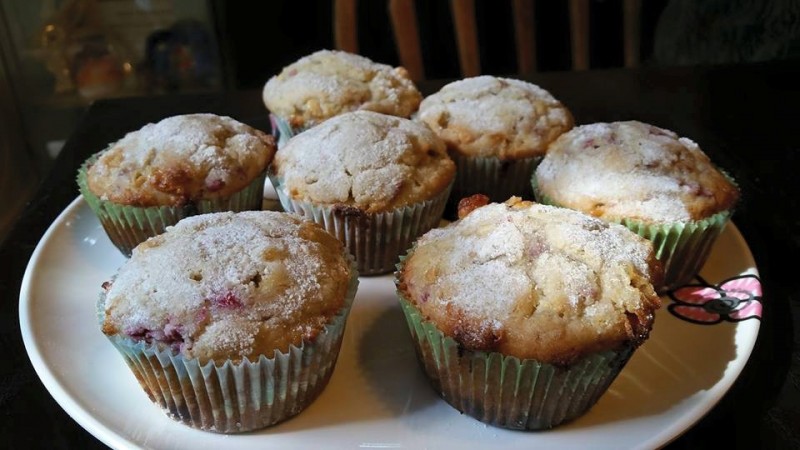
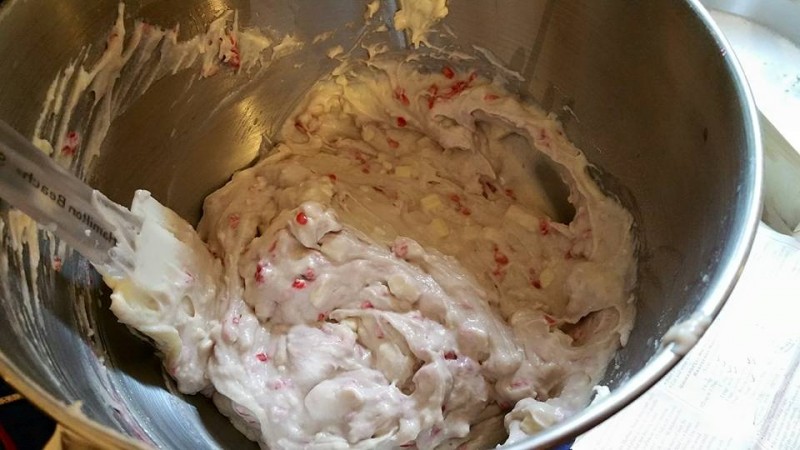
muffin1 muffin2 muffin3

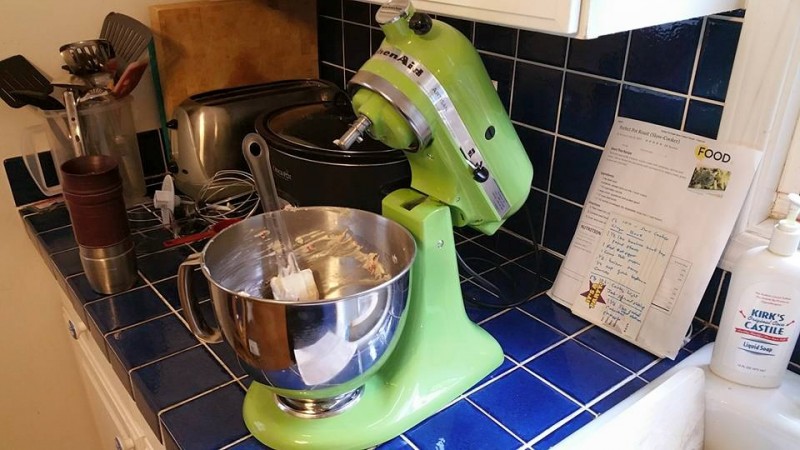
I had the pleasure of spending time with my sister-in-law and her daughter and baking this recipe with them.  It was pretty straight-forward and easy, as far as baking goes!  Her new mixer came in handy.  I have owned the same Kitchenaid Artisan mixer for years and it is very easy to use.  Two controls: one side is the lock, the other is the speed.  Easy and makes light work of something like kneading bread dough or whipping cheesecake batter that must be fully mixed or else.  Also, it’s a star at creaming butter and sugar.

This recipe yielded approximately 12 servings, but for us, it yielded about 15 muffins.

INGREDIENTS:

  • 1cup butter, softened (a half normal sized stick of butter)
  • 1cup sugar
  • 1 tablespoon sugar
  • 1 large egg
  • 1 cup milk
  • 1 teaspoon vanilla extract
  • 1 tablespoon baking powder
  • 2 cups flour
  • 1 tablespoon flour
  • 8 ounces Ghirardelli white chocolate, chopped (a total of two 4 oz. bars)**
  • 1cup fresh raspberries**

**White chocolate and raspberries can irritate some IC patients, so please be careful. 


DIRECTIONS:

  1. Preheat oven to 400*F.
  2. Grease 12 standard-size muffin cups, or line with paper muffin liners.
  3. In a medium bowl, using an electric mixer on medium speed, cream together the butter and sugar until smooth.
  4. Add the egg, milk, and vanilla; blend well.
  5. In a separate large bowl, combine the baking powder, 2 cups of the flour, and the chopped white chocolate; whisk to combine.
  6. Gradually add to the butter mixture; stirring just until combined.
  7. Gently fold in the raspberries–the batter will be slightly lumpy.
  8. (The original directions on the Ghirardelli wrapper did not say to gently fold in, so we mixed them in which crushed them.  Either way, it will turn out just fine, it depends on your preference).  
  9. Fill the muffin cups 3/4 full of batter.
  10. In a small bowl, combine the 1 Tbsp. of flour and 1 Tbsp. sugar; mix thoroughly.
  11. Dust muffin tops with the sugar mixture.
  12. Bake for 20-25 minutes, or until the center of a muffin springs back when lightly pressed.
  13. Cool for 5 minutes in the tins; carefully transfer muffins to wire racks and cool further.
  14. Serve warm or cool; store in an airtight container at room temperature.