Homemade Vanilla Extract

vanilla1 vanilla2 vanilla3 vanilla4 vanilla5

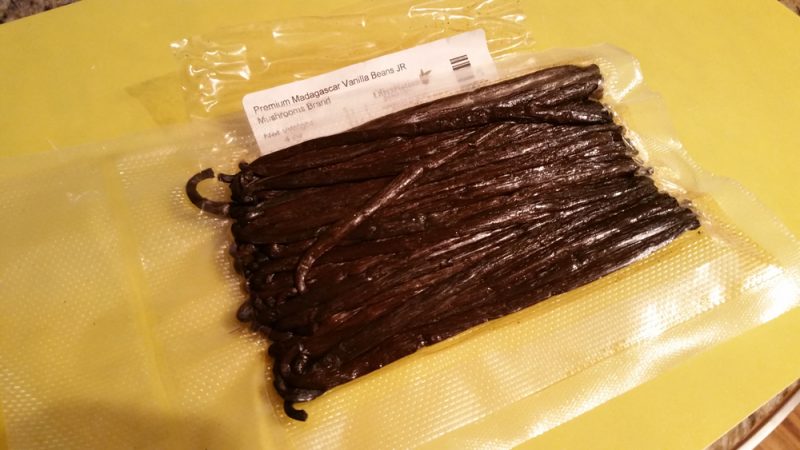
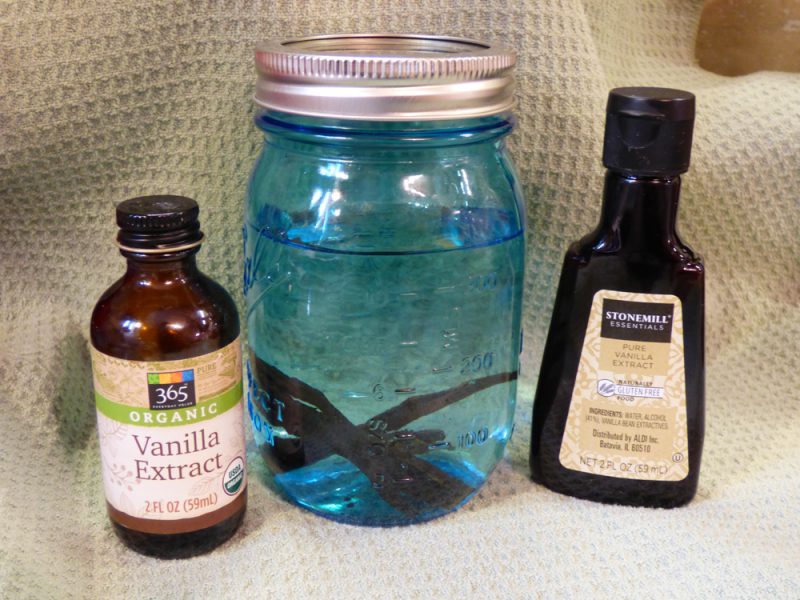
Homemade vanilla extract is something I never thought I’d make, but I am so glad I gave it a try.  I will definitely be making this again too.  With a little bottle of pure vanilla extract costing $5-10+, and with the possibility of the manufacturer putting unfortunate and fake ingredients in your vanilla, it’s a wise choice to make it yourself.  Also, it was simply fun to monitor it over the few weeks to watch (and smell) it morph from a vanilla bean inside a jar of vodka into vanilla extract.  The smell is heavenly!

Use this extract as a 1:1 replacement for store-bought extract.  This makes a great deal of vanilla extract!

For the best, most affordable deals on vanilla beans, head to Amazon or an online seller.  In the store, it’s a complete ripoff and will be a fun experiment but won’t save money.  In the store I’ve seen them ask $8 for one bean in a glass jar.  So, definitely buy online!


INGREDIENTS:

  • 2 vanilla beans
  • one 375-milliliter bottle of mid-grade vodka


DIRECTIONS:

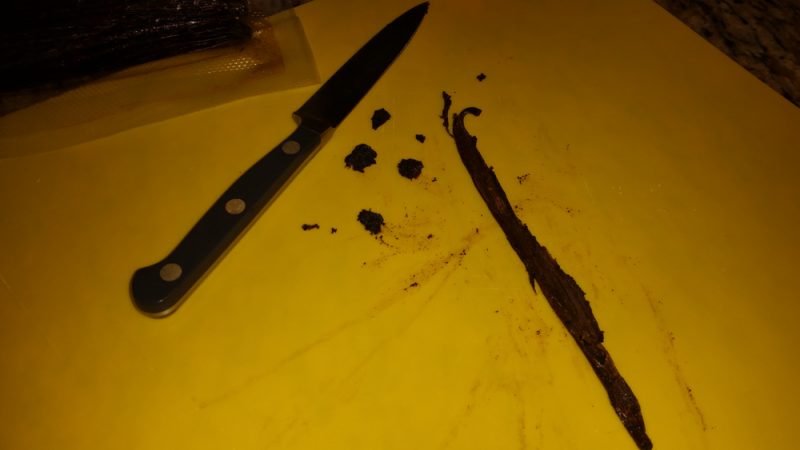
  1. Using a sharp knife, split each vanilla bean in half down the middle.
  2. Add the sliced beans to the vodka bottle.
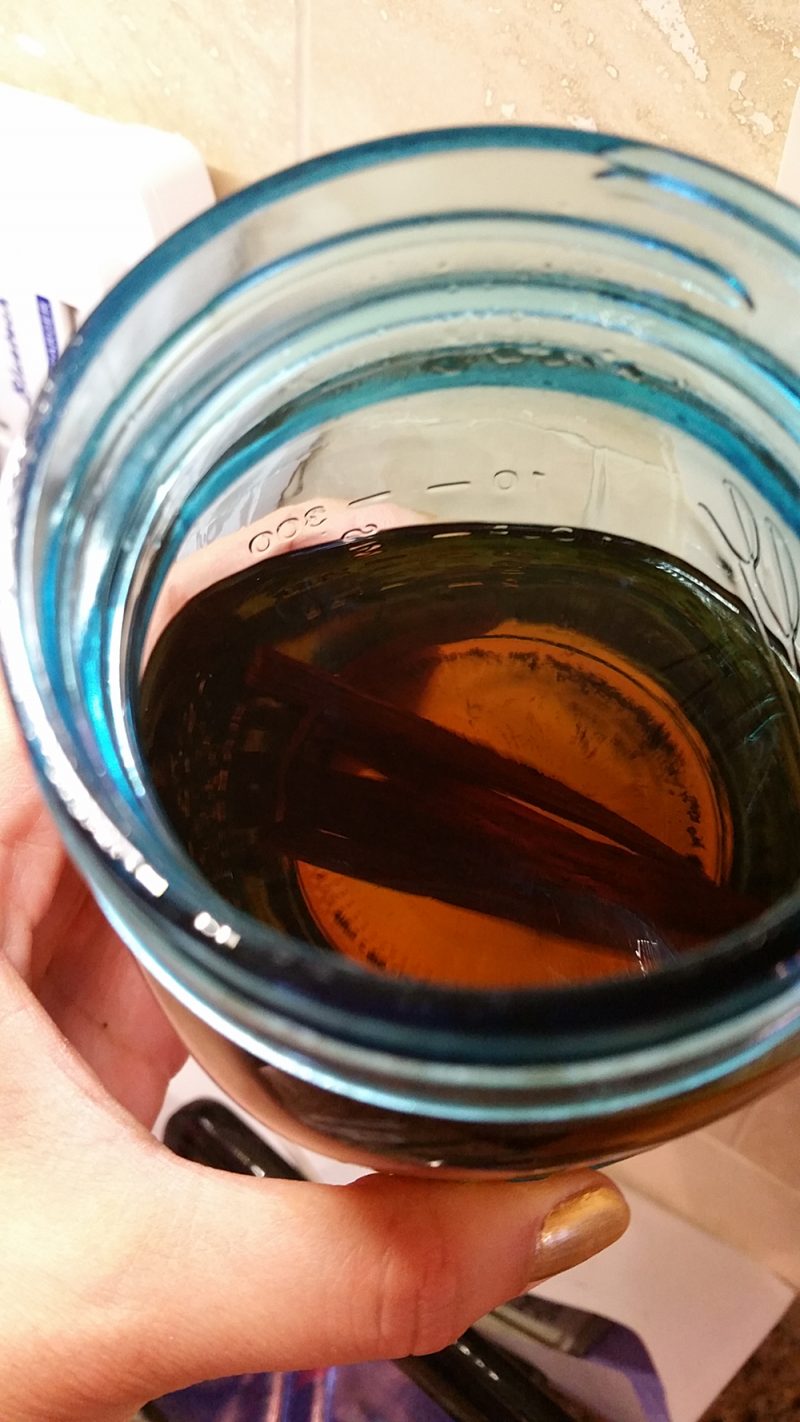
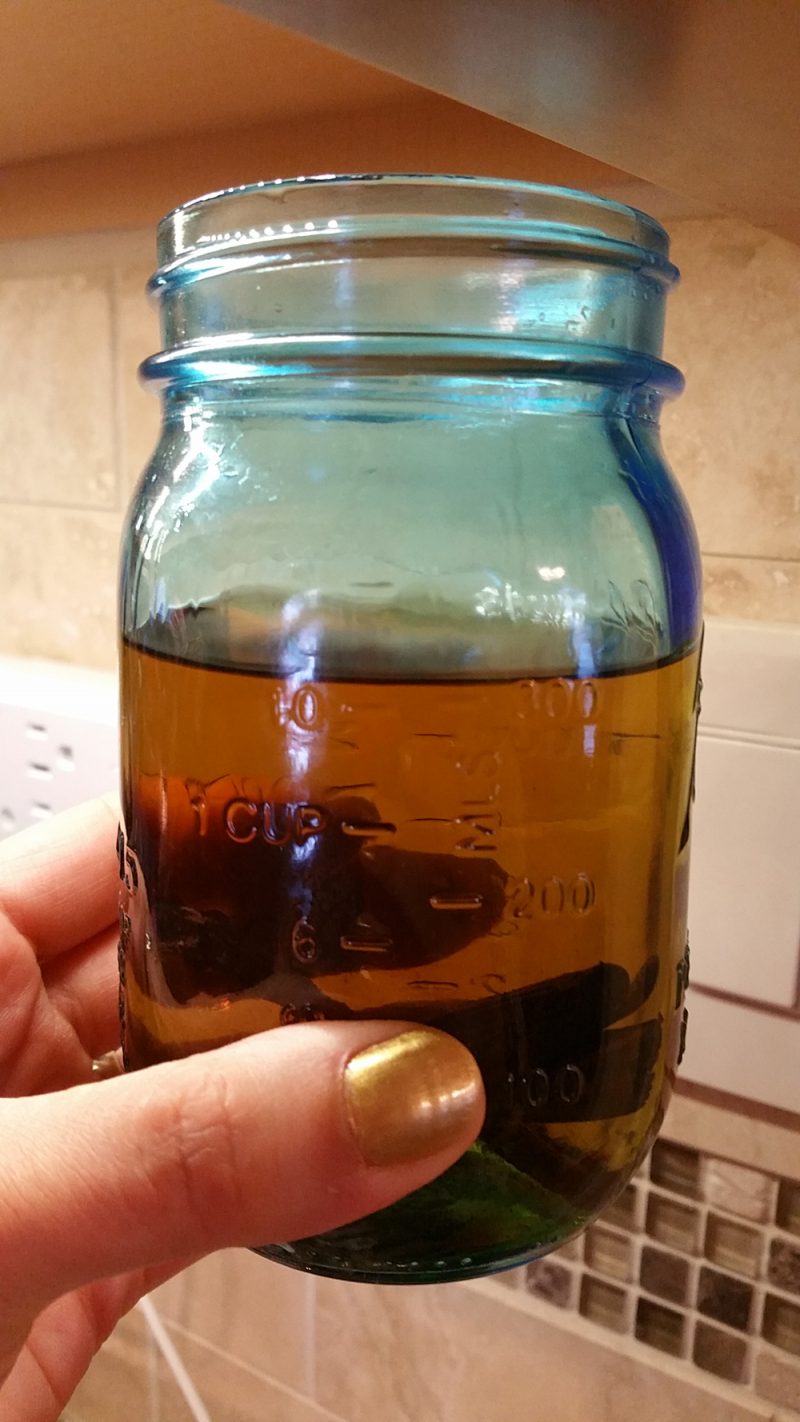
  3. Secure the lid and store the jar in your pantry for a couple of weeks, until the liquid starts to turn brown, then it’s ready to use.  (For me, this was about 6 weeks, give or take).


I found a bigger bottle of vodka and measured out the 375mL amount into a Mason jar and proceeded from there.  


Creamy Panna Cotta

panna-cotta-small

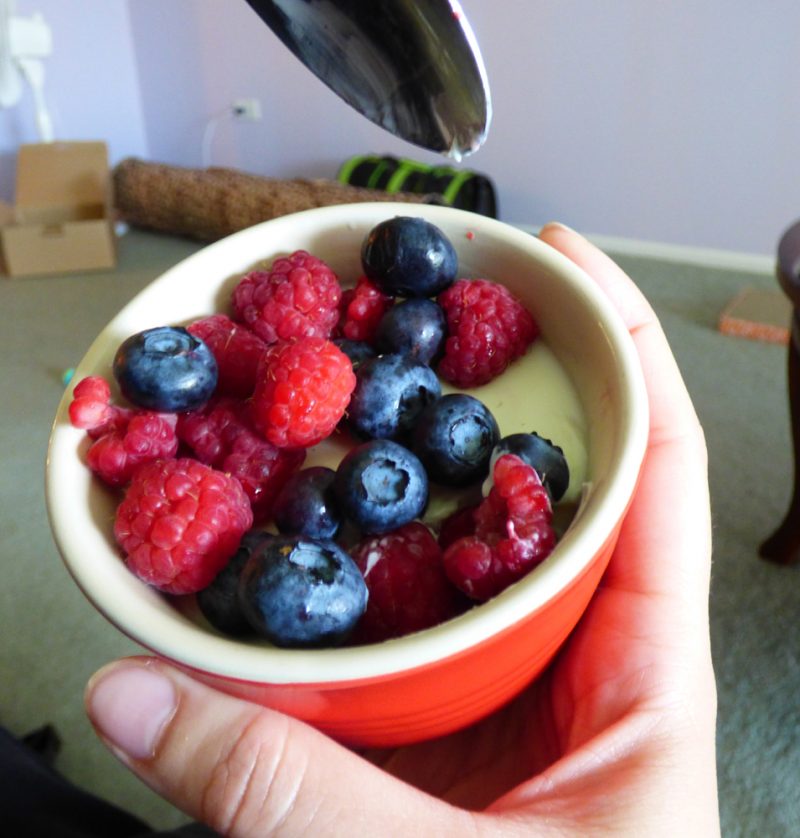
I finally made this Italian dessert that I’ve always wanted to try: panna cotta.  It’s a cold Italian custard that magically doesn’t have eggs – great for anyone but especially my egg-allergic husband.  It’s creamy, has the perfect amount of flavor, is fattening, and too delicious.  It’s self-limiting as it’s high in fat and very satisfying!  Don’t die without eating or making this yourself.  I warned you! 

P1080840

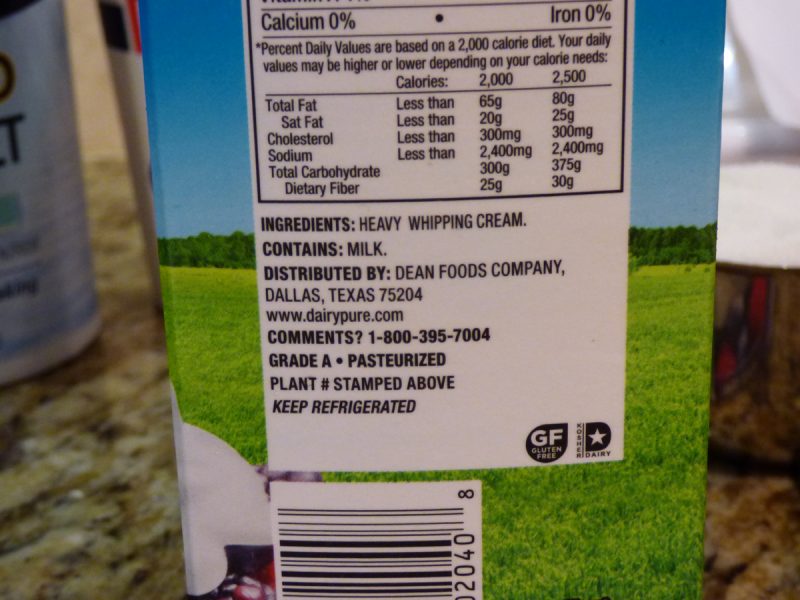
Only buy your heavy cream if it has one ingredient.  Otherwise it’s an impostor for this recipe (or any recipe).

P1080839

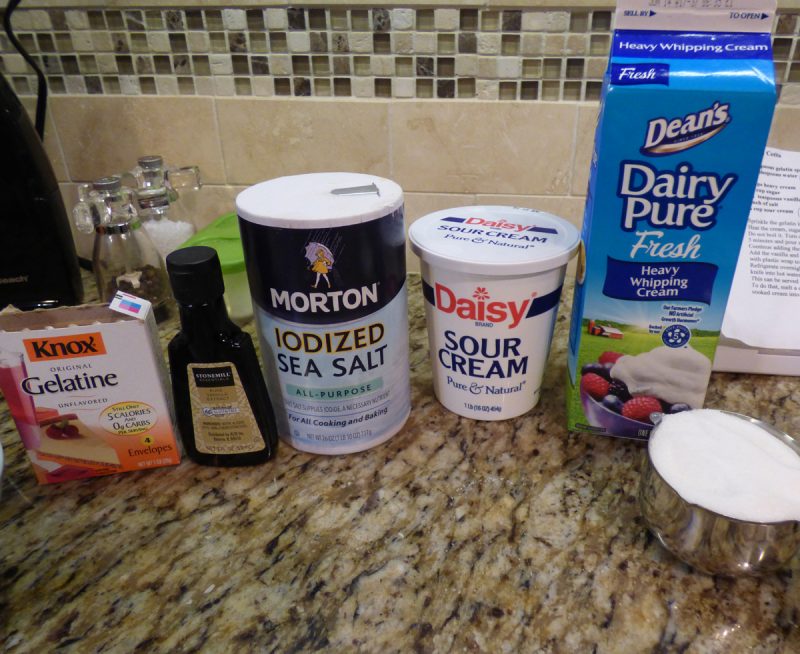
NOTE: Use only the highest quality ingredients for this dessert.  Do not use heavy cream that has any ingredient other than “heavy cream”.  It shouldn’t have any additives, preservatives, or carageenan etc.  DO NOT use any low fat or reduced fat ingredients.  This is not the time.  Only use full fat sour cream and unadulterated heavy cream.  No substitutes at all.  Follow the directions precisely and you will have an awesome dessert that you won’t believe.

INGREDIENTS:

  • 2 teaspoons gelatin sprinkled over 2 tablespoons room temperature water
  • 3 cups heavy cream (no substitutes)
  • 2/3 cup sugar
  • 1 1/2 tsp. vanilla extract
  • pinch of salt
  • 3/4 cup sour cream (whole fat!)
  • Fresh berries, honey, or other toppings (optional)

DIRECTIONS:

  1. In a small bowl or ramekin: prinkle the gelatin in the room temp. water and let it sit for 5-10 minutes to gel up.
  2. Heat the cream, sugar, and salt until it’s very warm and steam starts to come off of it.  Do not boil it!  
  3. Turn off the heat, add the gelatin, and mix it until it’s melted.
  4. Cool for 5 minutes.
  5. While stirring with one hand, slowly pour a cup of the warm cream into the sour cream.  Mix well.
  6. Continue slowly adding the warm cream to the sour cream mixture, a cup at a time, until you’re done.
  7. Add the vanilla and stir.
  8. Pour it into 6 small, un-greased custard cups.
  9. Cover each cup with plastic wrap to avoid a skin forming.
  10. Refrigerate overnight (mandatory).
  11. I did not un-mold them, but to un-mold: run a sharp knife around the edge.  If necessary, dip the knife into hot water.

Tips: This can be served with honey, fruit syrups, or add a caramel cream.  I chose to go simple and just add fresh berries.


Energy Balls (A Tidy Spherical Dessert) *

energy-balls-11-2015 energy-balls-11-2015_2nd

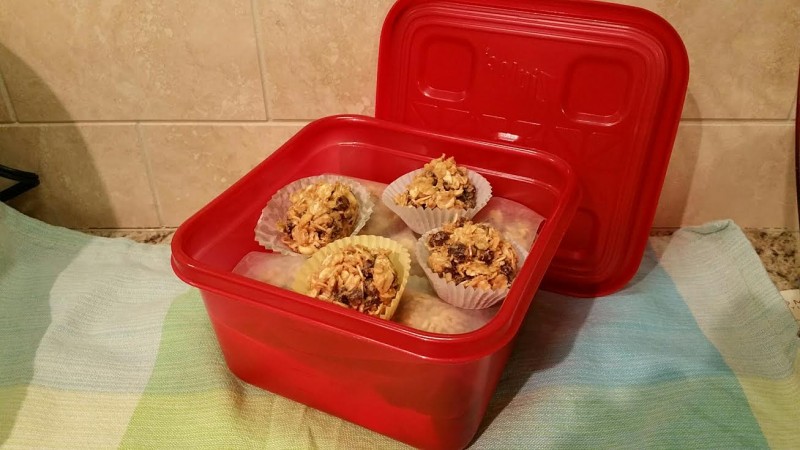
I found this recipe on the Washington Post, and altered it to fit our needs.  The original recipe had chia and/or flax seeds.  I used flax seeds the last time and something about them made my mouth itch and feel irritated.  So, I remade them this time with wheat bran and had no problem.  Wheat bran has 6g of fiber (24% of your day) in a 1/4 cup!  I found Bob’s Red Mill brand and it was affordable, unlike almond flour (LOL).

My son, age 9, would almost never eat sunflower seeds, peanuts, or raisins by themselves, but mixed in this awesome recipe, he’ll unknowingly gobble them down.  And I snuck in the wheat bran too!  I know him too well to know he wouldn’t eat it had I put cranberries in there, plus I can’t have cranberries, so it’s moot.

INGREDIENTS:

  • 1 cup creamy peanut butter (or any nut butter or faux nut butter)
  • 1/2 cup honey (add more if excessively crumbly)
  • 3 cups old fashioned oats
  • 1/4 cup wheat bran (such as Bob’s Red Mill)
  • 3/4 to 1 cup mini chocolate chips*
  • 1 cup total of (chopped peanuts / sunflower seeds / raisins*) combined**
  • 2-3 drops of vanilla extract

**1 cup any combination (that works for you) of nuts, seeds, soft dried fruits, raisins, cashews, peanuts, etc, sunflower seeds, or dried cranberries.

**Known IC irritants, tread carefully!

DIRECTIONS:

  1. Combine the nut butter and honey in a large mixing bowl and stir until smooth.
  2. Gradually add the oats and wheat bran until well combined. Add the chocolate chips and the nut-seed/fruit mixture, and mix gently to combine.
  3. NO BAKING NEEDED!   Use your hands to roll the mixture into balls (I used a cookie scoop for sanitation and uniformity) approximately the size of ping-pong balls. If desired, roll them in shredded coconut.
  4. Place the balls in paper mini-muffin cups. At this point, you can eat them, but they’ll be less sticky and less crumbly after a night in the refrigerator. They taste best after one day in the fridge.
  5. Layer the balls in an airtight container, using inexpensive wax paper (parchment paper is not necessary here)*** to separate the layers, and refrigerate for 7 to 10 days or freeze for up to 3 months.


***Parchment paper vs. wax paper debate:

–Parchment paper is for cooking and baking and can handle high temperatures, up to around 420 degrees F.  You can use it to separate the energy balls in a container for storage, but don’t.  Parchment paper is much more expensive than wax paper and is a waste to separate the energy balls.  I keep both parchment and wax paper on hand at all times.  Even though parchment’s safe in the oven, make sure your paper doesn’t extend beyond the rim of the baking sheet, the extended paper will brown horribly.

–Wax paper is NOT for cooking or baking.  It’s not heat safe, it’s covered in a wax coating to give it a smooth, non-stick surface.  It will smoke in the oven and cause a mess.  It can ruin your food! 

Here – Whisked Foodie explains it much better than I have time or desire to do, LOL:

Wax Paper Vs. Parchment Paper via Whisked Foodie
Easy Country Apple Dumplings * (Not IC Safe)

apple-dumplings-crescent-roll-feb


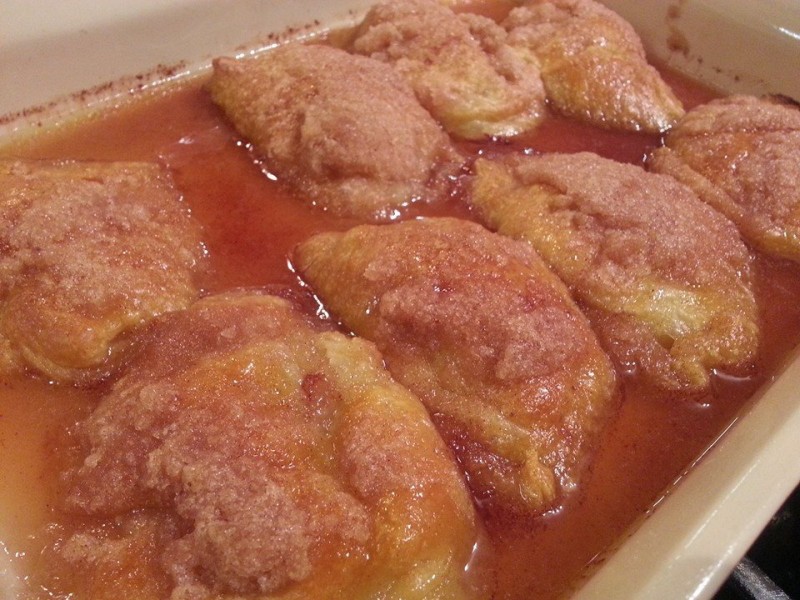
I halved and slightly edited this recipe, because I had to.  First I’ll post the original recipe, and beneath it, I’ll post the changes I made.

It’s absolutely delicious and doesn’t taste anything like the sum of its ingredients.  It’s a super delicious recipe that my son loved (he ate two), and all of us adults loved!  A+!  It’d be even better with a scoop of real vanilla ice cream, but we didn’t have any!

ORIGINAL RECIPE:

MY RECIPE:


DIRECTIONS:

  1. Preheat the oven to 350 degrees F. Grease a 9×13″ inch baking dish.
  2. Cut each apple into 8 wedges and set aside. Separate the crescent roll dough into triangles.
  3. Roll each apple wedge in crescent roll dough starting at the smallest end. Pinch to seal and place in the baking dish.
  4. Melt butter in a small saucepan and stir in the sugar and cinnamon.
  5. Pour over the apple dumplings. Pour Mountain Dew(TM) over the dumplings.
  6. Bake for 35 to 45 minutes in the preheated oven, or until golden brown.

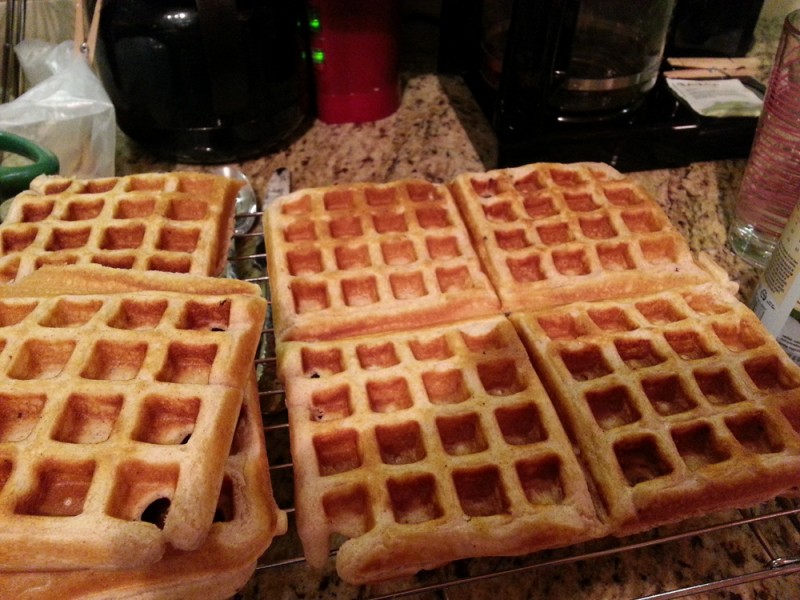
Eggless Waffle Recipe *

eggless-waffles

This is one of those recipes you must know about if you a) like good waffles and/or b) have an egg allergy.  Even though my husband is allergic to eggs, yet I can have eggs, I still enjoy these waffles on a monthly basis.  We’ve made them nearly every month (or every other) for over a decade – so you know they are good!  They’re from Rosemarie Emro’s “Bakin’ Without Eggs” book.

INGREDIENTS:

  • 4 cups all-purpose flour (If you want to make it healthier like we do, use up to 3 cups white whole wheat flour or whole wheat flour with 1 cup all-purpose flour.  Or, if you want to play it safer, do 50% all purpose and 50% wheat flour).
  • 2 T. + 2 tsp. baking powder
  • 1/2 tsp. salt
  • 6 T. sugar 
  • 4 cups (1 quart) buttermilk (It’s really best if you use the real buttermilk here and not that trick to make buttermilk out of milk and lemon).
  • 1/2 cup canola oil or applesauce (hint: canola oil works best!)
  • 1 tsp. real vanilla extract
  • Optional: blueberries, chocolate chips*, or your choice of small fruit to mix into batter.

**Omit chocolate chips to make it IC safe.  

DIRECTIONS:

  1. In stand mixer or in a large bowl, combine all ingredients with a whisk attachment or a whisk.  Whisk until smooth.
  2. Preheat your waffle maker according to the maker’s directions.  Decide if you need to spray your waffle maker with nonstick spray.  We have found it helps to release.
  3. Depending on the size of the wells of your waffle maker, pour just enough batter in it to fill up the wells just enough.  Read your manual for recommendations.
  4. Makes approximately 15-20 waffles, depending on size.

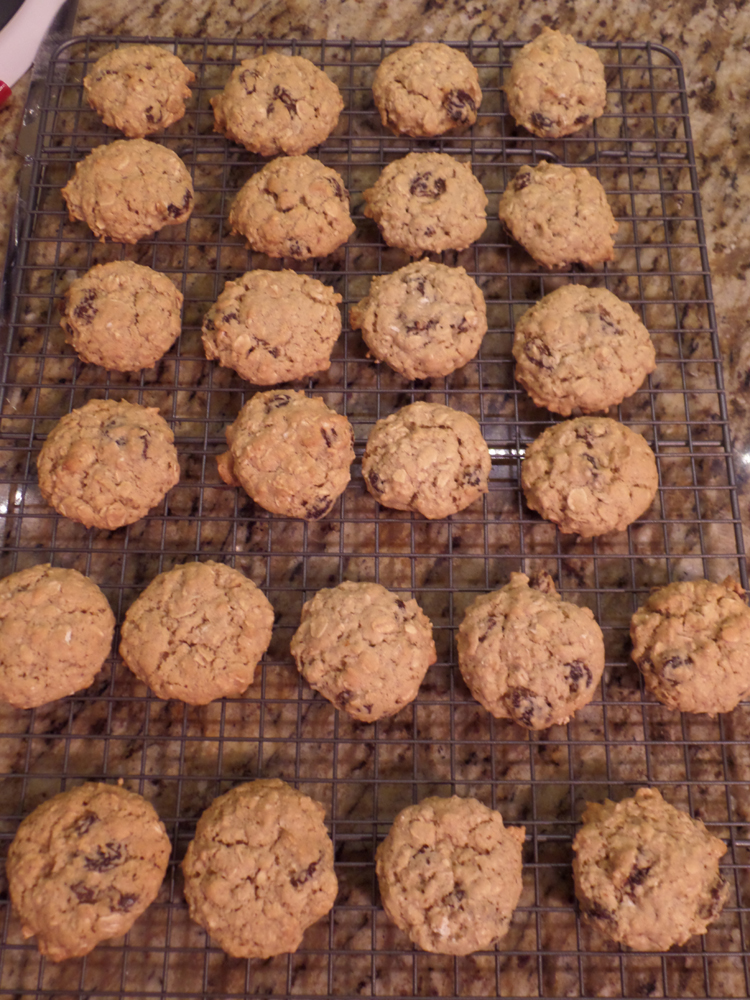
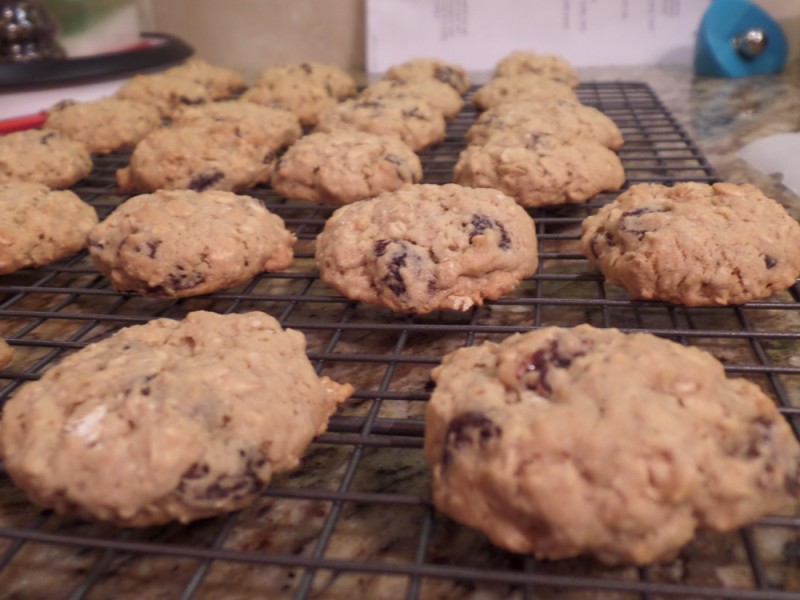
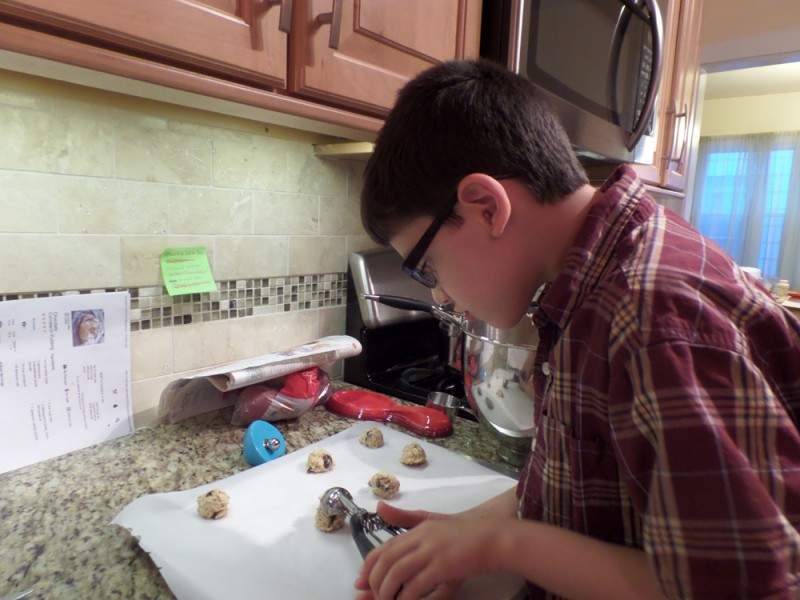
Oatmeal Raisin Cookies

SAMSUNG CAMERA PICTURES SAMSUNG CAMERA PICTURES SAMSUNG CAMERA PICTURES


So you want a cookie but you want it to be remotely healthy and use real ingredients, eh?  Well, here you go.  Here’s my favorite oatmeal raisin cookie recipe!  **This recipe can easily be made eggless, by omitting the egg and making the 1/4 cup applesauce into a heaping 1/4 cup of applesauce.  Be sure to buy the “natural” applesauce that has 2-3 ingredients in it, NOT containing high fructose corn syrup.  Who wants that in their homemade cookies?  Parchment paper works beautifully here, as it does with most cookies!

INGREDIENTS:

  • 1 cup flour (slowly spoon your flour into a dry-measure cup and level off with the back of a knife).
  • 1 tsp. baking powder
  • 1/2 tsp. baking soda
  • 1/2 tsp. salt
  • 2 T. unsalted butter, at room temperature 
  • 1/2 cup granulated sugar
  • 1/2 cup packed light brown sugar
  • 1 large egg (OR use Egg replacer powder, **OR make your applesauce into a heaping 1/4 cup)
  • 1/4 cup unsweetened, “natural” applesauce **
  • 1 tsp. pure vanilla extract
  • 1 1/3 cups rolled, or old fashioned oats (not instant)
  • 1/2 cup dark raisins, (or cranberries, if desired)
  • Supplies: 2 baking sheets lined with parchment paper, foil, or silicone mats

DIRECTIONS:

  1. Preheat oven to 375* and set the rack on the lower and upper thirds of oven.
  2. In a small bowl, whisk together the flour, baking powder, baking soda, and salt.
  3. In a large bowl (or use your mixer), beat the butter and sugar until smooth. Mix in the brown sugar, then egg (or replacer**), applesauce and vanilla.
  4. Stir in the dry ingredients.  Then add oats and raisins.
  5. Drop the batter by rounded teaspoons (or use your cookie scoop) at least 2 inches apart on the baking sheets.  Leave enough room between cookies, they spread!
  6. Use a fork to gently flatten the dough.
  7. Bake for 10-12 minutes or until they look slightly browned, yet moist and soft.
  8. Cool on wire racks for a few minutes so the cookies can firm up before you attempt to remove them.  If you move them too early, they will crack and fall apart.

Eggless Pumpkin Pie With Graham Cracker Crust *


pie1

pie2

pie3

pie4

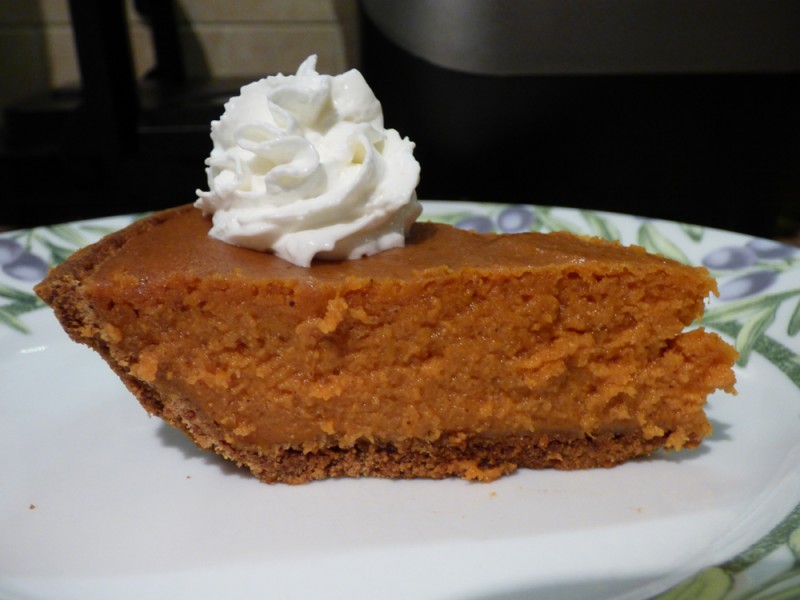
This is an awesome pumpkin pie recipe that I make every year around this time.  It’s an eggless version of pumpkin pie with a sweet graham cracker crust.  To save time (and money), I buy the crust pre-made. I need to take a new look at the ingredients of the premade crust.  Some have cinnamon and I have to avoid that as it’s an irritant. To be really safe you can use a plain dough piecrust.

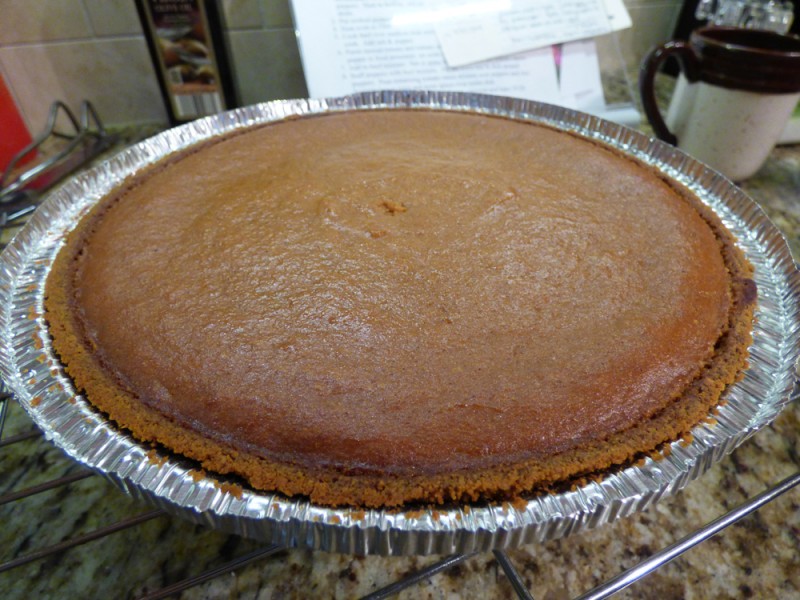
I let the pie cool at room temp. for about two hours.

Then I put it in the fridge UNCOVERED until serving.  If you cover it, even loosely with anything (Saran Wrap, aluminum foil, etc) it will create a very wet condensation on top of the pie that is unsightly but harmless.  The longer it chills before being served, the better it tastes!  I suggest at least 6 hours, but longer is great too, up to 1-2 days.  I highly suggest making this one day before you need it, it will taste much better!  After that, you can divide it into pieces and freeze or put in a storage container – but it will have some condensation.


Ingredients:

  • Graham cracker crust (make it yourself or buy it premade)^, or use a plain premade dough crust
  • 1/4 cup brown sugar
  • 2 tablespoons cornstarch
  • 1 teaspoon pumpkin pie spice mix* (For some this is not safe – see note)
  • 1 16-oz can pure, plain pumpkin (about 2 cups)
  • 1 14-oz can sweetened condensed milk**

NOTES:

  • ^Graham cracker crusts can sometimes have cinnamon and other spices.
  • **I tried low fat S.C.milk for the first time in a decade, don’t do it.  It needs that extra fat and it also helps the “mouth feel” consistency.
  • *For pumpkin pie spice, you can use McCormick or a big label, but I’ve had great success with Aldi’s brand.  They only sell it seasonally though.  ALDI’s canned pure pumpkin cost me $0.79 this year – 2016.  Whereas the big store wanted $1.99 for it.  (Same ounces and quality!)
    *I can no longer use pumpkin pie spice, it’s too irritating for me. So I omit it. Unfortunately, it definitely will have less flavor but is safe. 🙁 

Directions:

  1. Remove packaging (plastic, paper etc) from graham pie crust or plain dough crust, until you have just the foil pan and the crust inside remaining.  Set aside.
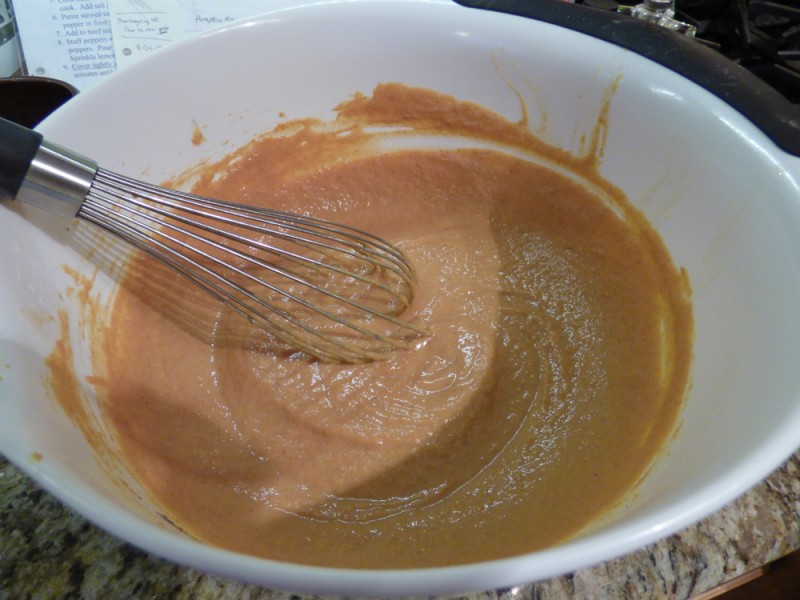
  2. In a large bowl, combine all ingredients: brown sugar, cornstarch, pumpkin pie spice (if safe for you!), pure pumpkin, and condensed milk. You can use a mixer here but I found that a good whisk will do the job just fine and there’s less to clean.
  3. With a spoon or whisk, stir until completely mixed.
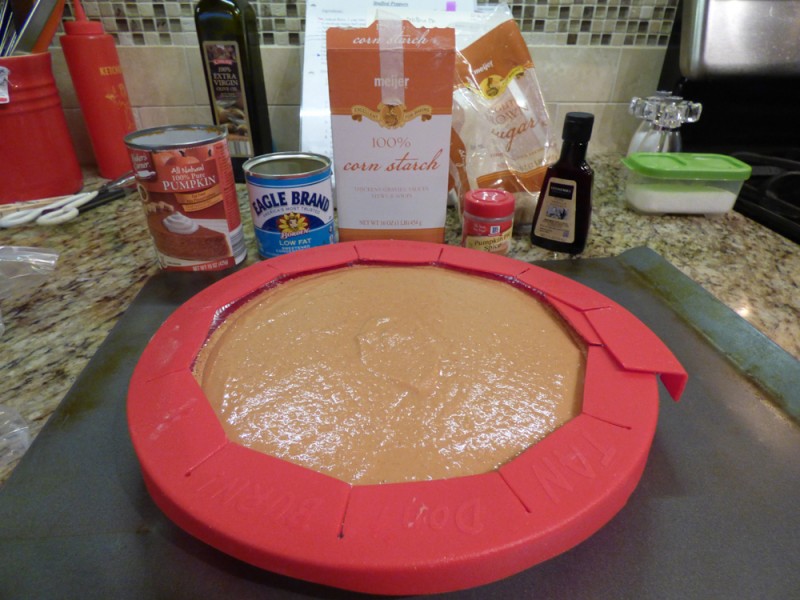
  4. Pour mixture into unbaked pie shell; smooth top of pie with spatula.
  5. Put your filled pie on top of a baking sheet just in case anything spills, but it shouldn’t.  Cover edge with pie guard, if desired.
  6. Bake on middle or top rack for 55-60 minutes until knife/toothpick inserted in center comes out clean.
  7. Cool on wire rack until mostly cool.  Then refrigerate for many hours before serving, as the flavor amps up the longer it’s refrigerated!  I make it the day before it’s needed and it’s especially good.


Starbucks-esque Copycat Hot Cocoa * (Not IC Safe)

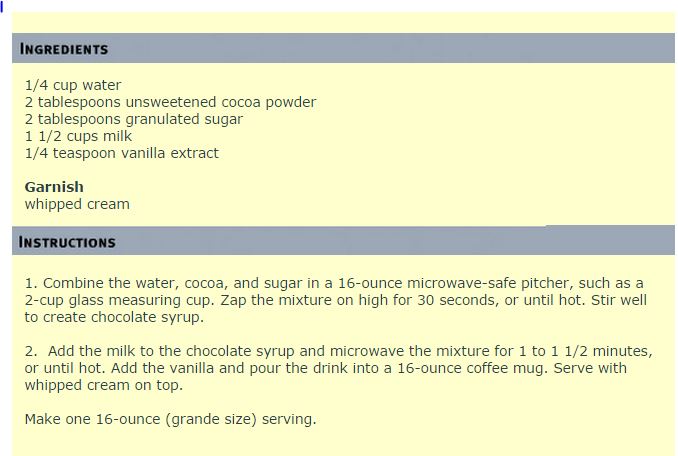
P1010313


I have had no luck making hot cocoa in the past even though I’ve tried a few recipes.  They were either way too bitter, or had too much headache-inducing cocoa powder, something was always wrong! I used a Pyrex glass container with a handle and it was easy to whip up in the microwave.  I followed this recipe to a “T” and it came out so smooth, tasty, and was my ideal hot cocoa – excluding the fact it was missing whip cream, but we can’t always have everything!  Next time, yes.  This recipe is from Top Secret Recipes, please check them out!  A+!!

star-hot-cocoa

Baked Cinnamon Apples * (Not IC Safe)

baked-cinnamon-apples


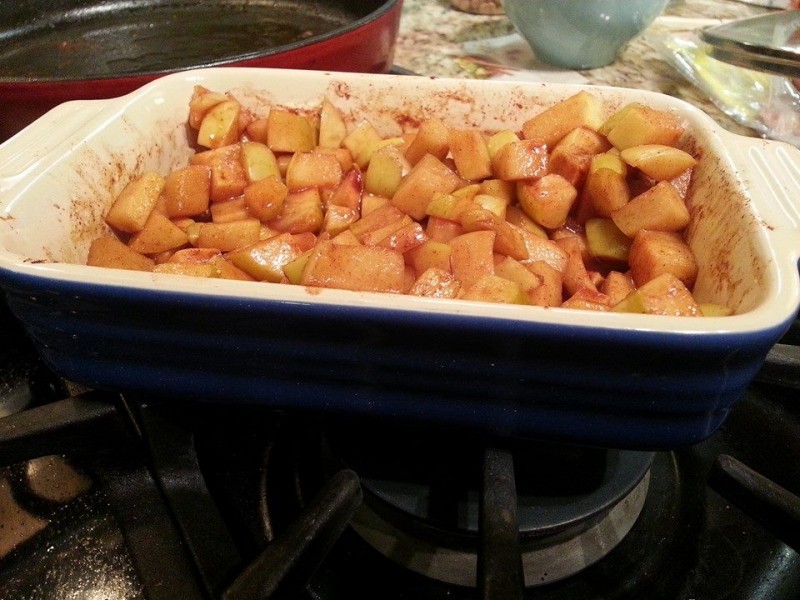
I saw this recipe in passing and had three spare apples on hand and just went for it.  It’s a great way to get that apple pie taste without all the fat and carbs of that double pie crust.  It’s extremely simple and the half recipe I made fit perfectly in my Le Creuset mini casserole dish.   We enjoyed this as a sweet side to our dinner, but we could also definitely see it as a topping for pure vanilla ice cream.  I used our apple staple – Galas!  From the PBS website. 


INGREDIENTS:

  • 2 lbs apples (either Cortland or Gala for best results), cored and chopped
  • 2 tsp cinnamon**
  • juice of 1 lemon**
  • 1/3 cup brown sugar (I reduced the sugar as the apples release their sweetness as well).  

**Known IC irritants, tread carefully!

DIRECTIONS:

  1. Preheat your oven to 375 degrees.
  2. Toss the chopped apples with the cinnamon, lemon juice, and brown sugar and place in a baking or casserole dish.
  3. Cook apples, stirring occasionally, for about 30 minutes until soft and juicy. Serve for dessert with ice cream or with roast meat for dinner.

Homemade Rice Krispies *

P1010063


Rice Krispies

P1010060

Note: This is an old post showing a time when I could have chocolate. My IC has worsened severely.  I can no longer have even a lick of chocolate, so tread cautiously.

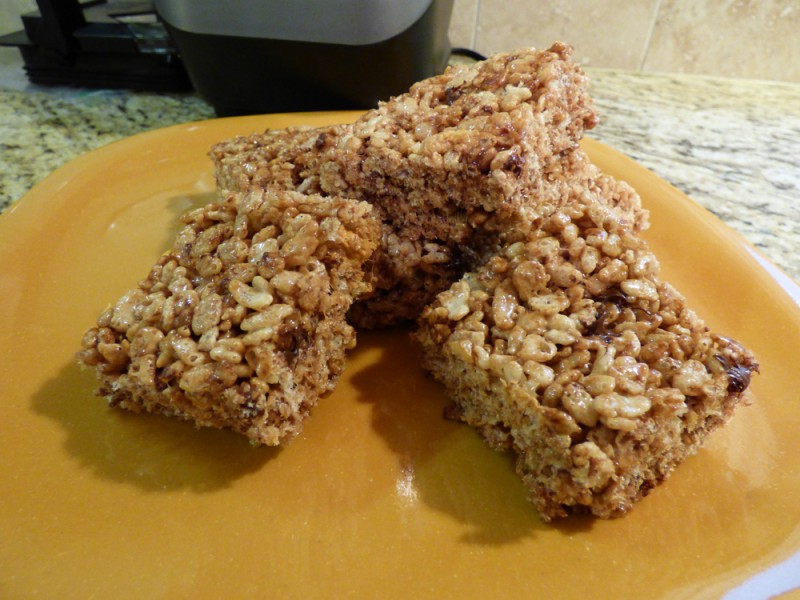
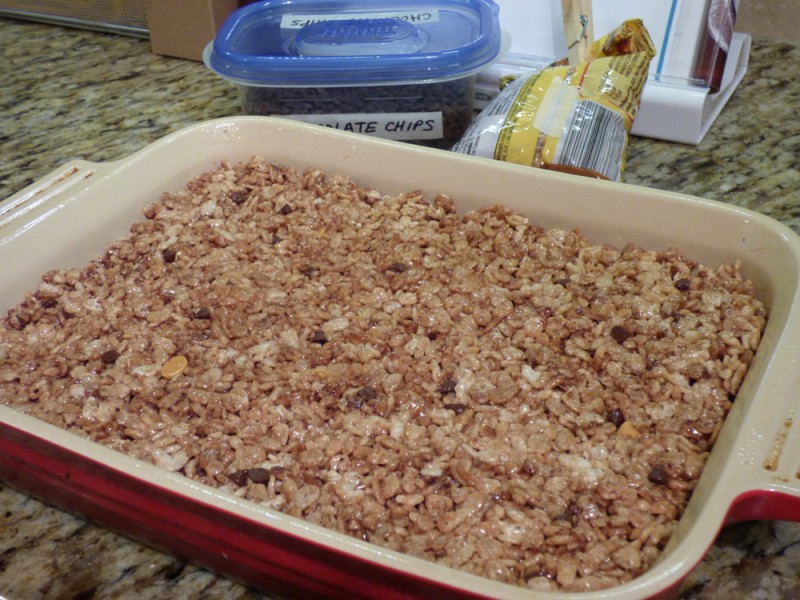
I’ve bought Rice Krispies treats many years ago in the package and then I learned the extremely simple recipe that I will share with you.  Now I just make them at home in a few minutes and everyone loves them. 🙂  Bonus – almost no packaging to throw away, excluding your marshmallow bag!  I’m just all for natural ingredients lately with no preservatives, fake coloring or flavors, additives.

RICE KRISPIES TREATS:  “Ingredients:  TOASTED RICE CEREAL (RICE, SUGAR, SALT, MALT FLAVORING, NIACINAMIDE, REDUCED IRON, RIBOFLAVIN [VITAMIN B2], FOLIC ACID), MARSHMALLOW (CORN SYRUP, SUGAR, GELATIN, NATURAL AND ARTIFICIAL FLAVOR), FRUCTOSE, MARGARINE (VEGETABLE OIL [SOYBEAN AND PALM OIL WITH TBHQ FOR FRESHNESS], WATER, NATURAL AND ARTIFICIAL BUTTER FLAVOR [CONTAINS MILK], DATEM, ACETYLATED MONOGLYCERIDES, BHT FOR FRESHNESS, VITAMIN A PALMITATE, VITAMIN D), CORN SYRUP SOLIDS, CONTAINS TWO PERCENT OR LESS OF DEXTROSE, GLYCERIN, SALT, NIACINAMIDE, PYRIDOXINE HYDROCHLORIDE (VITAMIN B6), THIAMIN HYDROCHLORIDE (VITAMIN B1), RIBOFLAVIN (VITAMIN B2), SOY LECITHIN.


INGREDIENTS:

  • 1/4 cup unsalted butter
  • 3 cups mini marshallows (10 oz. regular bag)
  • 6 cups Rice Krispie, or generic, cereal
  • Optional: safe treats to add, such as coconut chips/peanut butter chips (not chocolate, unfortunately).

DIRECTIONS:

  1. Spray a 13″ x 9″ pan with nonstick spray, set aside.
  2. Have all your ingredients measured and in bowls, ready to go.  This recipe goes quickly and mise en place is critical.  
  3. In a large saucepan, melt butter over low heat.
  4. Add mini marshmallows and continue to stir until they have completely melted.  Remove from heat.
  5. Stir in the cereal, coating them well with the melted marshmallow mixture.
  6. Add in any chips you can tolerate (coconut chips, peanut butter chips), mix well.  Add other ingredients or toppings as desired.
  7. Cut into squares once the mixture slightly cools (about 10 minutes), but before it really hardens!
  8. Before I receive hate mail, I’ll tell you step 8 is very important.  Clean your pan by putting it under warm water with some soap to soften the mess. 🙂